When replacing windows, in order to save money, you can sheathe slopes on plastic windows with your own hands: a video with the nuances of this process will help to do this without problems. However, what material to choose for installation and how to fix it on the plane of the slopes, you need to know for sure.
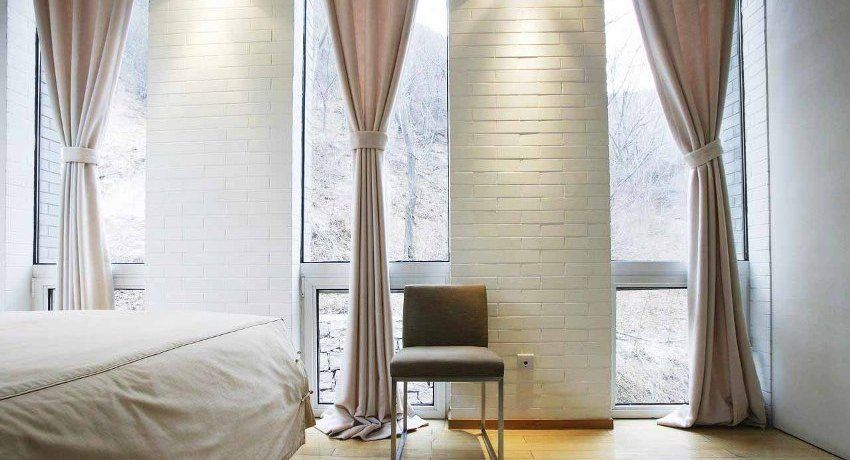
What can you sheathe slopes on plastic windows with their own hands: video and description of materials
Today it has become commonplace to replace windows with plastic structures that have excellent performance in keeping heat, fencing off street noise, and also an aesthetic and presentable appearance. Features of installation of plastic windows suggest the complete dismantling of old window blocks, in the process of which the entire decoration of slopes is often destroyed. Therefore, after the completion of the work, it remains for us to contemplate an unattractive picture of construction foam sticking out from everywhere and plaster falling off the dismantled slopes.
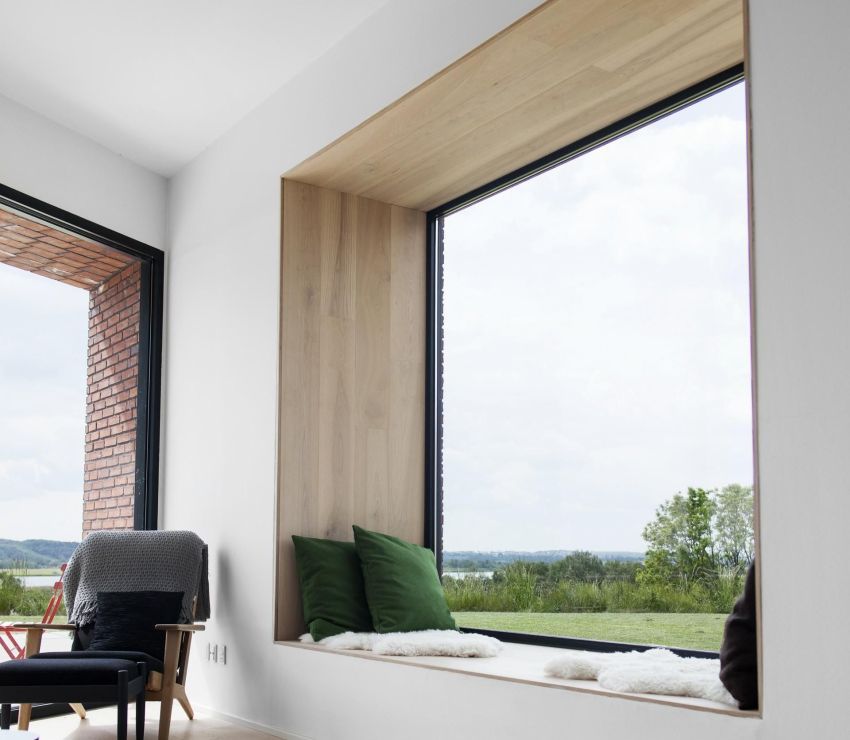
The re-trimming of the slopes can be done in various ways. The main thing is to achieve the following goals:
- esthetics;
- practicality;
- ease of care;
- thermal efficiency.
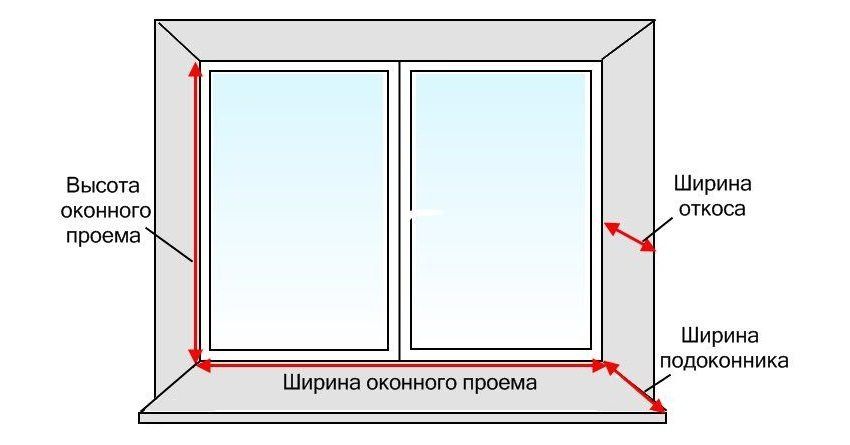
Whatever material is used, the finishing of slopes must be done qualitatively and in a timely manner. After all, many are dragging on with this, allowing moisture to penetrate into these places, forming a fungus there and attracting other unpleasant consequences. If you yourself are able to work with your own hands and control the tool, then it will not be difficult for you to sheathe the slopes on the plastic windows with your own hands. Video with instructions for each material there are many. We consider here the three most popular ways of finishing slopes: plaster, plastic and drywall. On the outside of the window is still used metal elements.
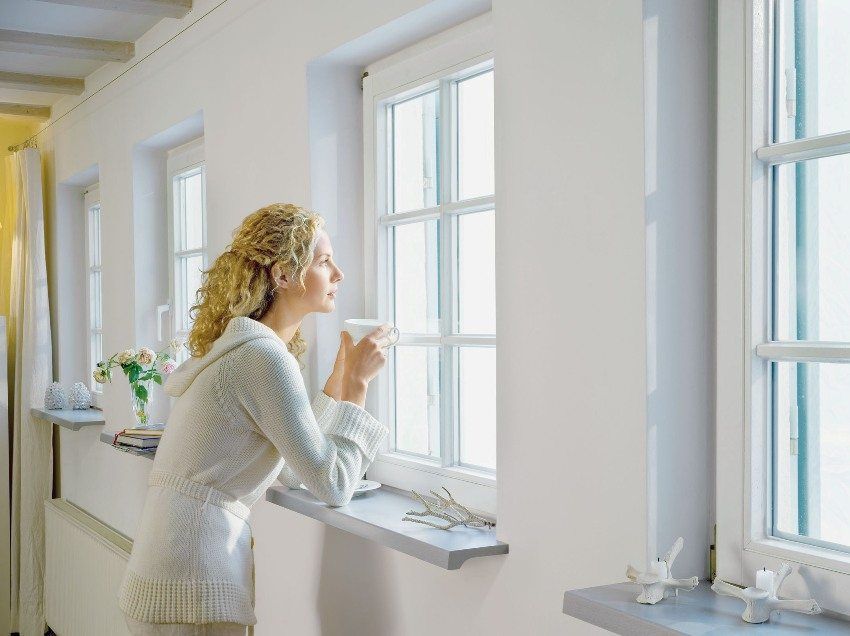
Helpful advice! Before you change the window, decide in advance what material you will trim slopes. This should be done immediately in order to avoid moisture penetration into the walls.
The oldest and most proven method of finishing the slopes inside the building is their plastering. Today, construction stores are replete with a large number of various plaster mixes. The main advantage of plaster is its low price and the possibility of applying any paint on it or finishing with other facing materials. But do not try to do it yourself, if you have never plastered. Before you make a flat surface yourself, you need long-term training in less difficult areas, for example, on walls.
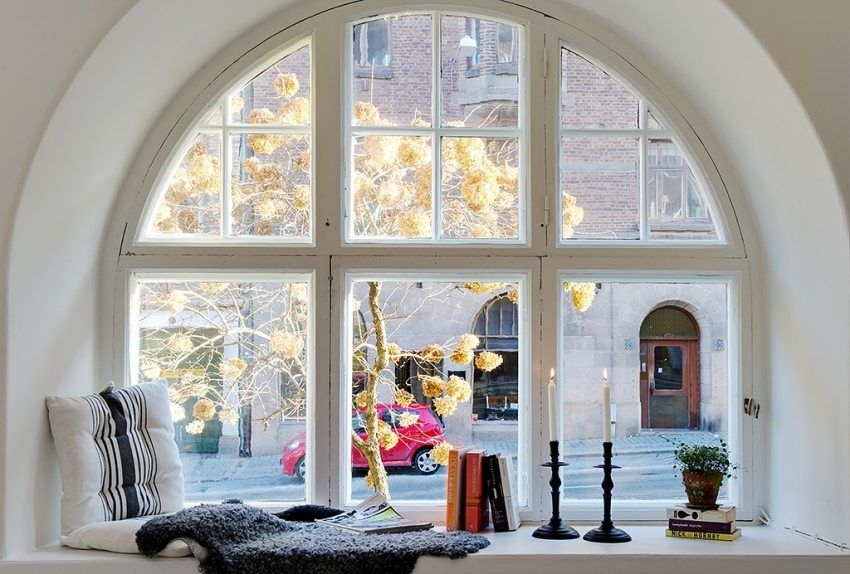
Plastic is the most convenient material for mounting slopes. Wall panels of it have a different color and size, which allows you to make the necessary choices without any problems. In addition, there is a whole set of angles and other details that allow you to design the slope in the best possible way. The advantages of plastic are: absolute flatness of the surface, ease of installation, a huge variety of decorative design, impermeability to moisture, the ability to replace a single element without dismantling the entire structure.
The cost of wall plastic panels, which are used for finishing slopes, is small and suitable for low-cost repairs. Its combination with plastic window blocks is just perfect. There are no pronounced defects in PVC slopes.
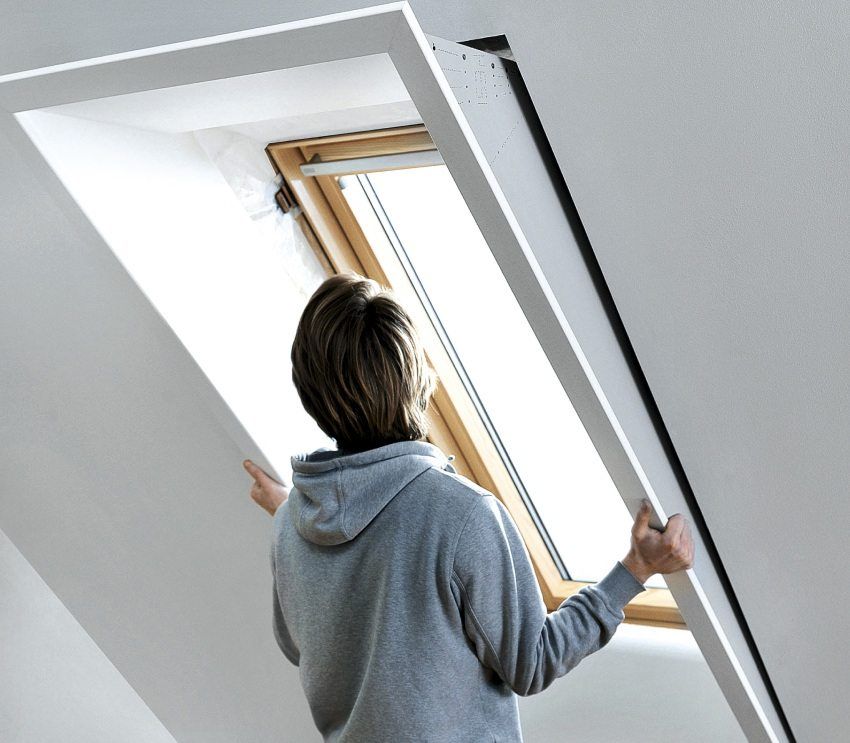
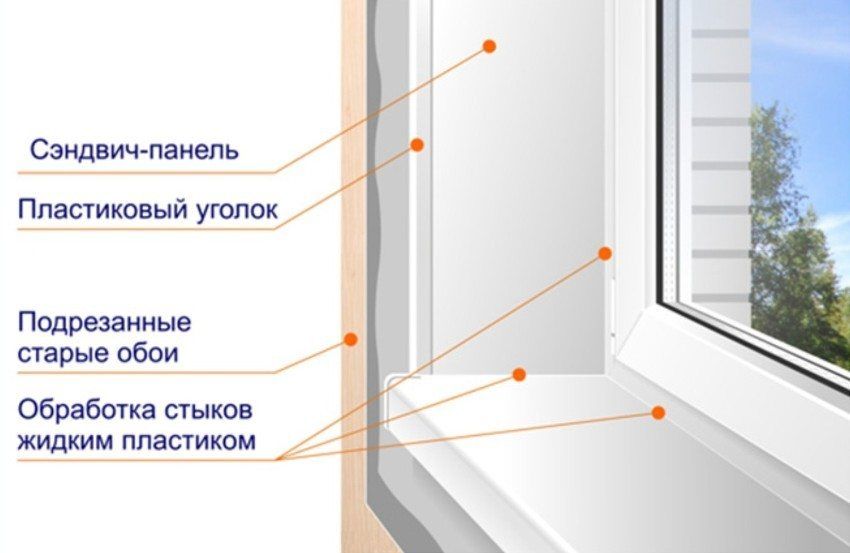
Helpful advice! If in the process of finishing the slopes you need to achieve the effect of heat insulation, then it is recommended to use a sandwich panel as a finishing material. Inside them contains polystyrene foam, which is an excellent insulant.
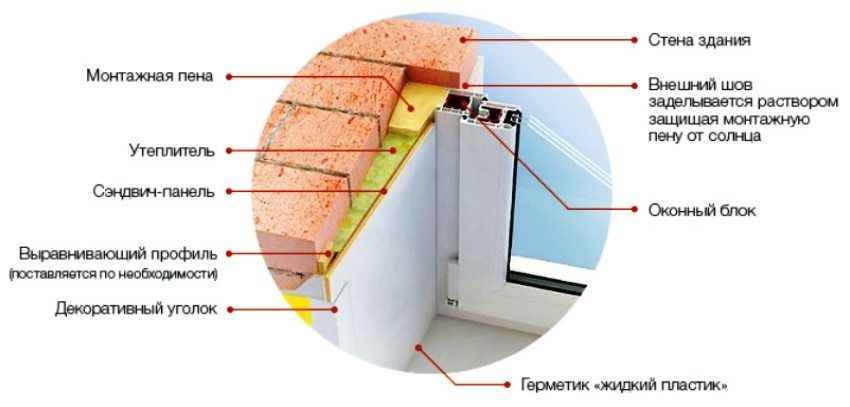
For the external decoration of the slopes of the windows used parts made of galvanized steel, coated with a polymer film with a dye. Most often they are used on the facades closed by metal siding. These parts are specially made for decorating slopes on plastic windows with their own hands. Video mounting metal parts for slopes perfectly illustrates the whole process from beginning to end.
Corrosion resistance and an attractive appearance play a decisive role in choosing this material for outdoor slopes. Metal slopes have a slightly higher cost than all other types of them.
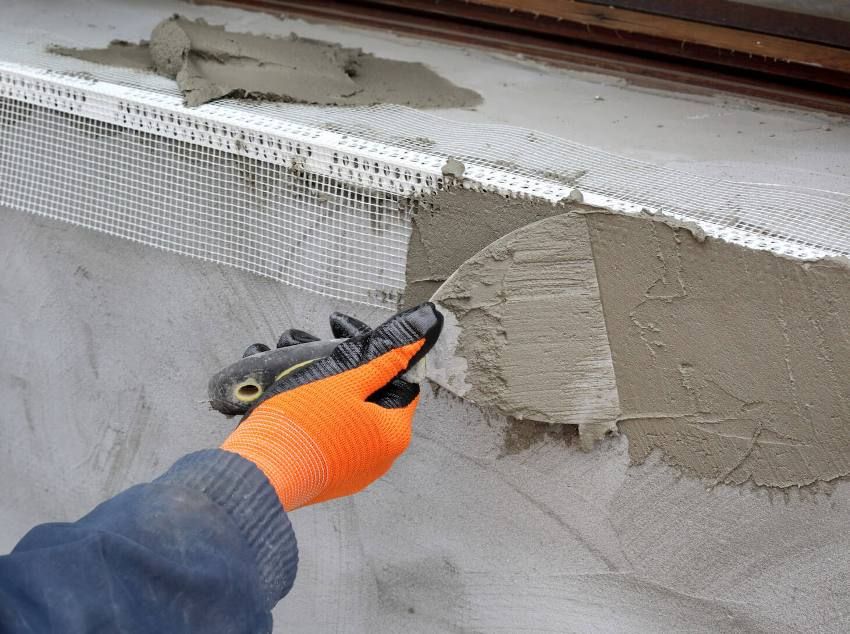
A very popular step is the finishing of slopes with plasterboard sheets. For this purpose, moisture-resistant drywall is chosen, since window slopes are traditionally considered places with high humidity. Condensate is always formed on the windows, and such sheets are very resistant to it. You can, of course, use ordinary gypsum plasterboards, but then they must be primed with a primer several times or treated with a moisture barrier. Heat resistance, excellent thermal insulation and sufficient rigidity of sheets allow using them without any concerns in order to finish window slopes.
Drywall is the cheapest material of all listed, not counting plaster. If it is damaged, it can be easily repaired by simply smearing the dent with putty and painting it over. If the air humidity inside the room is high, then water vapor is absorbed by drywall, and with a lack of moisture, they are released into the surrounding air, producing a kind of circulation.
Adjusting plastic windows yourself: video instruction. Mode “winter-summer”. Adjusting the clamping mechanism. Loop adjustment. Repair of metal windows.
Anyone who has ever done the drywall slopes with his own hands knows that this material is afraid of excessive moisture. Already 75% of its content in the air is able to stratify sheets into components. In addition, damage to slopes is not so rare. After all, a gentle impact is enough to break a sheet or a dent appears on it. Another “disease” of this material is that on it, over time, various spots appear that need to be periodically painted over.
Let us consider in more detail the process of finishing slopes with gypsum plasterboards. Note that there are several ways to mount them inside the window opening:
- over wooden or metal crates. This method is used in the case of finishing this wall with plasterboard completely;
- using foam;
- by gluing to glue or putty.
Since the gluing method is the most common, we describe it step by step:
- prepare the surface for finishing. To do this, grab all the excess foam, cutting it off with a knife. Pieces of plaster and various contaminants are removed, after which we take the vacuum cleaner and remove dust from the entire window opening. The entire plane of the slopes is treated with a primer, along the way filling up cracks and hollows with the help of a plastering compound. Sheets of drywall treated with moisture-resistant substance. This will impede the penetration of moisture and the formation of mold there;
- drywall sheets are measured strictly by size and cut the workpiece with a sharp knife. Measurements are subject to the length and width of the slope. When cutting should take into account the angle of inclination of the plane of the slope relative to the plane of the window. Cut the sheet should be at the same angle so that the parts are fixed more reliably;
- to the window unit and the window sill with plastic screws attached plastic starting strip. The width of its gap should be equal to the thickness of the sheets. Most often it is 1 cm;
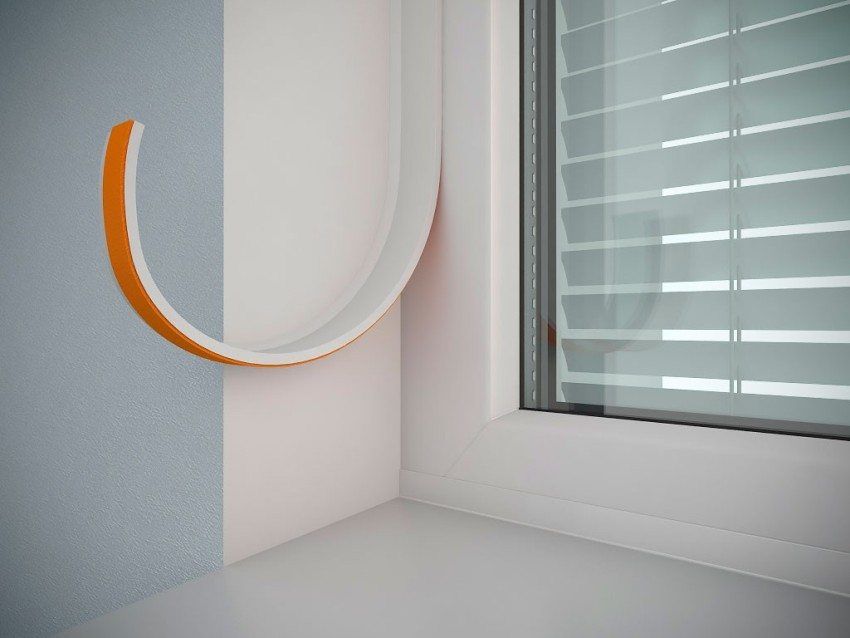
- assembly begin to produce from the top plane of the opening. Glue well grease the edges of the panel. The width of the adhesive layer should be at least 2 cm. One edge of the panel is inserted into the guide strip, and the second is pressed against the plane of the slope. Do the same with all three panels. At the same time, the side panels are also inserted into the guides, which are bolted to the sill. All parts are machined with sealant;
- the finished surface of the slopes is treated with putty twice or even three times for the best quality. After it dries, grind the entire plane. The slopes are ready for finishing. They can be painted with any dye or wallpaper.
Helpful advice! When mounting the slopes of plasterboard with your own hands on the corners should be installed metal perforated corners. They will ensure their durability and give evenness to the lines.
Quality decoration of slopes on plastic windows with their own hands, the video options that you must see, is crucial not only in the attractiveness of the entire window opening for the eyes, but also for effective heat saving in the apartment.
