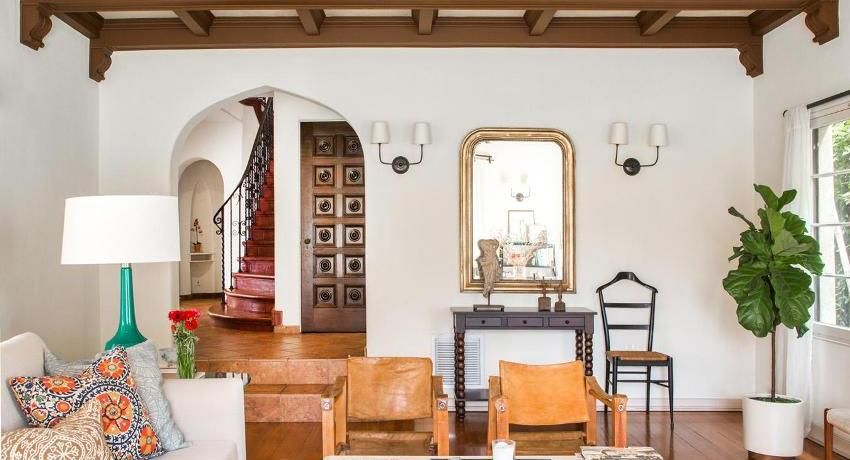
The process of choosing the style and style of interior design is a rather complicated and painstaking work. But almost any style decision can be complemented by such structures as the arches of drywall. Photos of interior design demonstrate the various design possibilities of drywall. With it, you can create real works of art in the form of arched openings.
Types of interior arches
By construction, interior arches can be divided into several types:
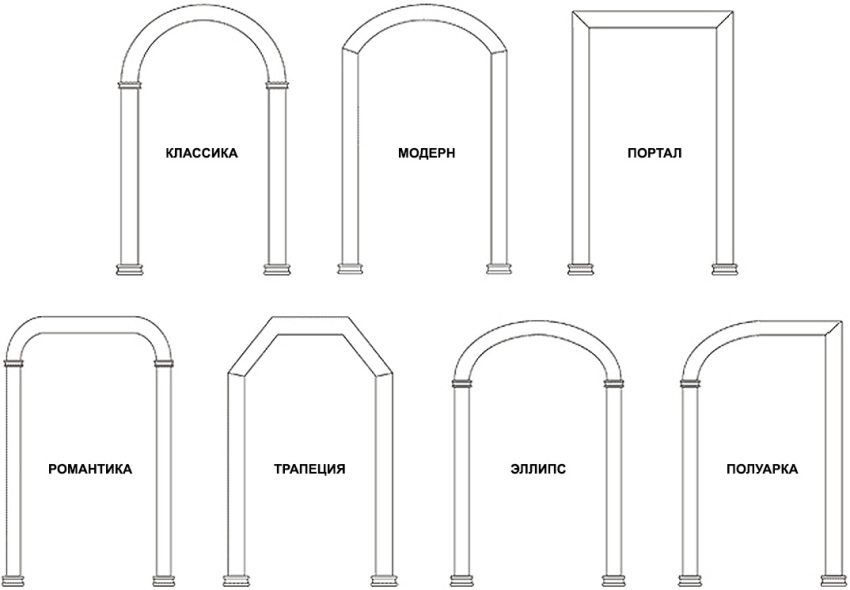
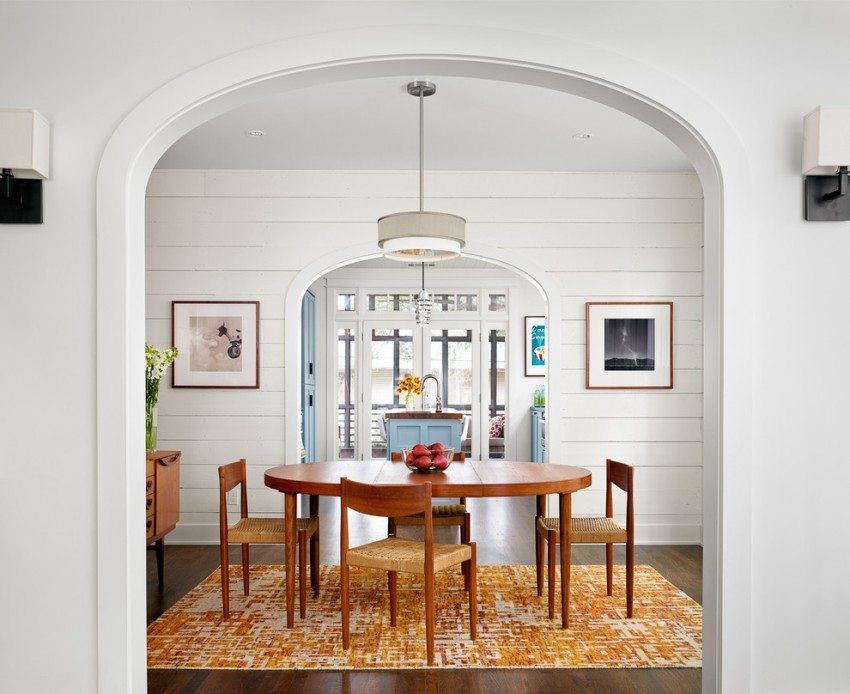
This type of arch will look great in almost any room. It is the most common and frequently used. Classic arches fit rooms with narrow apertures. The arc in the shape of a regular semicircle visually expands and refines the interior space.
For wide openings usually use arches, made in a romantic style. They are shaped more like a square with rounded corners. One of the advantages of such an opening is a small loss of space. Interroom door construction, similar to the “classics”, visually makes the embrasure wider, allows it to look rich and luxurious.
Arched openings of this type have the form of a sharp, unfinished arc. The interroom opening at such arrangement seems to be higher, and intuitively adds spatial volume to any room.
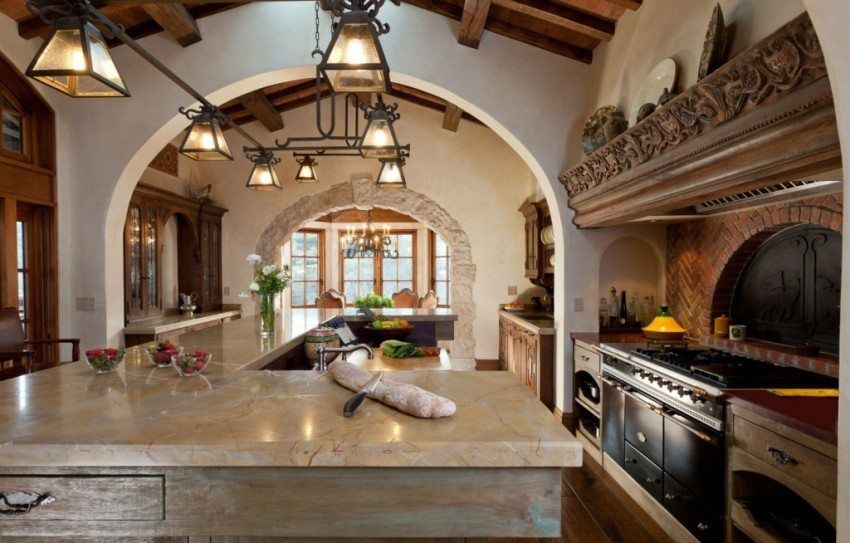
The arches of this form are the easiest to do with your own hands. Such an arched doorway is distinguished by the angularity of the vault and focuses on the rich interior of the building being constructed. More direct lines facilitate the work on the arrangement of such an element of the interior. It is quite easy to make a drywall arch with your own hands. A video demonstrating this process in detail will help to understand the intricacies of installing such structures.
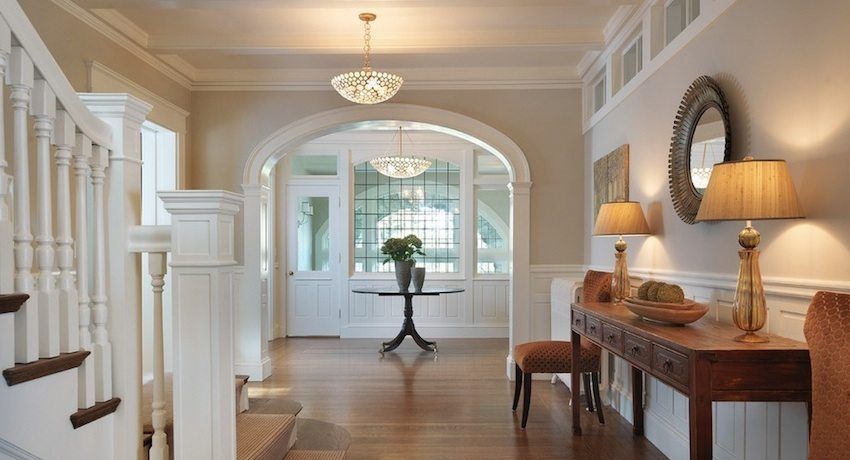
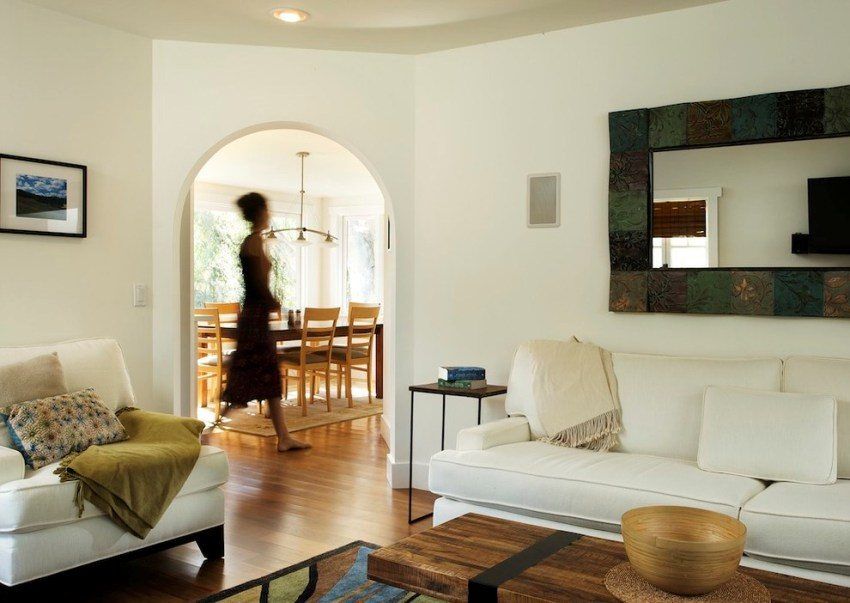
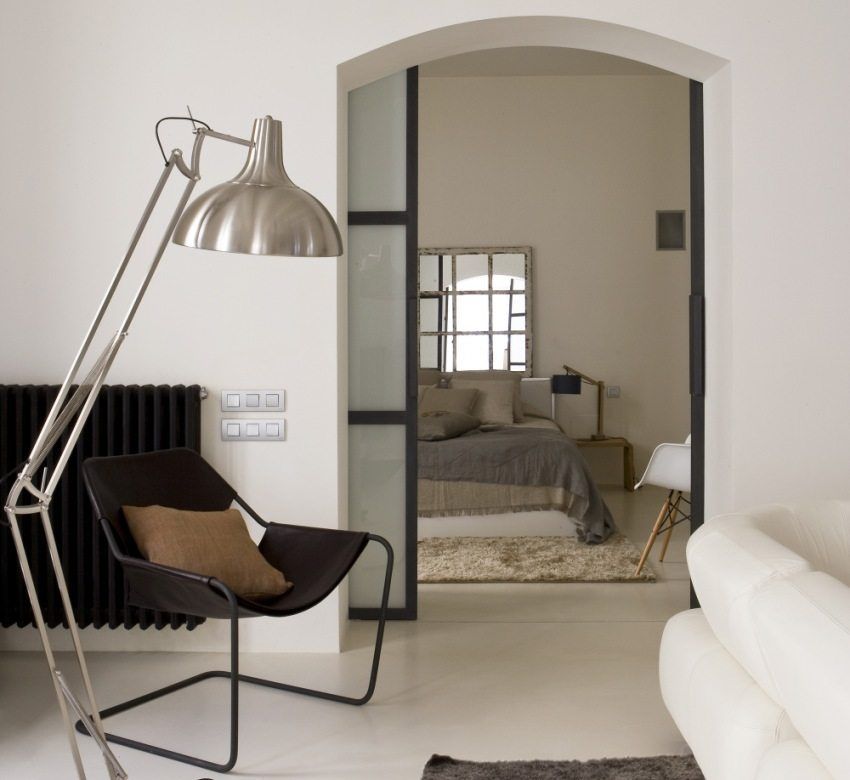
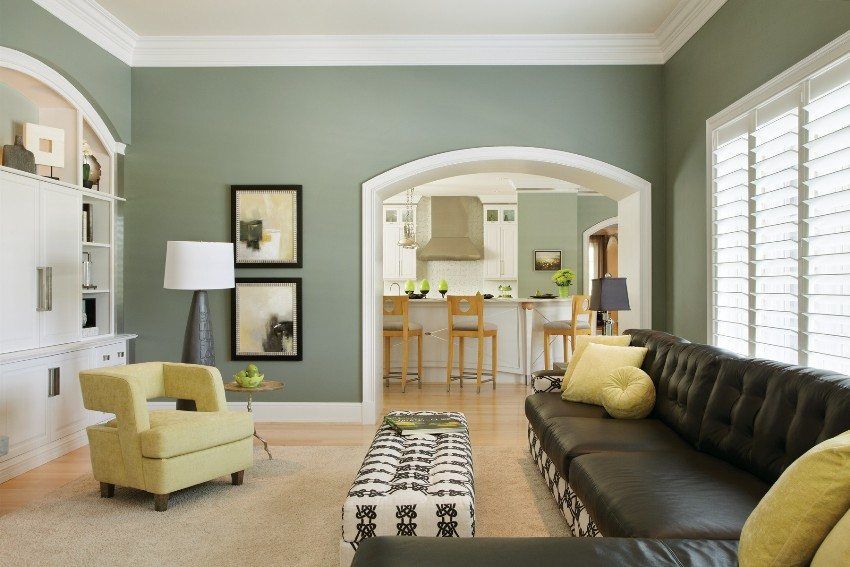
For the guest room in most cases, trying to create a neutral interior. Extravagant design elements are usually not welcome for such general purpose rooms, since the different tastes of people in it cannot be brought to the same denominator. The arched design between the living room and other rooms will be a great addition to restrained styles, will give them originality and visually increase the space.
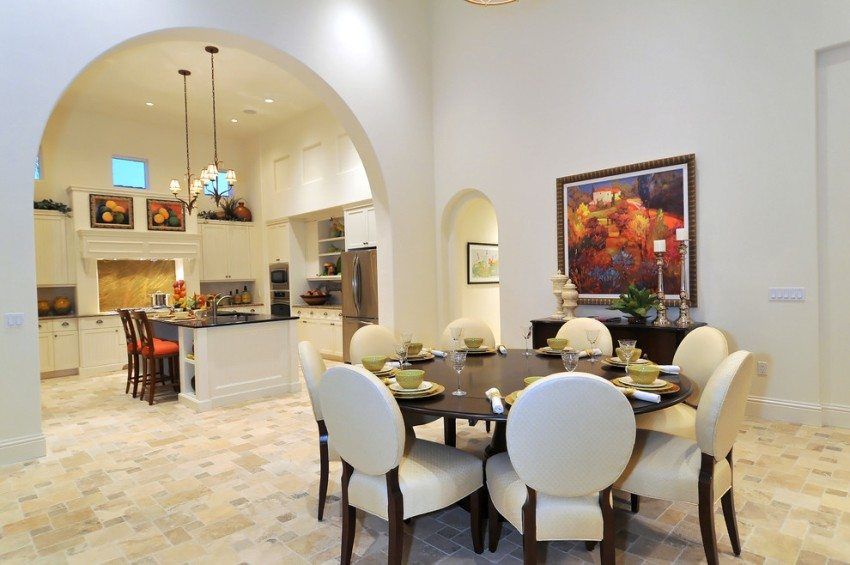
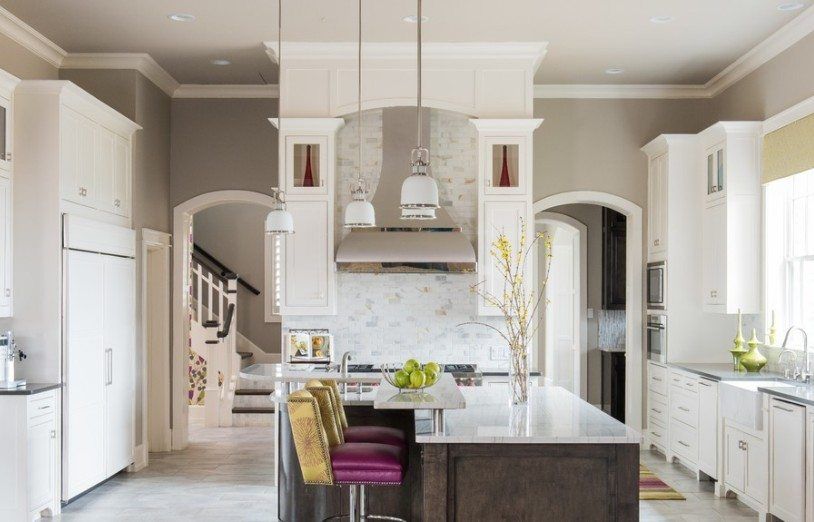
Fitted arched designs and for the kitchen. Such an interior opening can be additionally equipped with an arched door. It will emphasize the sophistication of any style decision, as well as provide an opportunity to protect neighboring rooms from excessive odors and high humidity.
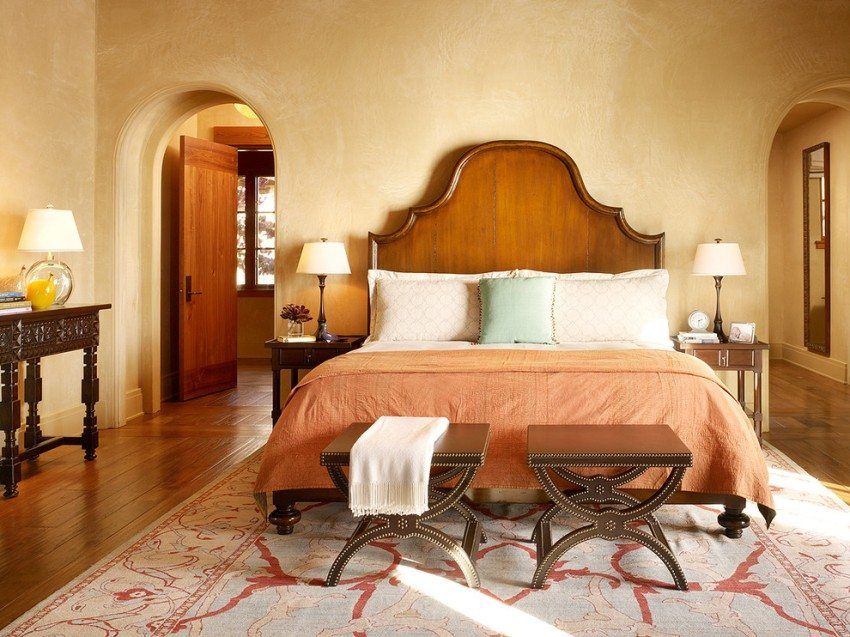
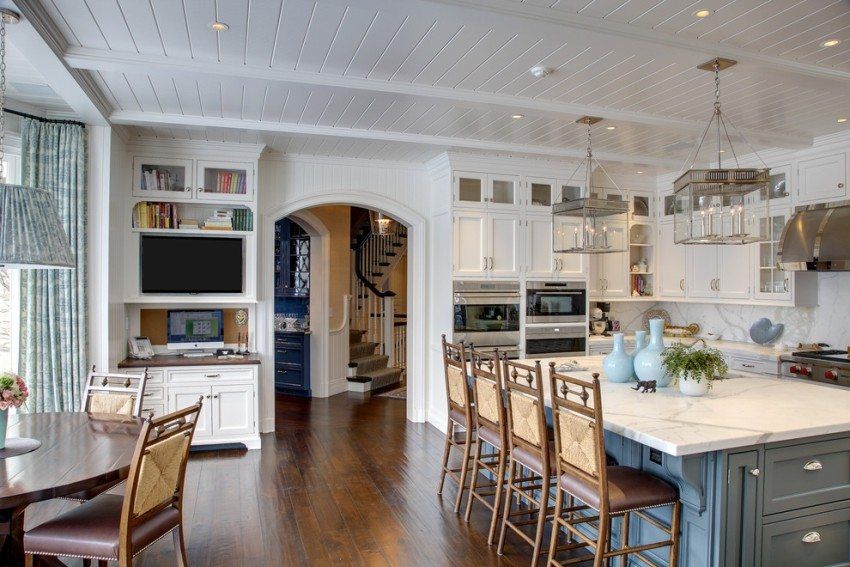
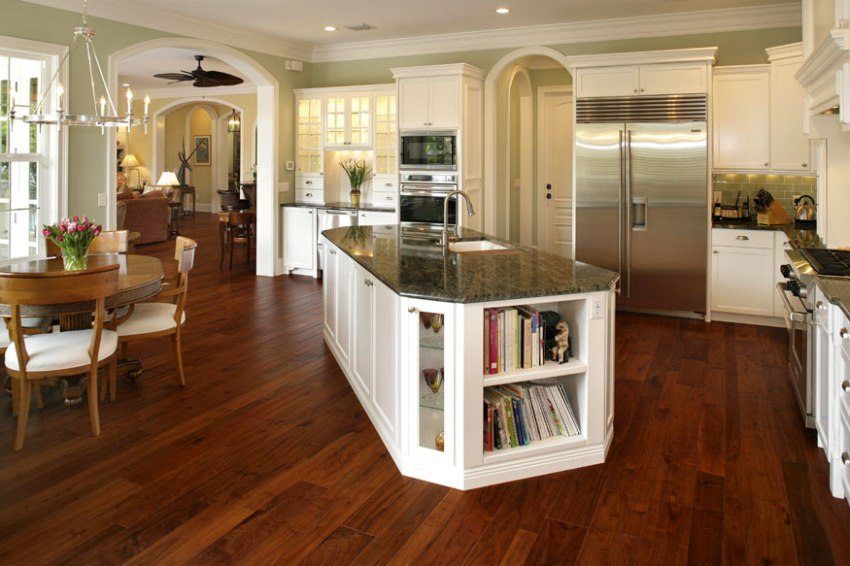
Quite often, designers use an interior option in which the living room is connected to the kitchen by a large arched opening. Its shape can be as varied as fantasy allows. Arches of non-standard shapes, combined with corner elements, are perfect for this arrangement. A large arched structure can be additionally equipped with a bar counter, which not only decorates the room, but also saves space.
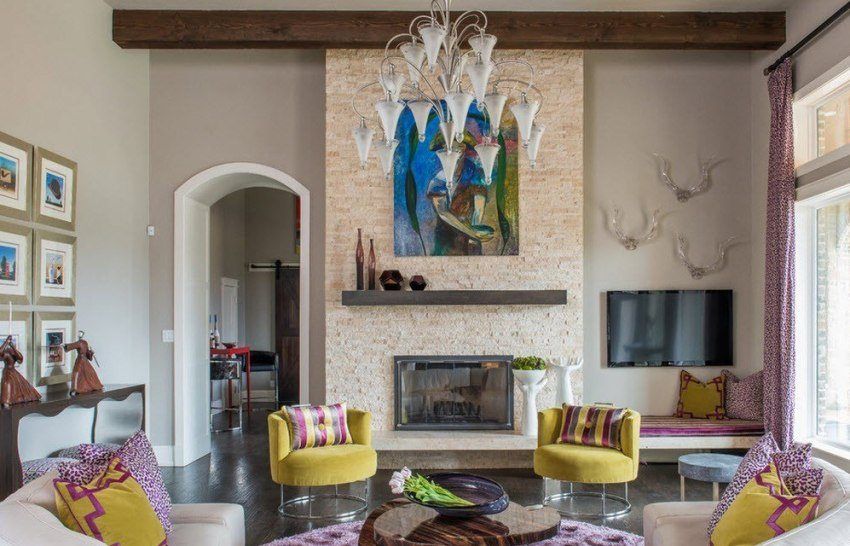
The best option for a particular room can be selected by the photo of interior design. The drywall arches presented by experienced designers and designers amaze with their originality and individuality.
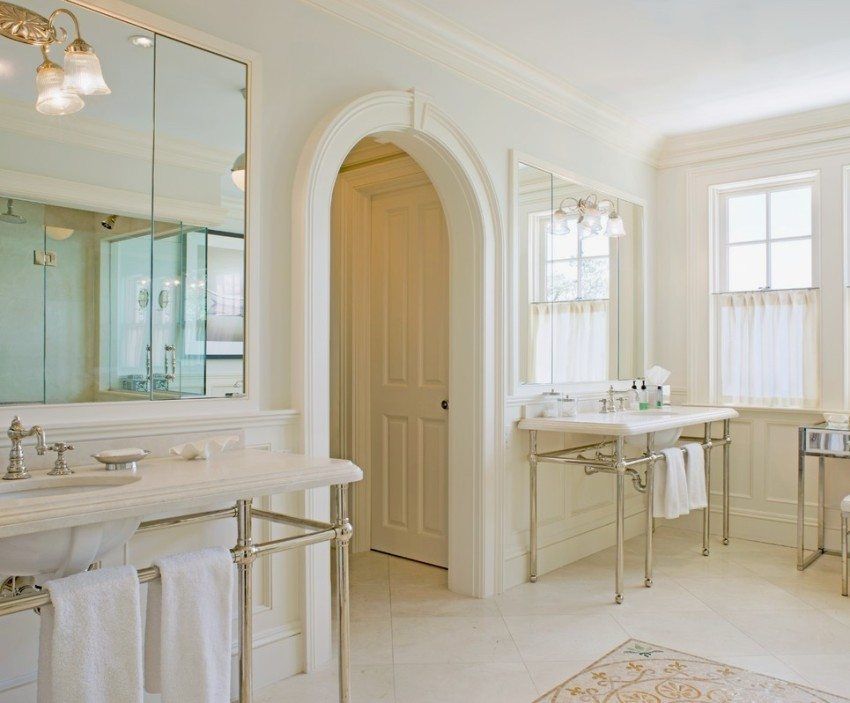
Helpful advice! Use rounded doorways – according to the ancient Chinese teachings of Feng Shui, they allow you to attract more positive energy into the house.
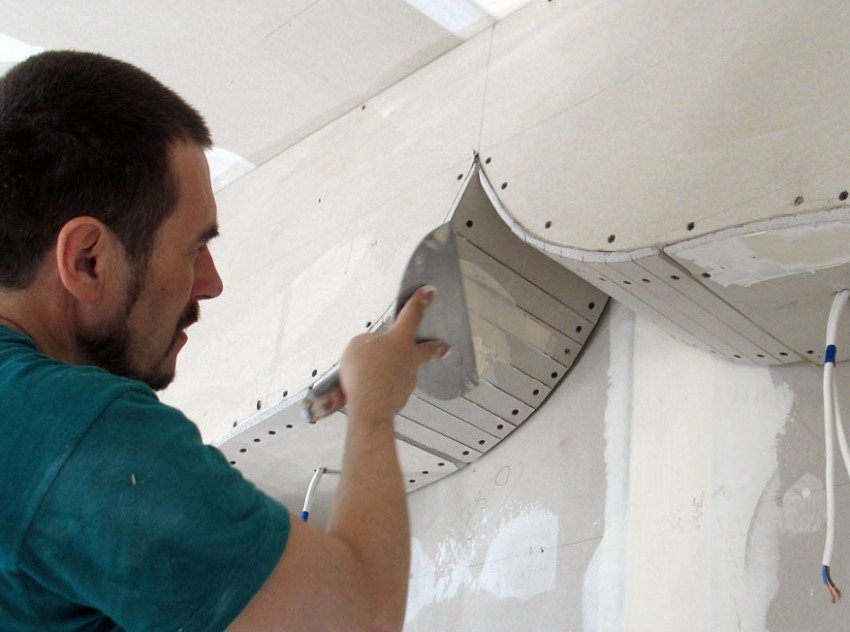
Independent installation of a semicircular structure in an interior opening is a rather interesting and financially advantageous undertaking. A simple set of tools will help without any problems to perform the arch of drywall with your own hands. Video of such works will allow to review in detail the main points, as well as get acquainted with all the fine details of this process.
For arranging the arched element between the rooms, the following materials and tools will be required:
- screwdriver or a conventional crosshead screwdriver;
- pencil and tape measure;
- construction knife, awl or needle roller;
- scissors for cutting metal;
- drill and drill diameter 3.5 mm;
- screws and expansion plugs;
- thick enough cardboard (for the pattern);
- metallic profile;
- actually drywall itself.
In order not to be mistaken with the calculations when arranging the arched vault, it is necessary to make a template, according to which the entire system will be built in the future. For the manufacture of the project, the calculation of the required arch radius and the height of the entire element is made. Runs a 1: 1 scale pattern.
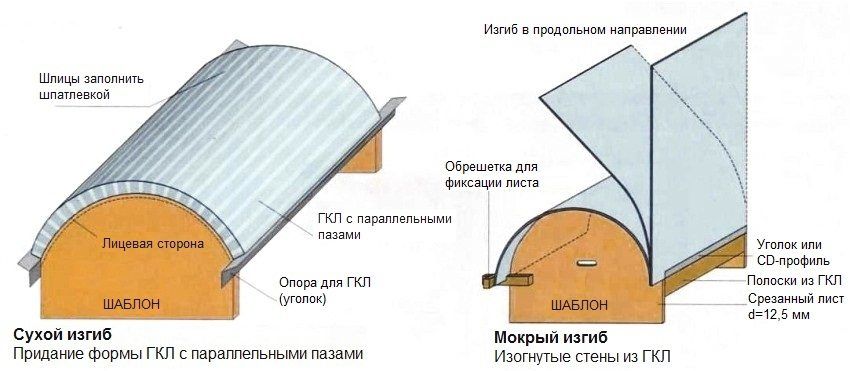
For the manufacture of a drywall frame, you will need a metal profile with a length equal to the future arch. On its walls make cuts on both sides, in order to facilitate the bending of the structure on the prepared template. Two received arches are fixed in the doorway, using expansion dowels. After that, the lateral parts of the arched opening cut out of the drywall are installed.
Helpful advice! To enhance the arch of the arch, the arcs of metal profiles are interconnected by short metal segments. This allows us to achieve greater rigidity and durability of an independently made interior element.
For the manufacture of the vault, ceiling gypsum board is usually used; it is much thinner than its wall mate and is easier to bend. A strip is cut out of it, the length of which is equal to the future construction, and with the help of awl or needle roller, multiple punctures are made over the entire surface. After that, the resulting element is moistened with water and covered with a wet towel. After 15 minutes, when the drywall is completely saturated, it is possible to form an arc on the already prepared frame.
Fastening of the arch is carried out first with adhesive tape or construction tape, and after drying – on the screws (screws). The finishing touch is the putty of the finished arch and its finishing.
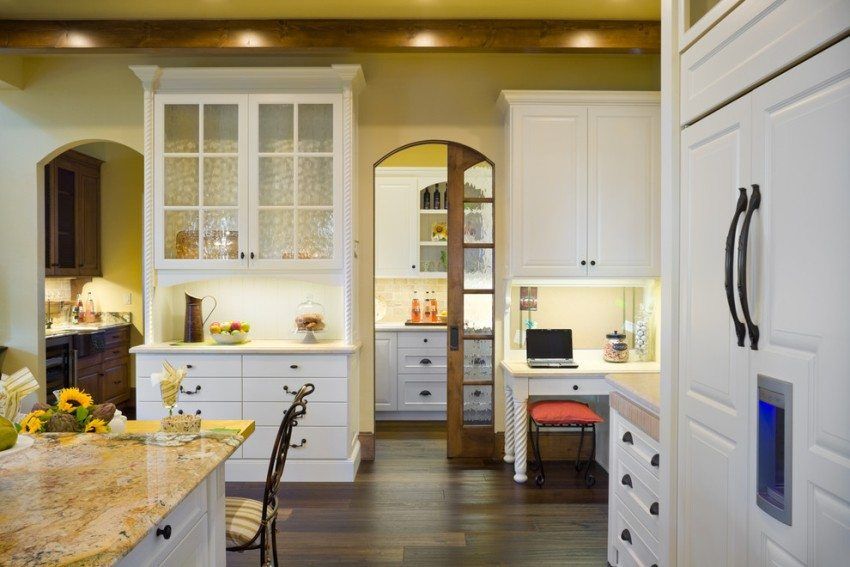
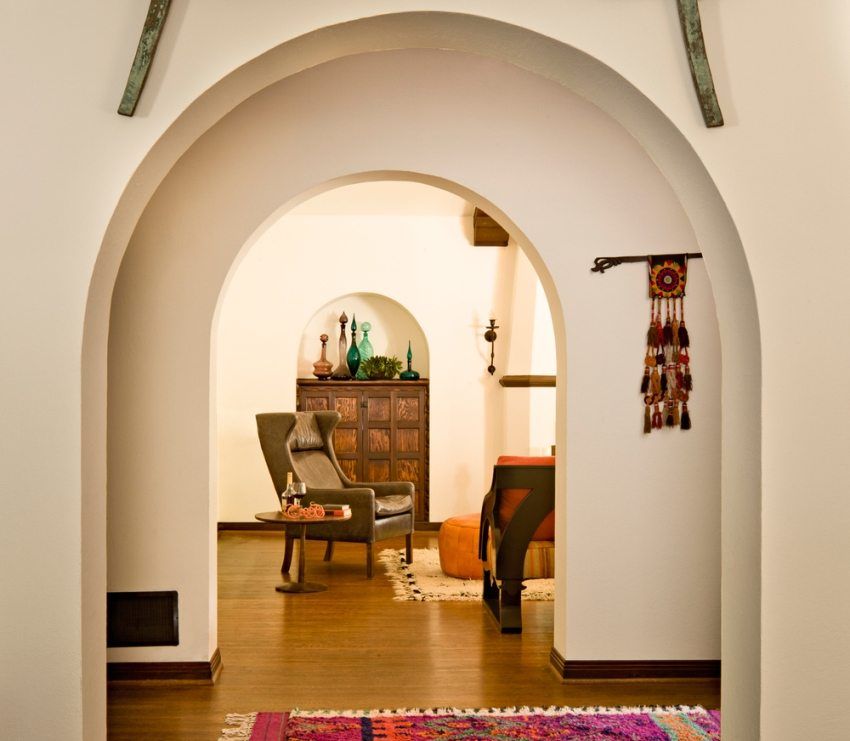
Helpful advice! The finish coating for the arched vault can be any. In the photo of the interior design, the drywall arches have different finishes: wallpaper, decorative plaster, and ordinary painting.
In addition to the aesthetic appearance of the drywall arch has many other advantages:
- quick installation;
- little weight;
- correct geometry;
- no wet work;
- the possibility of laying wires and pipes.
How quickly the installation can be viewed on the video. Arches of drywall do-it-yourselfers will help to produce experienced craftsmen involved in installing such interior elements for years. Thanks to their advice, it is possible to make an arched structure without any problems, which will give individuality to any room.
