Clinker tiles for interior walls – a versatile material that has long been known in construction. Initially, it was created for cladding facades of buildings or socles of buildings. However, most often it began to be used for finishing work indoors. With the help of clinker tiles, whole rooms, staircases, fireplaces are veneered, as well as other interior elements.
Main advantages of a brick tile
This material has many positive characteristics, allowing it to be used in virtually any environment:
- resistance to temperature extremes;
- resistance to moisture;
- environmental friendliness;
- not subject to exposure to ultraviolet radiation;
- frost resistance;
- fire resistance;
- ease of care;
- long service life.
That is, the clinker tiles can be used to decorate rooms with a wet microclimate (baths and kitchens), balconies and loggias, and other rooms with complex microclimatic conditions. Also, quite a large popularity of this material due to the possibility of its installation on almost any reason. The tile can be mounted on concrete, drywall or even metal.

All the positive qualities of this material are provided in the manufacture. For the production of clinker uses environmentally friendly natural raw materials – clay. It is mined in special careers that exist in several countries. The technology of making tiles is very similar to the technique of brick production. For this, roasting at high temperatures is used.
There are only two methods of production. The first involves the burning of the molded product after pre-drying. For the second, drying is not necessary. Thus, it is possible to obtain a finishing material with low thermal conductivity. The whole firing process takes about 2 days. The temperature regime of this stage is about 1200 degrees. Thanks to this clinker bricks are durable.
The brick tile is issued for various purposes. Depending on the finishing options there are several types:
- technical tile – used for the arrangement of roads and sidewalks;
- waterproof tile – used for lining home indoor pools, baths and saunas;
- ordinary facing – used for finishing various parts of buildings;
- special forms for complex architectural plans.

The simple facing brick tile for internal finishing of walls is presented at the market by a set of impressive decisions and color shades. The color of this material is created by natural dyes, so the tile is considered safe. It is produced most often in brown-red and white-yellow shades.
Variants of finishing the attic do-it-yourself, photo and design. How to make self-finishing and insulation of the attic space in various ways.
The surface of the tile is smooth and uneven. Slightly rough upper layer resembles a wild stone, and even – a noble brick. That is why such material is widely used in interior solutions. They can finish the floors, stairs, walls or parts thereof, as well as create unique elements of indoor decor.
When purchasing clinker tiles for interior wall finishing, it is necessary to calculate in advance the area that will be lined. About 10% of the total area should be added to the waste. Taking packaging with clinker tiles, you should carefully examine each. They should not be products that are radically different in color and texture. If the trim is not planned to be made immediately after purchase, then the tile must be protected from dust.
Clinker glue must be purchased immediately. Usually the brand of adhesive composition is recommended by the tile manufacturer. Information on the rules for dilution of formulations is usually given by the manufacturer. Retreat from these figures is not worth it, then the tile will hold much stronger.
To make the proper installation of clinker tiles for interior walls, it is necessary to take into account some subtleties. Thanks to this, even a novice tile handler can easily cope with this task. The base for the clinker should be smooth, durable, and also pre-cleaned from the old coating. On the wall to be finished, should not be left pieces of paint, lime and greasy stains. You should also check the surface of the building level.

Helpful advice! All loose pieces of plaster must be carefully removed. If necessary, you should put another layer of plaster or remove irregularities with putty.
Also, before installing the tile, you should first pre-coat the walls. This will help stabilize the surface and significantly increase the adhesion of the adhesive and base. Before laying, you should also calculate the location of the tiles, since the height of the room does not always allow you to glue a whole number of products. Cut pieces are best placed under the ceiling.

For gluing clinker tiles for interior walls, dry formulations are usually used. The purchased mixture is poured into water and mixed thoroughly. For these purposes, it is better to use a drill, putting a special mixer on it. The resulting solution is allowed to stand for about a quarter of an hour to completely dissolve all components.

The area of application of the adhesive composition to the base should not exceed 1×1 m. The adhesive characteristics of such compositions can be preserved for no more than 25-30 minutes, during this time you need to have time to paste over the prepared area.
Helpful advice! For interior walls with clinker bricks you should not use glue with enhanced fixation. Suitable elastic, moisture resistant with normal fixation.
Glue is applied to the base using a special notched trowel. The tile is pressed down tightly to the surface and well tapped with a rubber hammer before it is level. Between adjacent elements need to maintain a small gap. It can be provided with the help of crosses made of plastic.
Helpful advice! If the solution is still dried on the surface, it must be carefully removed and put a new layer.
Grouting of joints takes place approximately 24 hours after finishing. After this time, the clinker is quite firmly connected to the surface and, producing a grout, it is impossible to damage the finish coating. For such works, special trowels and tools are used. Suitable rubber spatula or grater with a rubber band. The remains of the grout from the surface of the tile clean hard abrasive sponges.
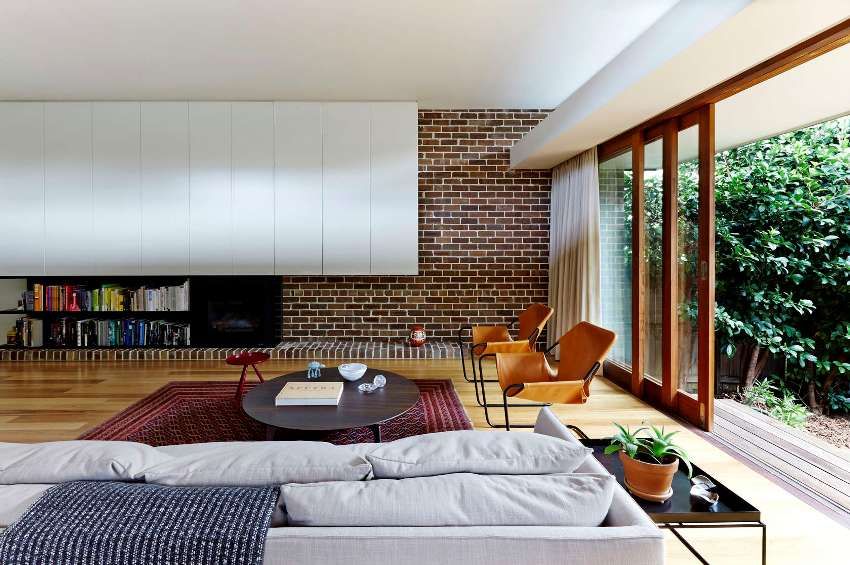
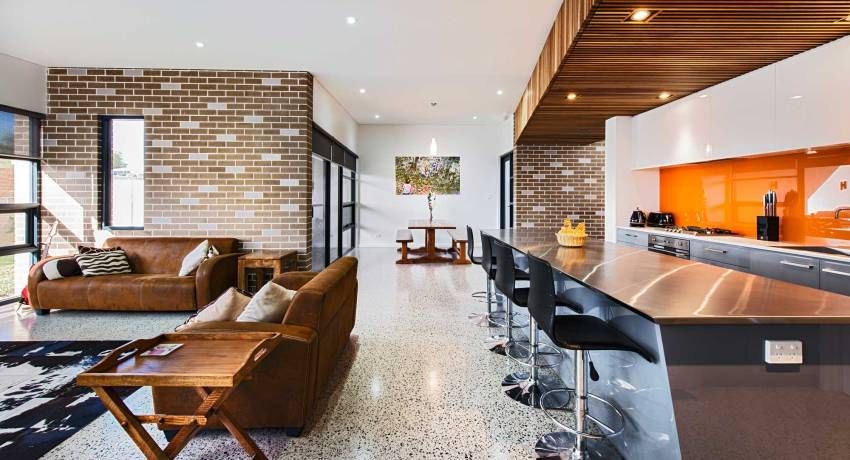
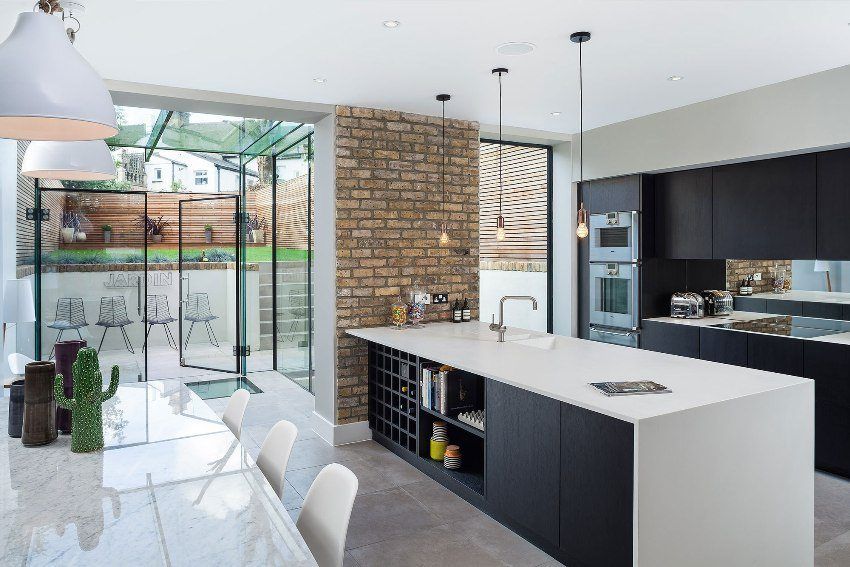
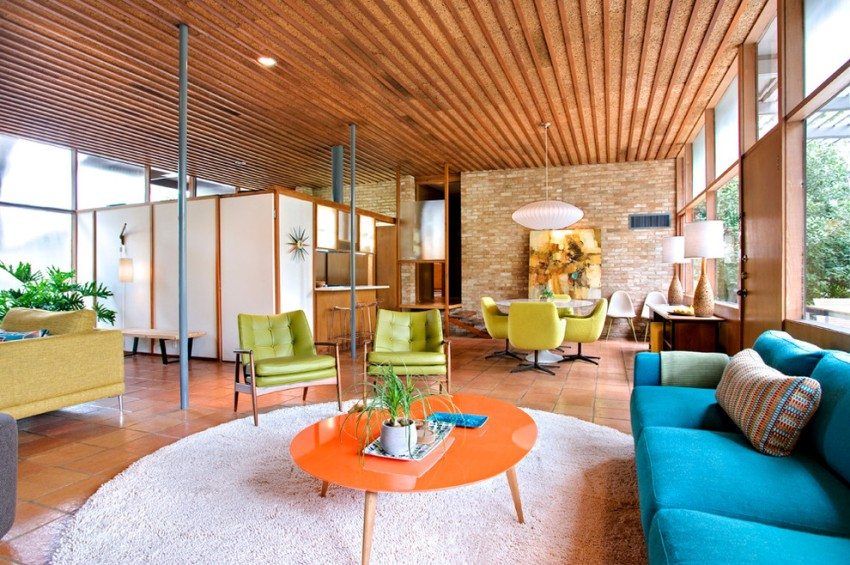
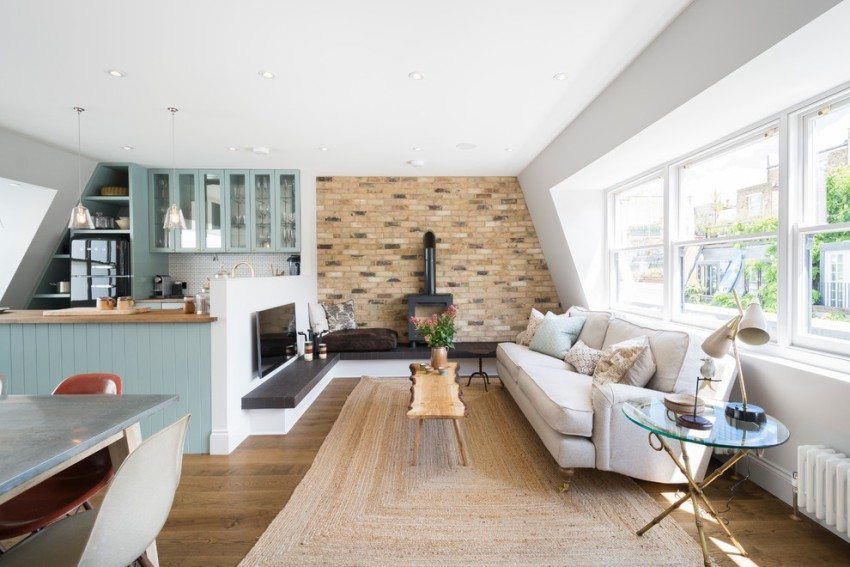
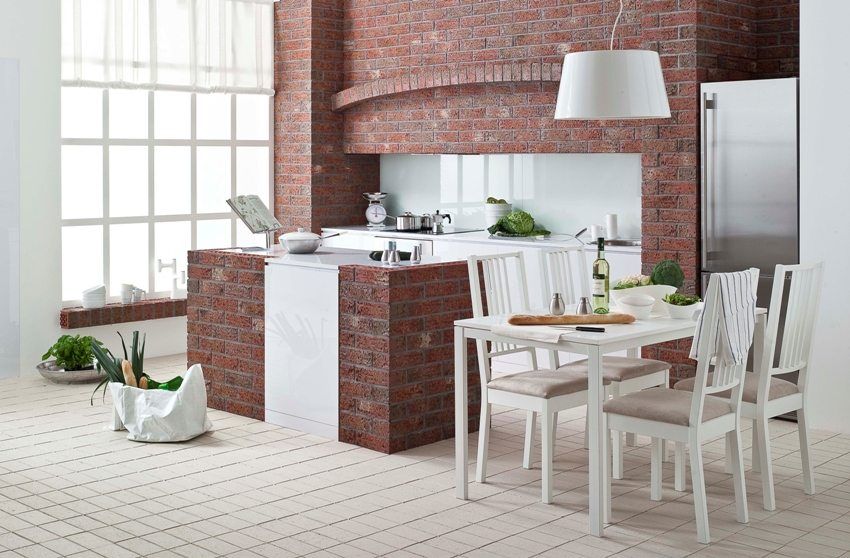
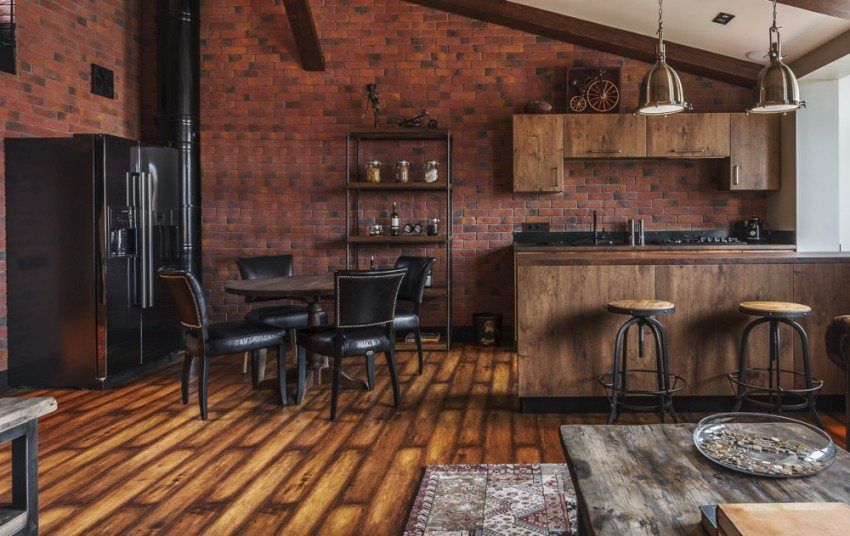
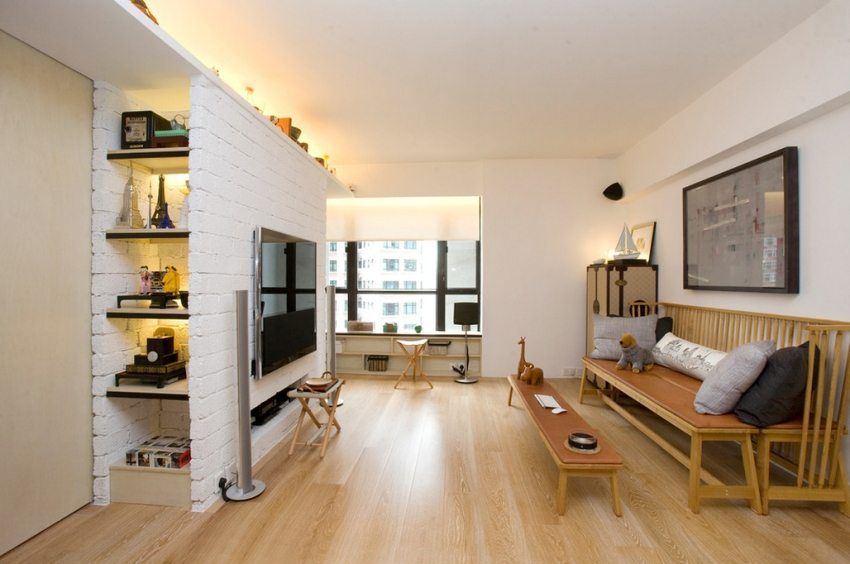
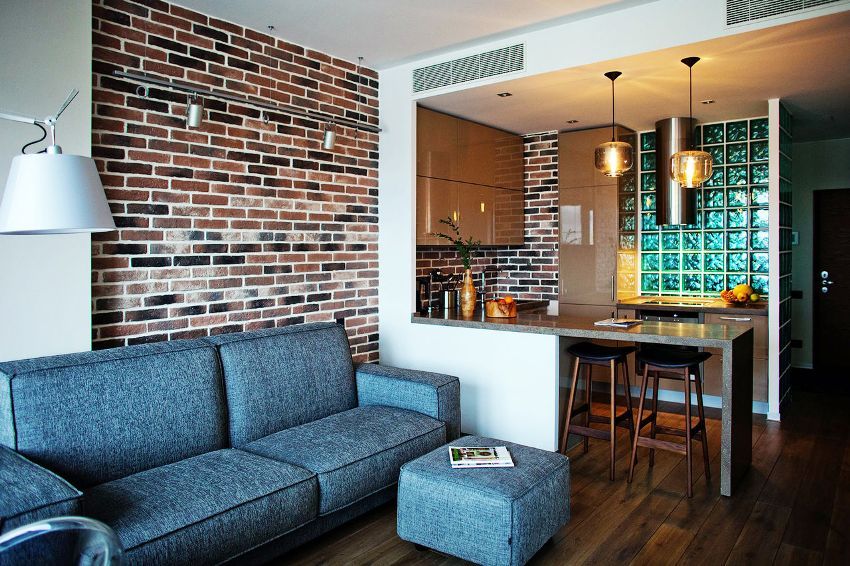
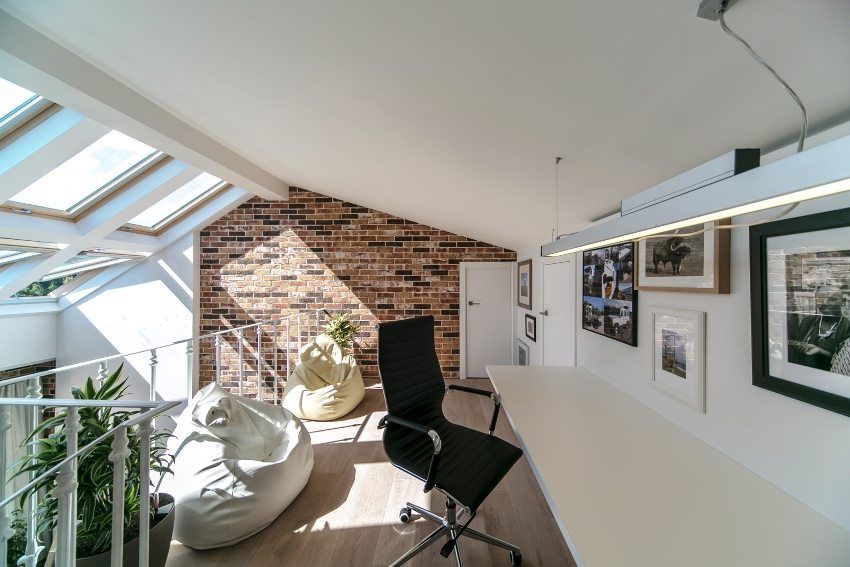
Usually, this material is used in the interior to simulate real brickwork. Such a design technique is considered the most versatile. Quite often, clinker trim fireplaces, places around the window and door openings. A large variety of colors allows you to choose the perfect shade that fits the color scheme of the room. Most often imitation of brickwork is used in such styles as high-tech, minimalism, Provence.
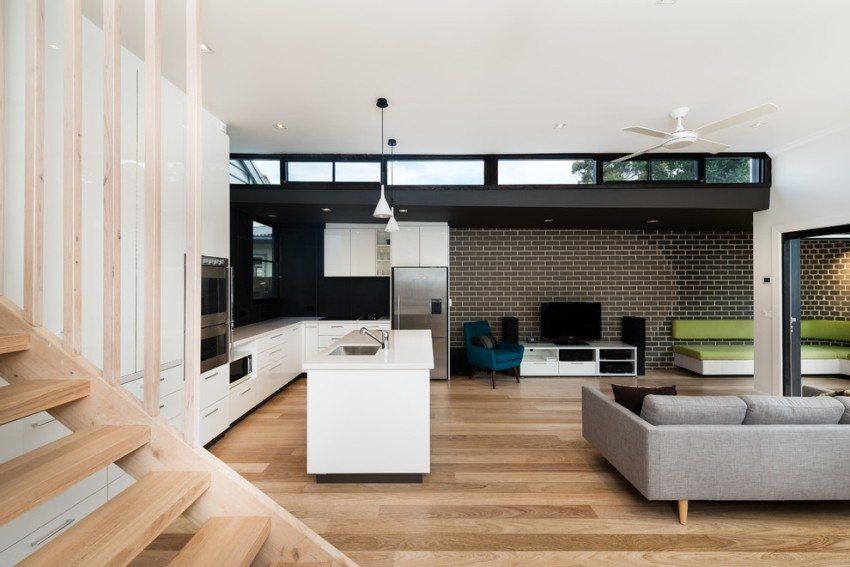
It does not matter, to finish the wall completely with clinker or any part of it, you can create an inimitable style of the room. Such elements of brick imitation will appeal to guests and all family members.
