From this article, you can learn how to make a home milling machine for wood at home to perform basic operations with blanks. The text describes a step-by-step technology for creating a tool: an analysis of the design features of the device and all the components necessary for its installation, size drawings and detailed descriptions that will help create each of these elements and put them together.
DIY milling machine for wood: the specificity of the design
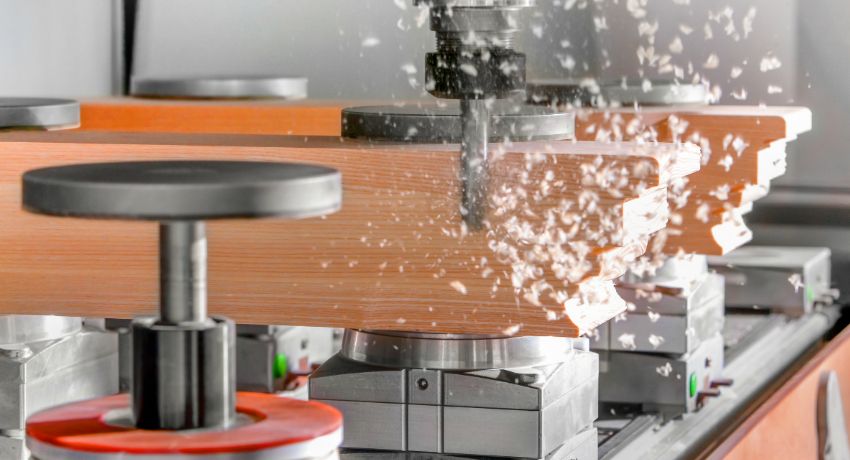
Milling machines for wood can have different purposes. Some instruments are designed to perform just one operation, others are multifunctional. Buying a professional tool is expensive, so many craftsmen resort to making their own woodworking tools. Most often such frezer is used in small furniture workshops.
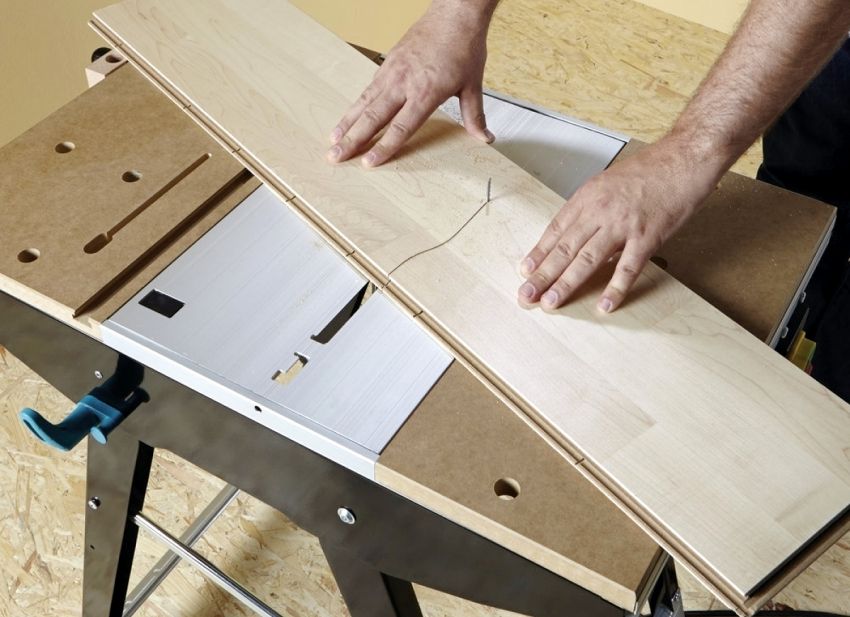
Milling machines are usually used for processing wood in a straight or curved contour. As a working element in the design serves knife head, which performs rotational motion. In most cases, this part is vertical. There are many types of milling cutters, each of which has its own design features.
The most popular types of devices:
- standard single-spindle (spindle is located vertically);
- single-spindle designs where the spindle or homemade milling table bends;
- copy milling machines with spindle having top placement;
- copying structures with a spindle having a horizontal placement (the tool is intended for processing propellers made of wood).
Note! In all of the listed designs, except the last, the material is fed manually.
The single-spindle machine design includes a horizontal table with a pair of tongue-and-groove sockets designed to fix guide rulers. It is installed on a cast iron frame. Under the table are slides, which move along the guides. They are equipped with a spindle on the thrust bearing and a pair of bearings. At the top of this element is another spindle – inserted. It is designed for mounting cutting parts.
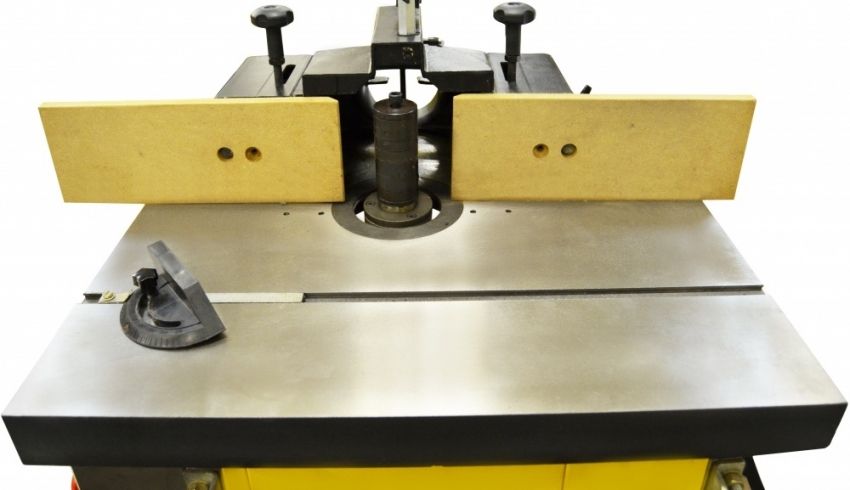
A skid with a spindle can be raised if necessary. To do this, use a bevel gear with a handwheel or screw. The belt drive allows the spindle to move. And for this can be used counter, motor or motor shaft.
To make such a wood router with your own hands, you need to take into account some of the nuances. In some cases, you can not do without additional strengthening of the spindle. Such a need arises if it is necessary to process workpieces of great height or else the part is subjected to serious loads. To do this, on the table of the machine you need to install and secure the upper stop. This element is fixed on the bracket. To control the movement of the workpiece in the process of milling, it is desirable to use a guide ring or a ruler.
Machines in which the spindle or table bends, allow you to perform a wider range of woodwork with your own hands. In addition to standard operations, such designs allow to obtain a higher quality of processing, obtaining a clean and uniform surface. This result can be achieved by treating wood at an angle using mills with a very small diameter. The device with the inclined spindle is much safer and more convenient.
These devices are used to perform copying works. It does not require high power. Such designs allow milling and drilling to create openwork products.
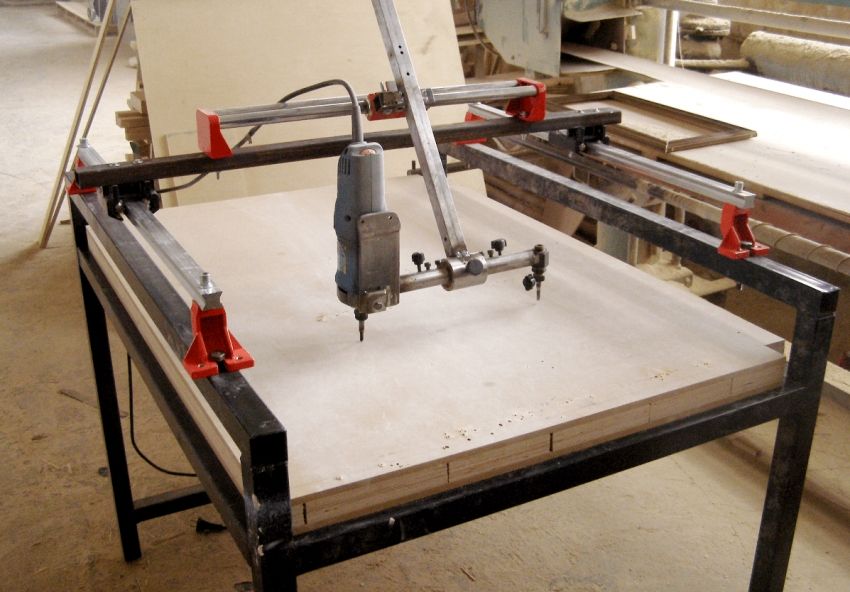
The copier can replace three tools at once:
- Fraser.
- Drilling machine.
- Jigsaw.
Wood processing is carried out using cutting mills. The spindle develops a large number of revolutions, so that the treated surface is very clean.
The self-made woodworking machine can be used for various purposes:
- calibration bosses;
- manufacturing openwork frames;
- study of the walls of the ribs, etc.
As the basis for this design used bed made of cast iron. Its upper part is curved in the shape of a sickle. This zone is used to mount an electric motor.
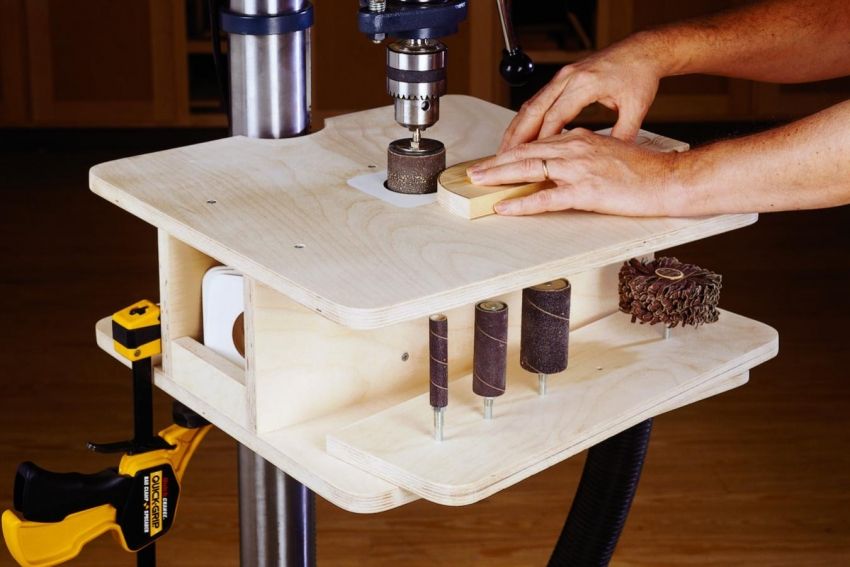
Note! The bed performs the function of a link on which all elements of the home-made milling machine for wood are installed. The stronger and more reliable its design, the better.
The engine is mounted on rails. Due to the system of levers, it can move up and down these elements. This section is set in motion by pressing the pedal, which is equipped with a special stopper. The rotor shaft of the motor is connected to the spindle where the tool holder is fixed. This cartridge can be self-centering or American.
In the lower zone of the bed mounted table on a movable bracket. Such a design can move along the guides vertically using the handwheel. There are other options for making a homemade milling machine on the tree with your own hands, the drawing of this design involves the vertical movement of the table in the process of work by pressing the pedal. In such models, the electric motor and spindle remain stationary.
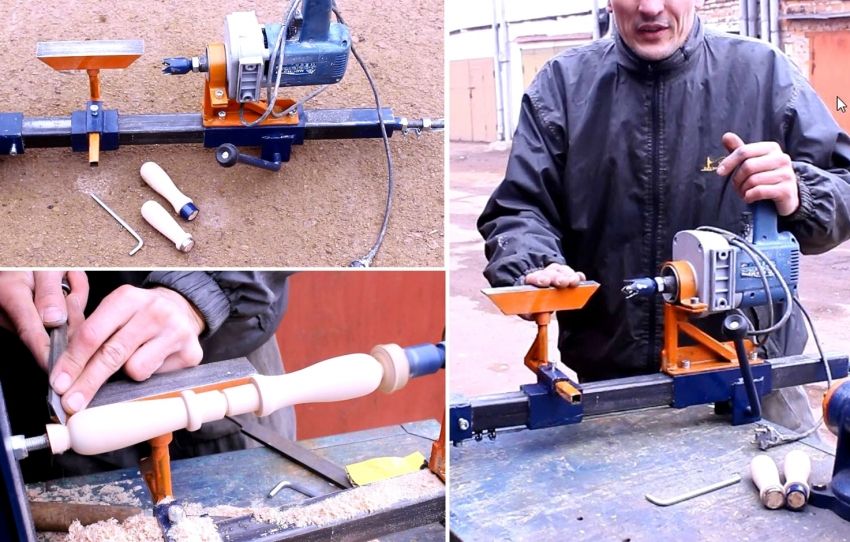
The easiest way to make a tool yourself at home is to construct a lathe or router from a drill or an electric motor taken from another tool. This process is not so complicated, so every master is able to cope with its implementation. This will require an electric motor whose power does not exceed 500 W, and the materials at hand. As a drive can be used and a drill. Of course, it will take some skills to make a lathe.
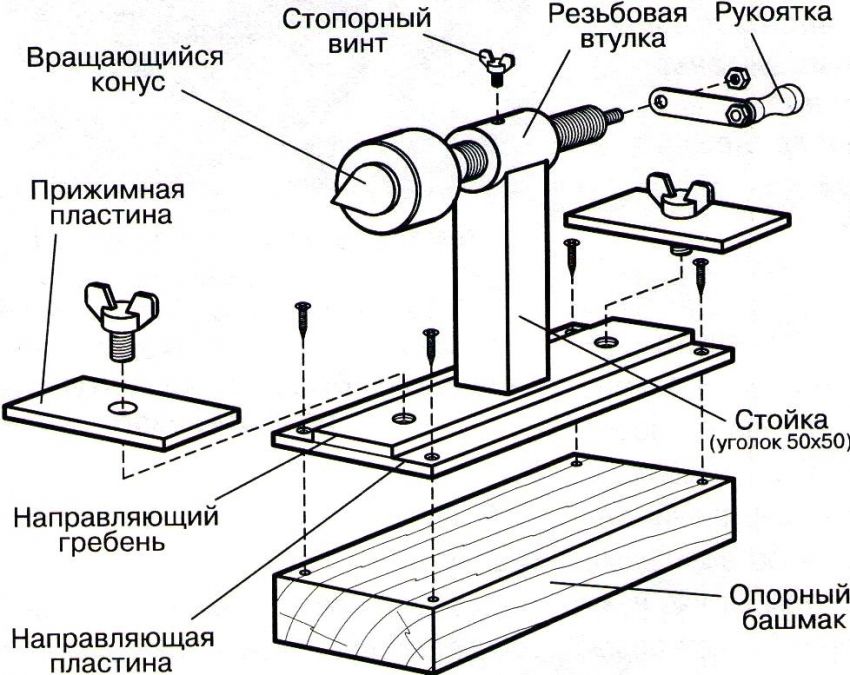
The following elements are necessary for the construction of the machine:
- metal bed;
- electric motor;
- handkerchief;
- back grandma.
It does not hurt to get a drawing that will help you navigate in size and properly manufacture all the structural elements for subsequent assembly.
First you need to prepare the motor shaft. To do this, a faceplate is installed on it, and a threaded steel center is also suitable. Installation of the second center is carried out in the tube of the tailstock. For the manufacture of the bed you will need a pair of corners of the size of 5×3 cm, their length – 15 cm. The motor is attached to the bed with the help of bolting.
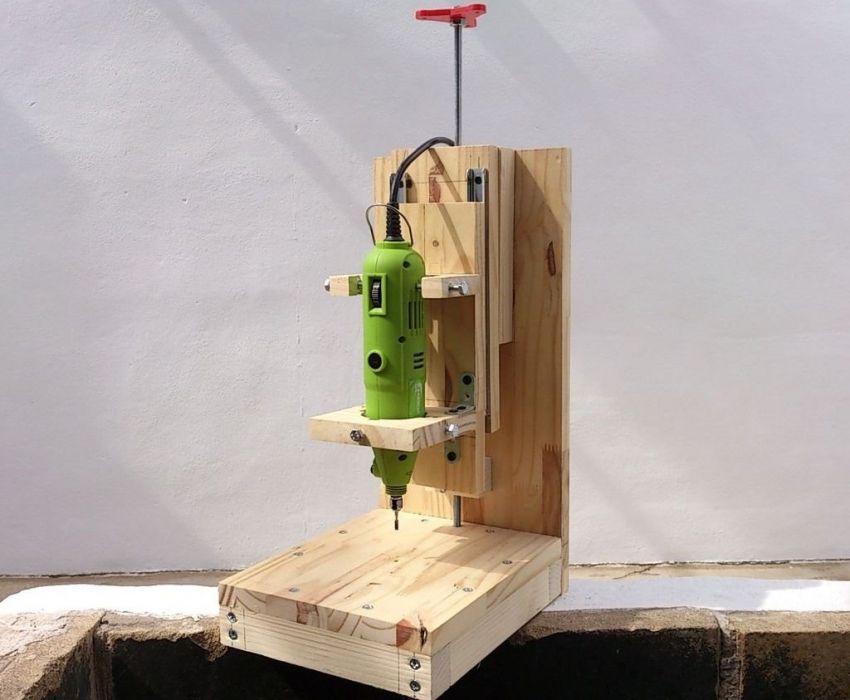
Note! The central part of the tailstock must necessarily coincide with the middle of the motor shaft.
At the next stage of manufacturing a homemade machine, the assembly is done by hand. This element is formed from a pair of horizontal and a pair of vertical corners. To it is attached a pipe designed for the spindle. In it you need to insert a bolt, whose diameter is 1.2 cm. Previously, its head is ground at a right angle. Thus, the central part of the spindle is indicated. After that, the grandmother is installed on the bed. On the upper rack, which is connected to the horizontal corners, it is necessary to fix the tube by welding.
For the manufacture of podruchnika need to take a steel rod with a chamfer. Also, this element should have a hole that will be used to secure the support ruler. It is necessary to vertically weld the tube with the locking screw to the long corner. Then the pivot stick is inserted into it.
The spindle of the headstock will use the rotor of the motor on which the faceplate is attached. It needs to make several holes. A plug will be inserted in the center. Holes on the edges are designed to fix the part with screws.
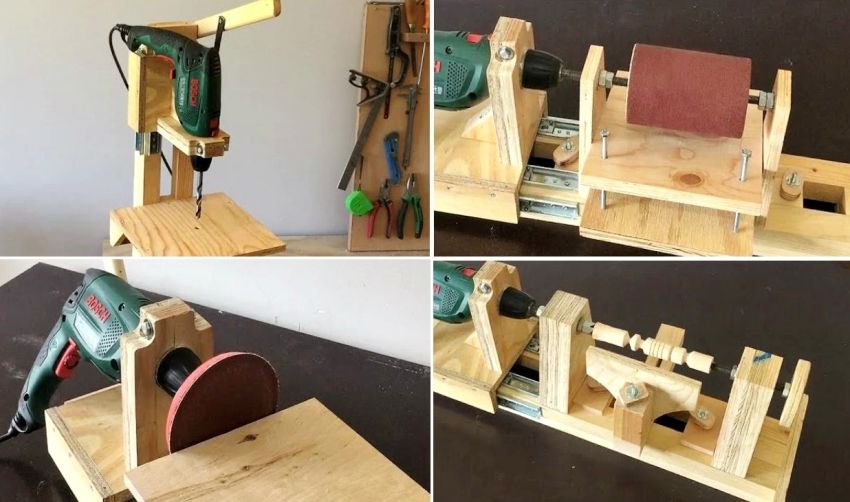
Having at hand a workbench with a solid and smooth working surface, you can build a lathe without resorting to the construction of the bed. The electric drill in this case will perform the function of a rotational drive and a headstock. According to the simplest drawing of the machine, this tool is sufficient to fix on the workbench surface through the neck. Clamps and clamps are suitable for fixing.
Next you need to make a stop, which will act as a tailstock.
This element is mounted in front of the drill. To create it, you can take two pieces of wood and an adjusting screw, sharpened at one end under the cone. If you intend to use the machine for processing massive wooden billets, it is desirable to fix the emphasis on the table with the help of clamps.
For the manufacture of tools with their own hands quite inexpensive materials. The lathe on the basis of the drill can be used to grind various parts:
- door handles;
- structural details of the stairs;
- decorative items, etc.
Note! The machine with a wooden clamp is suitable exclusively for processing wood blanks. Do not use this tool to work with metal.
To expand the functionality of the tool, its design can be supplemented with nozzles and other devices that can improve the quality of work.
These improvements include:
- winding on transformers;
- applying a coloring composition on top of a rotating part to create patterns;
- drawing spiral notches on preparation, etc.
Installing a special console in the form of a copier will allow you to use the machine to create a whole series of identical parts or products from a template.
This category of tool includes several varieties. Before you make a milling machine, you need to think in advance all the details:
- Decide on the type of construction, and what tasks the tool will perform.
- Decide on the materials to be used for the construction of each element, and methods of fixation.
- Calculate the necessary technical and operational parameters for the full operation.
- To choose for a hand-made CNC milling machine for wood drawings with the dimensions of all parts.
To work with complex elements will require a milling cutter with a high level of power and a large number of revolutions. Experts recommend to give preference to devices with manual spindle adjustment and automatic stabilization. Such functions as quick stop and smooth start will be useful. In ideal designs, the replacement of the electric motor brushes does not require disassembly of the tool body.
| Machine name | Table length, mm | price, rub. |
| LTT-K0609 (LTT-K6090A) | 900 | 228970 |
| WoodTec MH-6090 | 246780 | |
| LTT-P6090 | 329120 | |
| RJ 1212 | 1300 | 317,000 |
| WoodTec MH-1212 | 347350 | |
| RUIJIE RJ 1200 | 399200 | |
| WoodTec MH 1325 | 2500 | 496350 |
| WoodTec MH-1625 | 540115 | |
| WoodTec VH-1625 | 669275 | |
| RJ 2040 | 3000 | 1056750 |
| WoodTec VH-2030 | 1020935 | |
| WoodTec VH-2040 | 1136,000 |
Building a machine with software is a rather complicated process, which requires certain skills and knowledge. This work cannot be done without a suitable drawing and the necessary details. Elements such as cable loops, stepper motors and microprocessor boards can be removed from obsolete equipment or purchased online. Many online stores offer ready-made kits for assembling milling machines for home workshops.
