The bar counter has long lost its narrow original purpose and is widely used not only in catering establishments, but also in residential premises. Thanks to this piece of furniture, the interior of a house or apartment will acquire an exclusive and stylish look. This article will tell how the bar counter will help you to zone and divide the space with your own hands, and step-by-step instructions will enable you to create the desired model yourself.
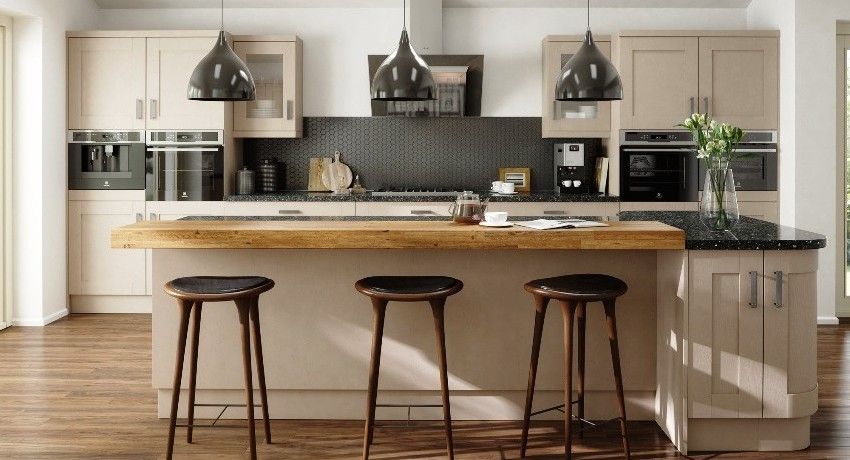
Types and functions of bar counters in the kitchen: photos of various designs
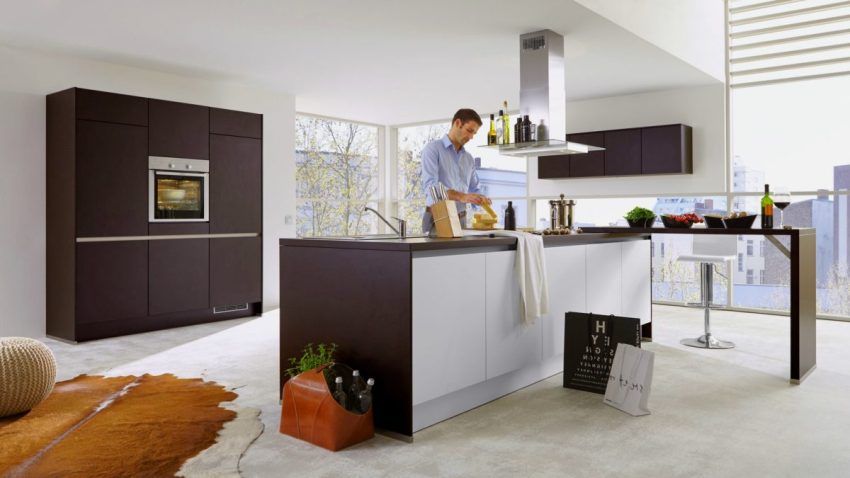
In spacious rooms, in particular studio apartments, the use of the bar counter can be of direct use — to be used as a home mini-bar. To this end, the structure is equipped with special holders and accessories, where glass appliances and beverage bottles are stored. Such a design can be a component of a kitchen set or an independent structure.
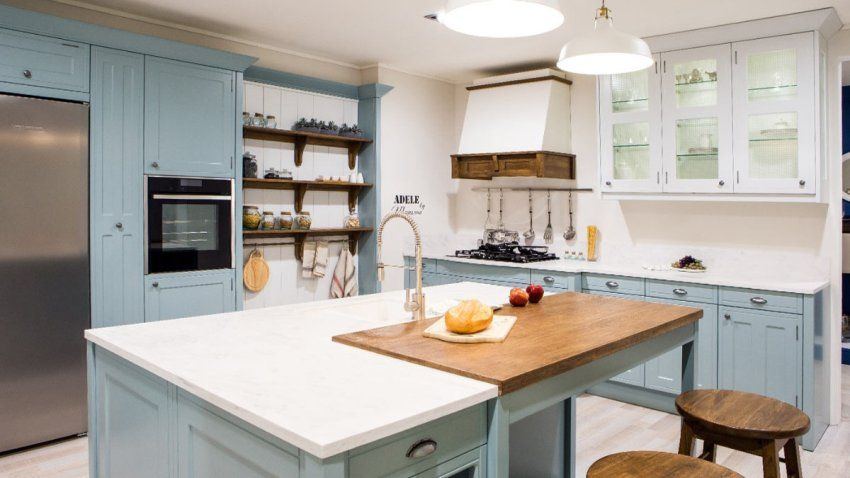
In small apartments, the kitchen bar counter performs several functions at once. It serves to separate the kitchen from the dining or living area, and in parallel it plays the role of a dining table. The most common option in small rooms is a stand in the form of a small ledge or a structure located along the wall. Photos of bar counters for a small kitchen clearly demonstrate such examples.
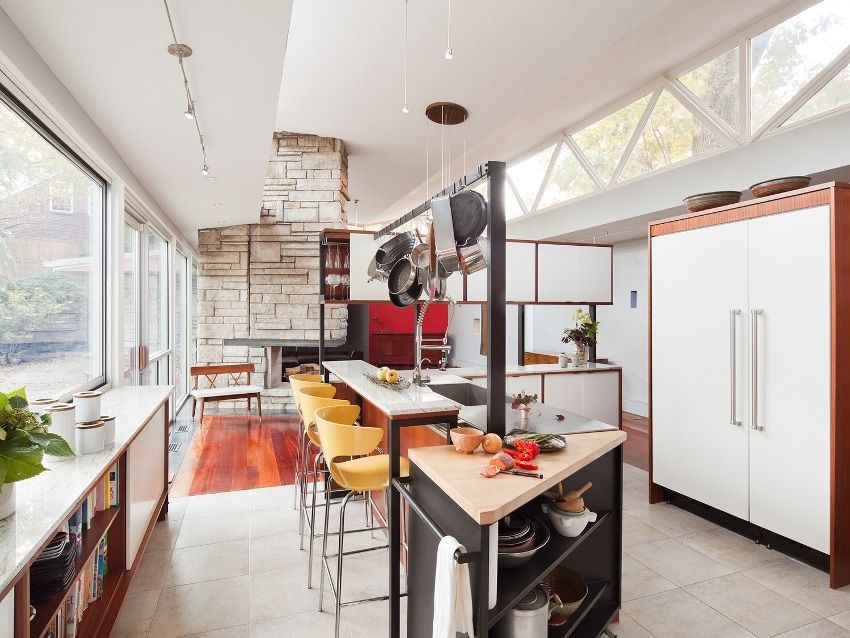
Bar counters in the form of a serving peninsula are acceptable in medium-sized kitchens. The space below is used as a cabinet, where they place a mini-bar or a variety of kitchen items. In such constructions, chrome-plated pipe pieces attached to the cabinet lid serve as a support for the worktops.
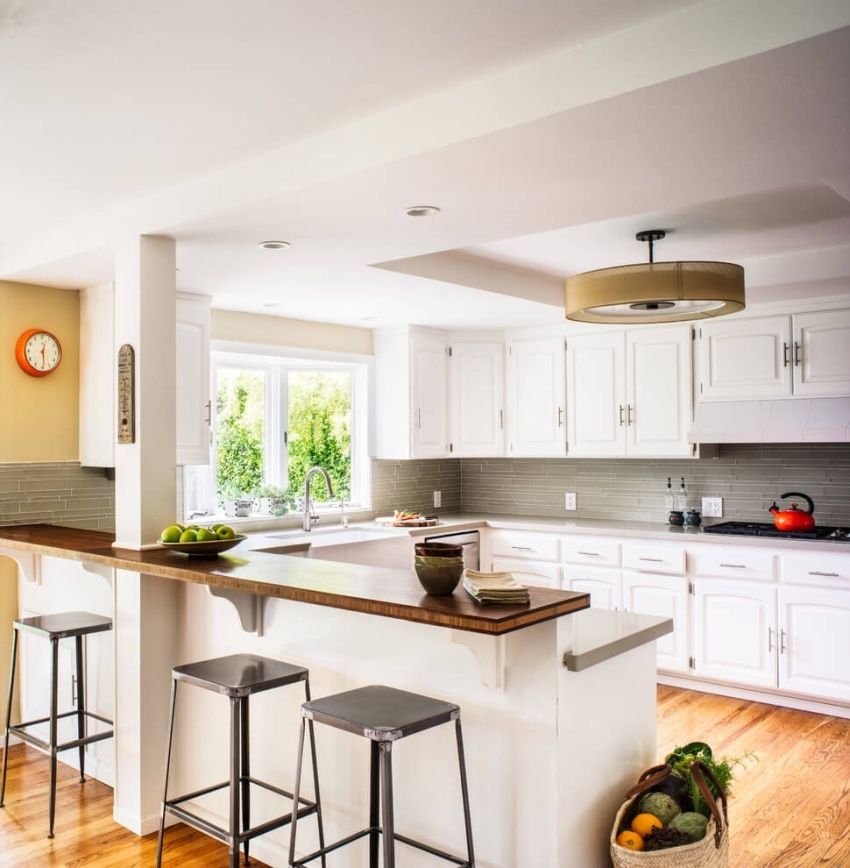
Popular multi-level bar counters at home, which are multifunctional. One side of them is used as a work surface, and the opposite – as a place for snacking and receiving drinks.
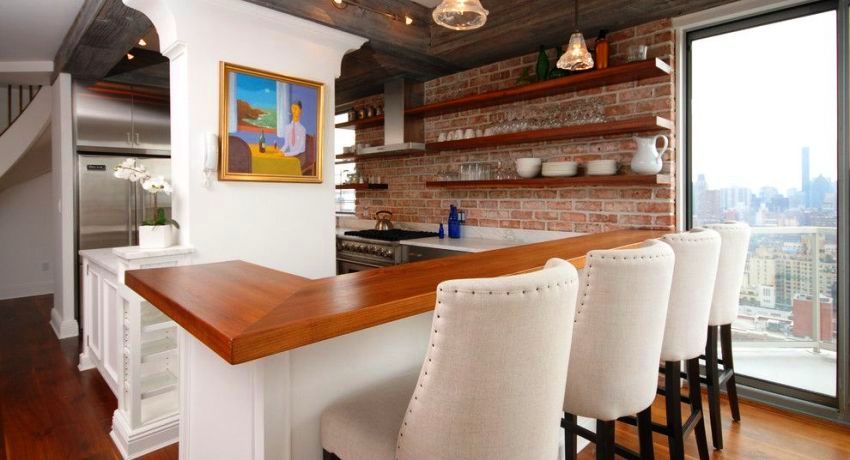
Bar counters are especially common in studio apartments, where they serve as a distinction between different zones: they separate parts of a room according to their functional purpose. Often, these designs are a continuation of the kitchen.
Important! When choosing a bar counter model, you need to consider that it must be functional and easy to use by all family members. The design is not created for one year, so it should please the eye.
Home bar counter can have the most unusual shape, non-standard sizes. The design is quite realistic to build their own hands, using the most unexpected objects. This is its advantage. At the same time, in order to make the bar counter yourself, you need to know the tacit classification of models, which includes three main types.
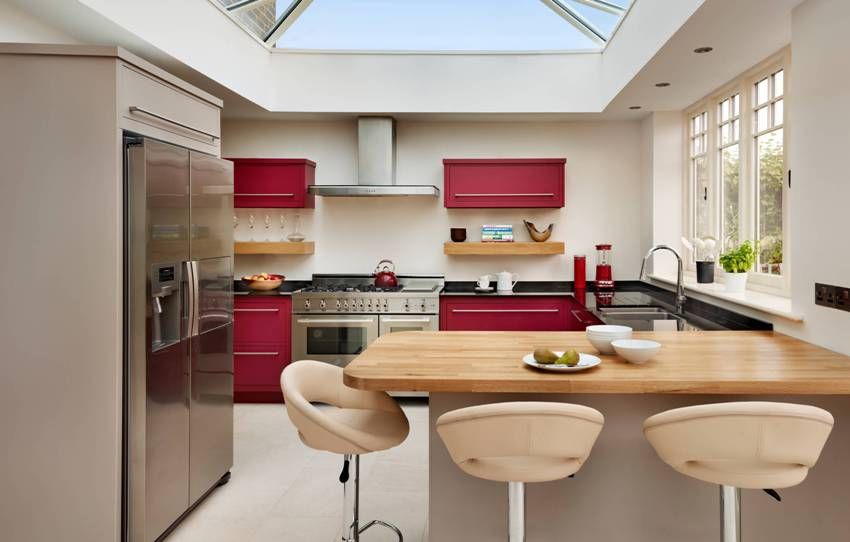
Stationary bar counter. One of the most popular bar counter options for a small kitchen. The maximum height of such a model in a mini format is 120 cm.
Combined with a dining table, the design also serves as the best example of a bar counter in a small kitchen. The table top of this product has a height of up to 90 cm.
A two-tier model is a two-part construction. One is a high bar counter, the other is a dining table. Similar bar counters in the studio serve as an excellent option in zoning, where the lower part is located in the kitchen zone, and high in the living room.
Photos of bar counters in the apartment clearly demonstrate the many ways to implement them. It is enough to pick up an idea for certain conditions and space, create a drawing and start its implementation.
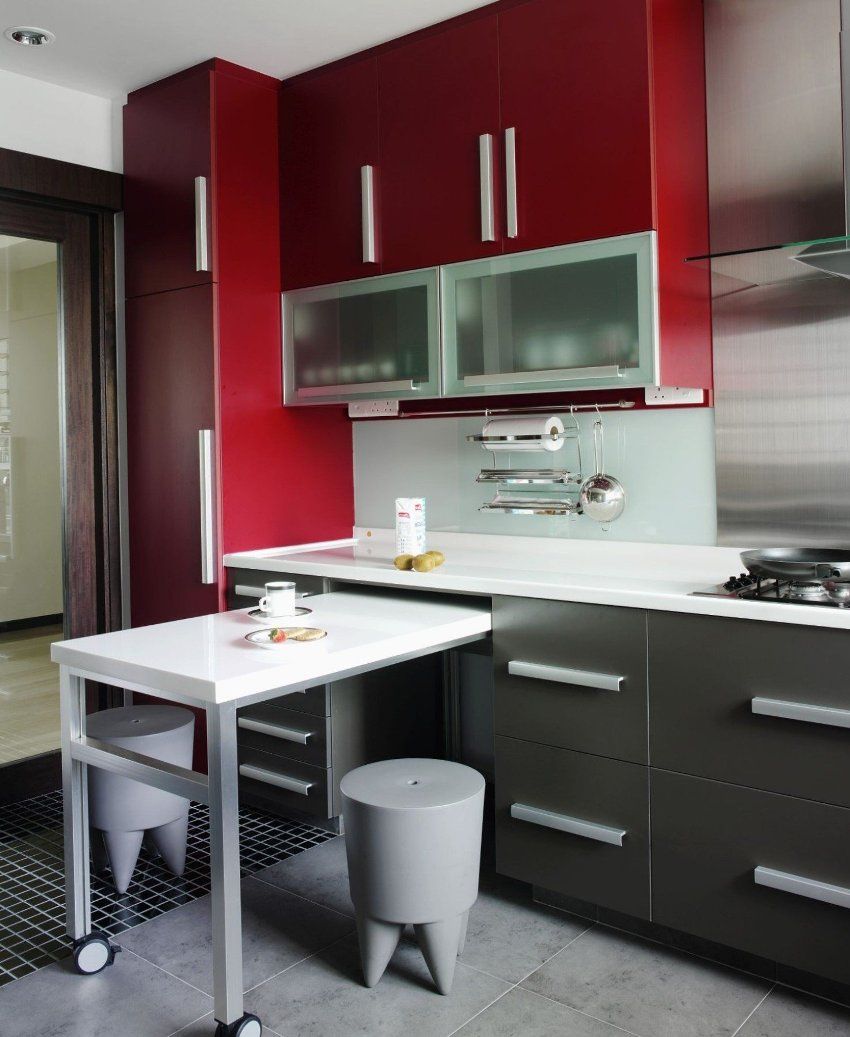
The ideal way to optimize the space in a small kitchen is a bar-transformer. There are several options for folding structures, which are distinguished by the principle of assembly. The most common – folding, retractable, swivel and folding.
The pull-out rack is a pull-out mechanism that hides under the work area. It can be a tabletop on a retractable leg or a drawer where drinks, glasses and other kitchen utensils are stored. The movement of the structure provides a roller mechanism or simple wheels.
Folding counter is considered to be the most convenient option for a small kitchen. An additional plus is ease of manufacture. The table top is fixed to the wall on a special bracket, with its help the stand is raised and lowered, if necessary.
Folding stand in the idle state is a small bedside table. It is convenient to have breakfast or a snack for her. For lunch, it is doubled by raising the lower part with support on the legs or fixation on a special folding mechanism.
Helpful advice! The most affordable way to self-build a folding bar counter is to attach a small tabletop to the wall with curtains. In the same way, a wooden leg is attached to the opposite side. The design is based on the booklet principle (leg – table top – wall).
The swivel stand is designed so that part of the surface hides freely under the tabletop and, if necessary, easily turns into a dining table. The design is very convenient to use and saves space. At the same time, to make it at home will require certain skills, tools and equipment.
How to make the bar yourself, prompted by step by step instructions. This process is not chaotic, but involves certain steps:
- selection of a suitable model, planning;
- taking measurements, determining future dimensions;
- the creation of drawings of the bar;
- selection of tools, equipment and materials;
- the creation of the framework and frame;
- fixing the base to the floor, wall or fixed furniture;
- making the tabletop, its fasteners on the base;
- addition of additional elements (if necessary);
- coating the base with varnish, paint or pasting;
- decorating decoration or additional elements.
This is a typical instruction that is used to create any furniture with their own hands. Below we consider each of the stages. It should be noted that each individual option may have additional steps to create bar counters in the apartment or to exclude those listed.
Choosing a model is one of the simplest, but at the same time crucial steps. After all, a somewhat costly, time-consuming process depends on the desires and the proposed design variant.
In the selection of sizes and dimensions there are no strict standards. But there are certain recommendations, the violation of which adversely affects the final result.
Helpful advice! The width of the tabletop should not be less than 30 cm: even a portion plate will not fit on such a surface, so the dishes will be in danger of being broken. Sitting at such a stand is also uncomfortable, since there is practically no place to place your hands.
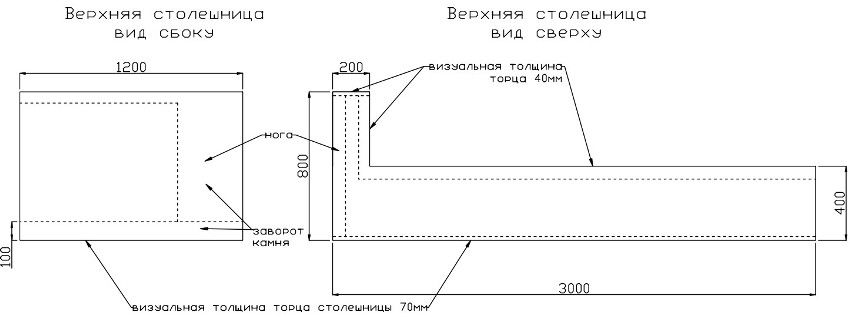
The recommended rack height is 110-120 cm. The minimum width of the tabletop is 30 cm, the optimal size is 50-60 cm. It is necessary to foresee the length, number and shape of the legs. Here the regulation in size does not exist. Traditional bar counters in the kitchen provide for the installation of worktops on the pedestals, but simple designs are more popular, in which worktops are attached to a long pipe located from floor to ceiling.
In the traditional form, the rack is almost never used. Owners increasingly prefer functional counterparts with extra lockers and bedside tables.
Having decided on the model and taking the necessary measurements, the proposed design should be displayed on paper. The drawing should also include the layout of the room (kitchen or living room) where the bar counter will be located. Meeting these requirements will allow you to correctly calculate the size of the furniture. In addition, the drawing will demonstrate how organically the stand fits into the overall interior.
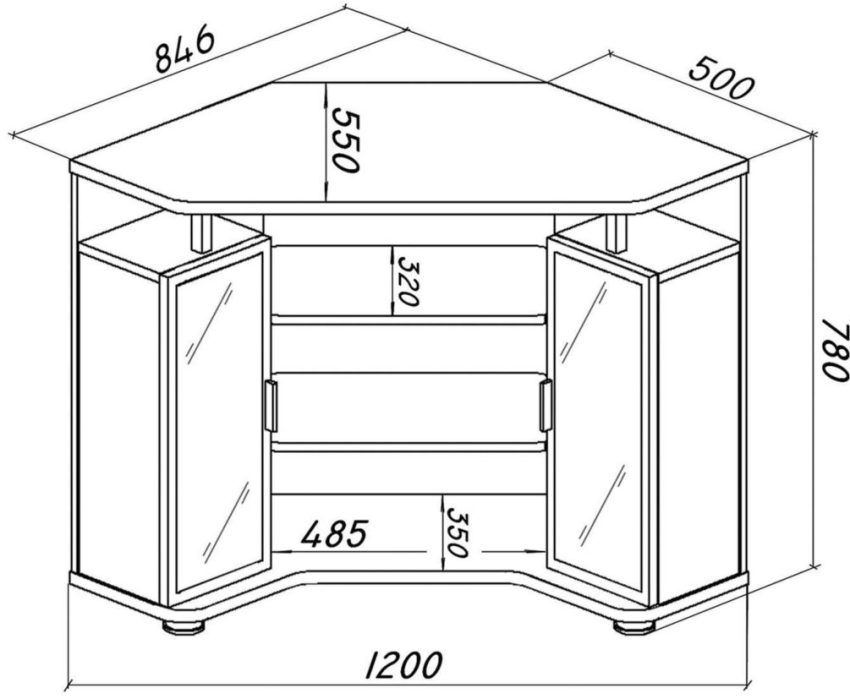
To simulate the bar design, you can use special design programs. Most of them are freely available on the Internet. The most popular are: PRO100, Sweet Home 3D, pCon.planner, IKEA home planner, Astron design, Google Sketchup, Floorplan 3D, Home plan pro, Arcon project, Autodesk 3ds Max, etc.
The frame of the table is assembled from water pipes that are connected by connectors. Wooden shelves are attached to the pipes with screws or perforated steel tape. In order to make a place for hanging glasses in the upper part of the table, it is enough to cut round holes with grooves. The mobility of the table is provided by the wheels, which are easily attached to the pipe base. In order for nothing to fall during the journey, it is necessary that the surface of the shelves be non-slip. It would be advisable to install additional sides and partitions.
The bar counter is a comfortable, modern and functional piece of furniture in the kitchen or living room. With its help, you can successfully add, and in case of saving space – to replace the dining area. Using the recommendations given in the article, designs of various shapes can be easily made independently. The main conditions for successful work are the correctly selected model and materials, layout layout and consistency in manufacturing.
