When viewing A photo of the finishing of the bath inside, it is not always possible to understand the sequence of repair actions. Therefore it is worthwhile to elaborate on the main points.
")
Materials for finishing baths
The main step in the arrangement of the bath is the choice of material for decoration, which should have a number of advantages:
- resistance to hot air and moisture;
- hygiene;
- the absence of toxins released during the heat;
- strength and durability;
- excellent appearance;
- nice texture.
")
The best option for interior decoration is lining. It has excellent healing properties, the material is safe, has aesthetic advantages. As a raw material for it, the best is cedar and linden, and larch is perfect as well. But the pine clapboard should be used only for the design of the waiting room. The combination of various wood will allow to bring a certain highlight in an interior of rooms of a bath.
")
Helpful advice! To get a high-quality and original finish, it is undesirable to use the same wood in different rooms.
Traditionally, in a modern bath, finishing inside, the photo of which was liked, is started from the floor. For a steam room, it is more advisable to slightly raise it. It is desirable to do this in order to protect the room from unnecessary drafts, providing better heat saving. The flooring is done with tiles, although it is suitable and cut, as well as a rabbeted board.
")
The temperature on the floor surface is never above 30 ° C, so the draft level can be concrete, earthen or clay. The main rule is to organize the fastest possible removal of water from a room. In order to ensure the safety of movement, it is required to cover such a rough floor with a covering made of cork, it is possible with a fibrous mat, boardwalk. Also perfect tile or a polished board.
Ventilation in the bath with his own hands: how to do it right. Why do we need ventilation in the bath, how to make the ventilation in the bath independently, the principles of the device, schemes, instructions, photos, video materials.
The process of arranging the floor with wood is quite simple. First lags are laid, then the boards are laid. The lags are placed on brick posts, which are located on a rough base.
")
The selected lag size varies from 20X20 to 25X25 cm with an installation step of an approximate meter, since the floor will not experience significant loads. For a floor covering use a cut, better grooved board. The wood used should have a thickness of about 30 cm. All material should be treated in advance with an antiseptic substance that will protect against the growth of fungi and the spread of mold.
")
If a tile is selected for the floor, the installation process is as follows. Pre-made screed floor, and the surface should be perfectly smooth. Fix tile to a special glue. To treat the seams, apply a moisture-resistant grout that allows you to protect the material from mold.
")
Subsequently, it is necessary to lay low shields or wooden grids on such a floor, which then, after each bath procedure, will have to be brought out to dry. This is done to prevent the possibility of slipping on a wet surface.
Helpful advice! The floor in the bath is necessarily done with a slight incline, then the water will drain well on it, and not stagnate.
The popularity of the wall paneling is explained by the fact that it solves two problems at the same time – wall decoration and room insulation.
")
This material is made of wood, it is an ideal cladding panel. The clapboard walls look nice. In addition, visually, the boards align any surface. This is the best way to design the walls, because it provides excellent ventilation of all other building materials. The wall paneling allows the walls to “breathe” freely, it prevents the appearance of condensation, and therefore, mold.
The most optimal is the lime board. The technology of finishing this material is simple. Initially, the clapboard is brought into the steam room, where the material adapts to the microclimate of the room. If the walls have drops, they are aligned with slats.
")
Joints and slots carefully caulk. Work begins by mounting the crate, made of rails. They are attached to the walls at a distance of half a meter. Initially, the most extreme bars are nailed to fix the thread on them, which will serve as a guideline for securing the remaining rails.
Although in the presence of a smooth surface of the walls, the crate can not be mounted. In this situation, the cladding material is fixed directly to the walls. However, this option of interior wood decoration will be strong, beautiful and durable, only when the walls are ideally flat.
")
After completing the preparatory stage, proceed to the process of finishing the bath inside – the photo will help orient in the sequence of actions. It is necessary to choose suitable fasteners made of materials that are not dangerous exposure to moisture and high temperature. Immediately forget about the traditional nails, as they quickly corrode, the walls will deteriorate with rust stains. And when the temperature rises in the steam room, touching the nails is dangerous – they can burn the skin.
The clapboard is cut immediately in size, focusing on the height of the bath, then attached to the pre-prepared grid (or directly to the walls) with special brackets. If necessary, the width of the lining can be slightly trimmed in the corner joints.
")
For the finishing of the steam room, high-quality wood should be used that can withstand high temperatures and high humidity.
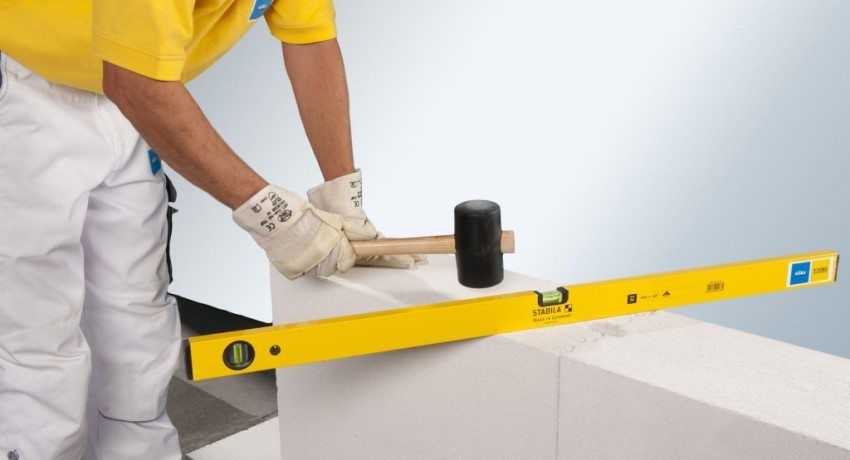
All actions must be performed using a level to obtain a perfectly flat structure. After making the frame it is covered with an antiseptic. It is also necessary to process the wall paneling, but even before its installation on the frame. Laying material begins from the corner. As clamps used nails, staples and cleats. The material that was used to finish the surface of the walls, it is quite possible to apply for the ceiling.
")
It is necessary to understand that the maximum temperature is kept under the ceiling, which is why it is necessary to choose lining for this surface from the rocks in which there is a small amount of resin, otherwise their drops can burn the skin when it falls. Finishing of the place where the stove will stand should be made of non-combustible materials – tiles, bricks.
Helpful advice! For the steam room is not recommended to choose spruce or pine. It is better to beat the material with this material.
")
The interior of the bath also implies a solution to the issue of insulation of the room. Sometimes experts recommend the use of mineral insulation. It fits under the crate, but in this matter everything will depend on the type of structural walls. In the event that the bath is made of stone or concrete blocks, it is better to do without insulation, otherwise after you have to solve the problem with poor ventilation.
")
In addition, it is necessary to perform proper waterproofing of surfaces. Good waterproofing will protect the material of all supporting structures. The most common material is aluminum foil, as well as a vapor barrier film, as its more modern counterpart.
When finishing the bath from the inside is completed, it will remain to be equipped with furniture and proceed to the water procedures. Easy couple!