Wood has been and remains a popular material in construction. Owners of private houses use wood for the construction of gazebos, sheds, summer kitchens and other structures. The environmental friendliness of this material, excellent processing flexibility and a long service life make it easy to build a wooden fence with your own hands. The forms of modern wooden fences have a decent appearance and perfectly complement the exterior of the household.
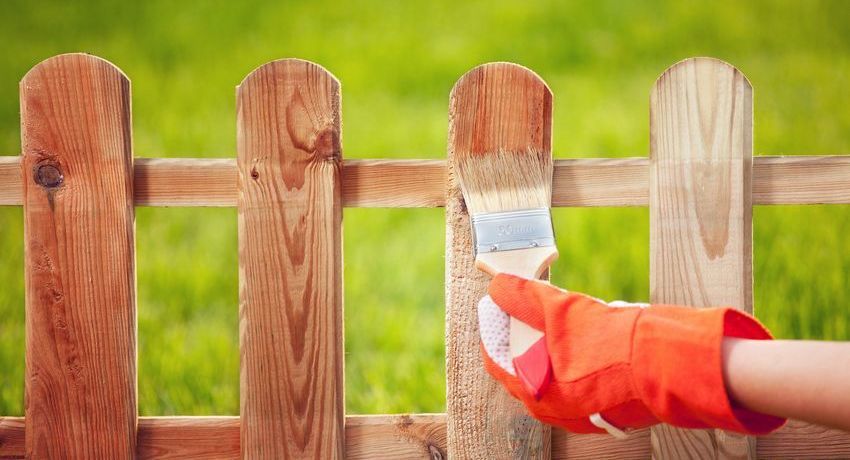
Fences made of wood with their own hands. Photos of current options
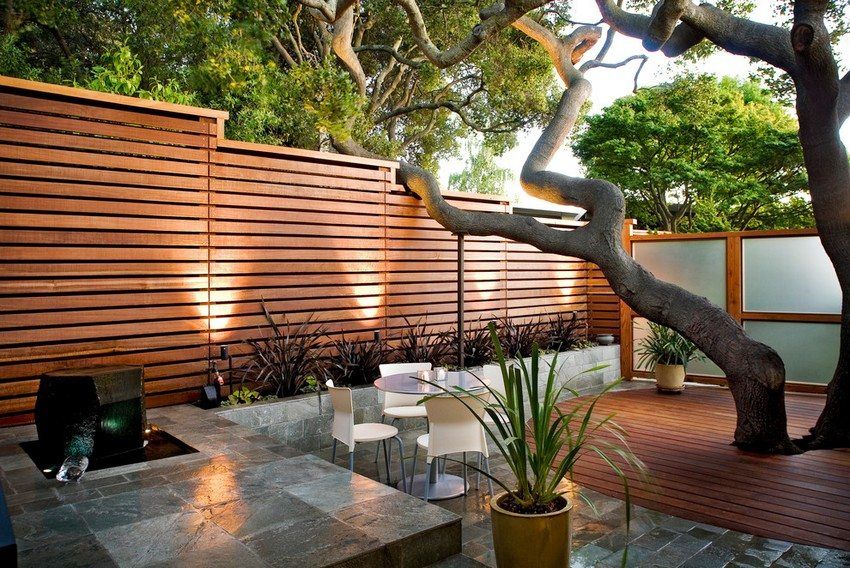
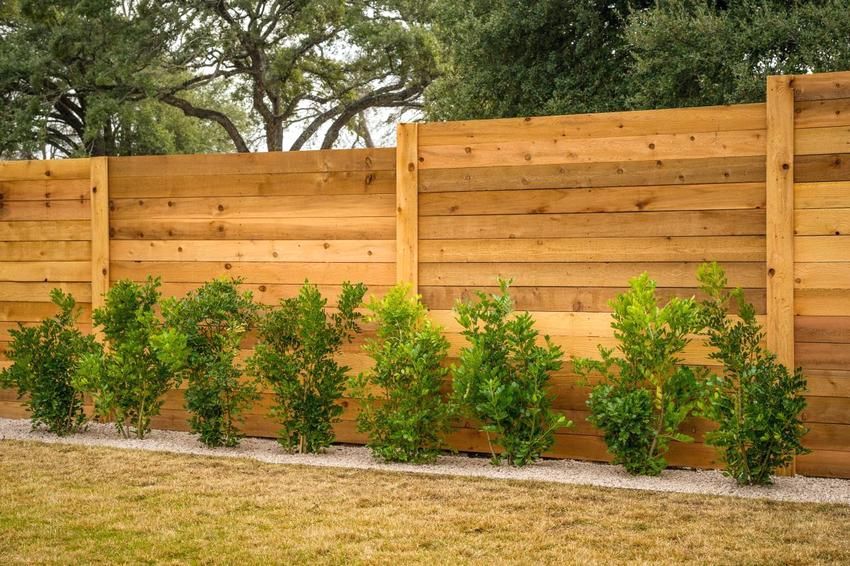
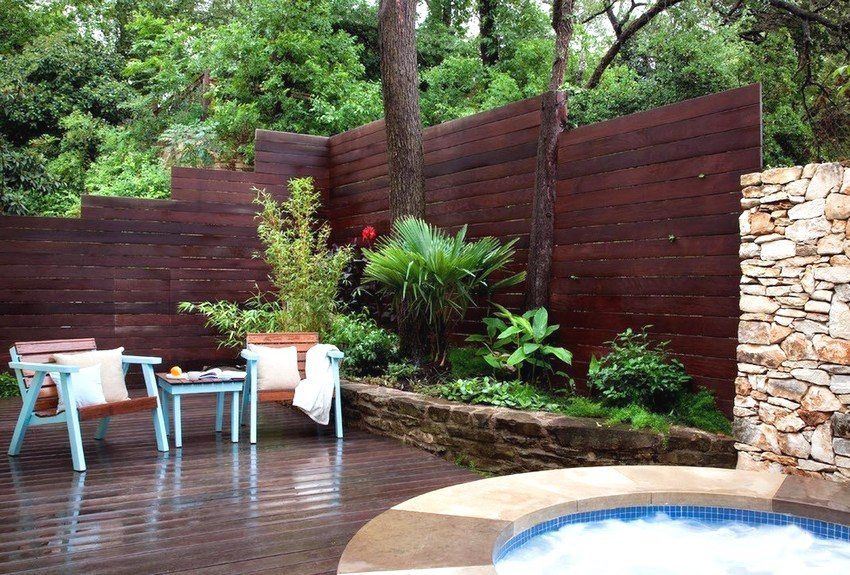
Wooden fences, framing the territory of personal plots, can have various forms. For their construction, timber, edged and unedged boards, logs, slats, as well as twigs and tree branches are used. Fences can be made solid or with gaps, with the arrangement of elements vertically, horizontally, at an angle, in one or two rows, with smooth and undulating edges, as well as with inserts of various patterns.
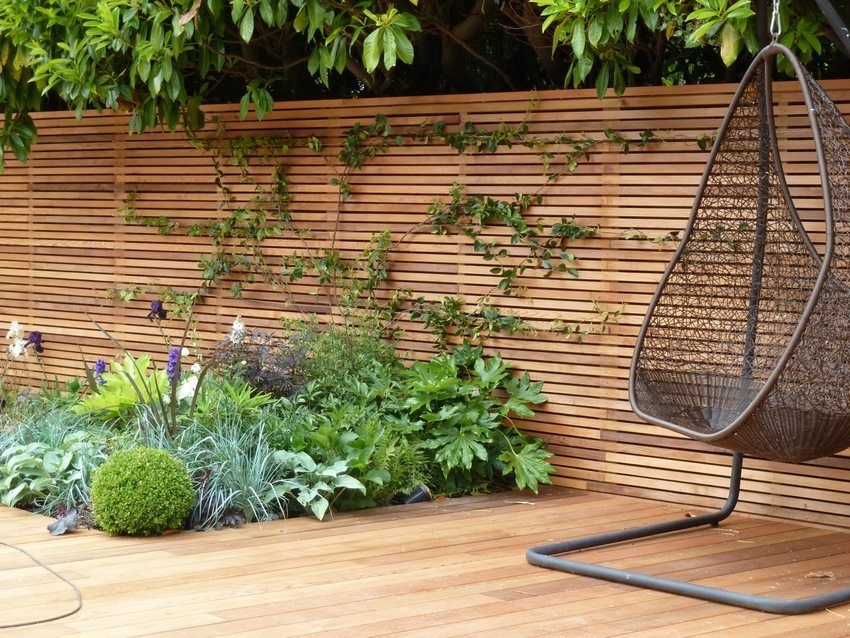
The most popular are such options of wooden fences with their own hands, photos of which clearly illustrate their design:
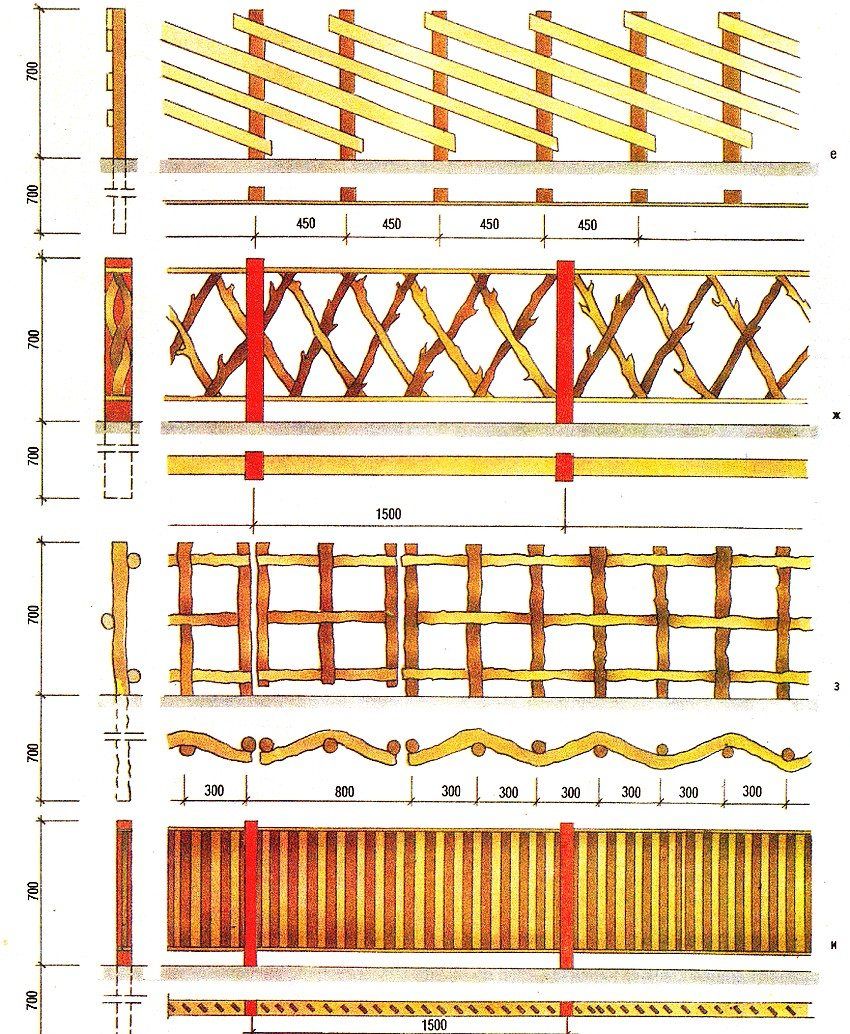
- “Ladder” or “Fir-tree” – this type of fencing is characterized by the arrangement of horizontal boards between supports at some angle and overlap. Externally, this design resembles blinds: the space behind the fence is not visible, and oblique gaps allow air and light to pass through;
- “Chess” – fence, in which the vertical elements are placed in two rows, shifting them in a checkerboard pattern. In this fence, both sides – front. The fence reliably covers the yard from prying eyes and at the same time has gaps, visible only at a certain angle;
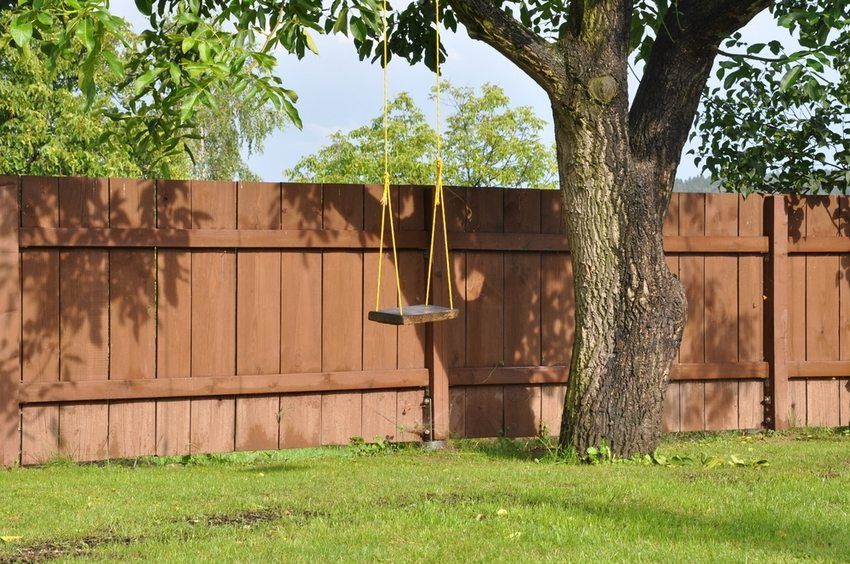
- “Shtaketnik” is a traditional type of fence, where vertical slats are attached to the guides with a certain step. You can give an attractive look to the fence using the design of the upper edge of the fence in the form of a wave or zigzag. The popularity is due to ease of installation and efficiency;
- “Grid” – the original type of fencing, consisting of wooden frames, inside which is a grid of slats. Such a fence can be made in one or two rows with a different pattern of crossing bars. It has a light and openwork appearance, is used as a decorative type of fencing;
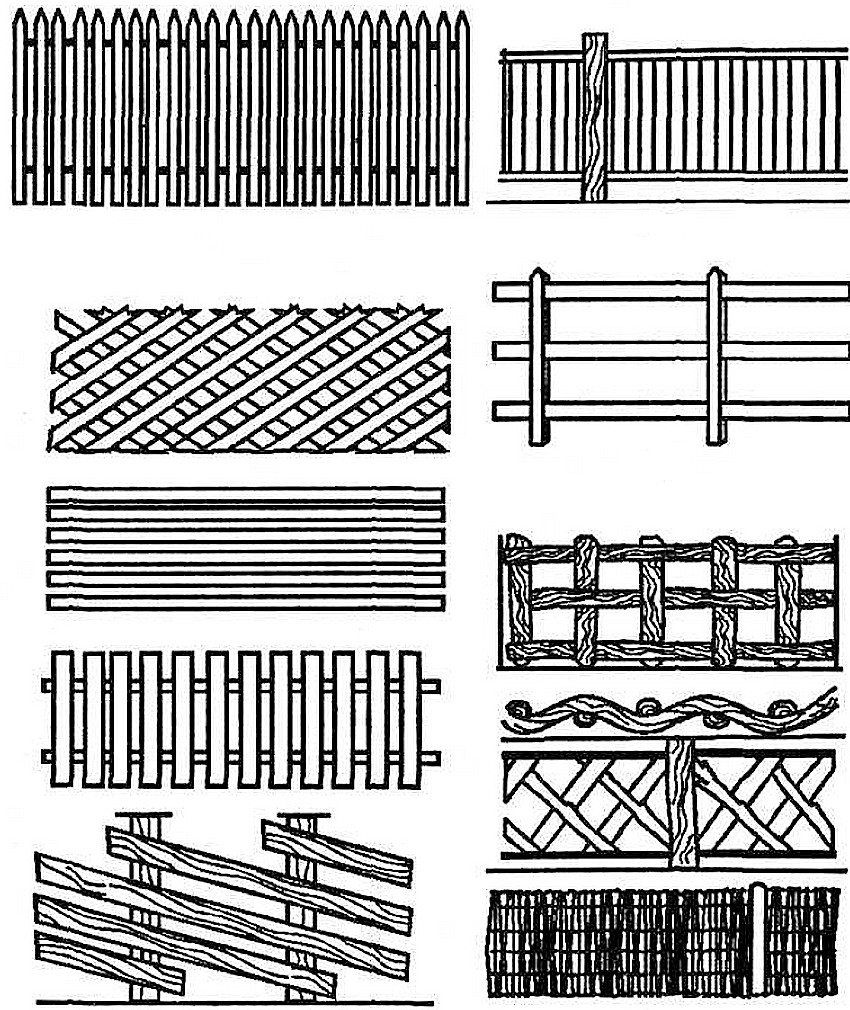
- “Pletenka” – the original design of the fence, resulting from the horizontal or vertical weave boards. The construction of a wicker fence with their own hands is not a big deal, the cost of it is small, and the appearance is quite decent. Wicker hedges of branches or rods, mainly used for decorative framing of small summer cottages, have come into fashion.
This is not a complete list of wooden fences. Many carry out fences, combining in one design a shtaketnik and a lattice or combine a tree with metal, a stone, a brick and other materials. You can get an original and inexpensive construction by erecting a fence from unedged board with your own hands. Photos of such structures illustrate the individuality and ingenuity of their manufacturers.
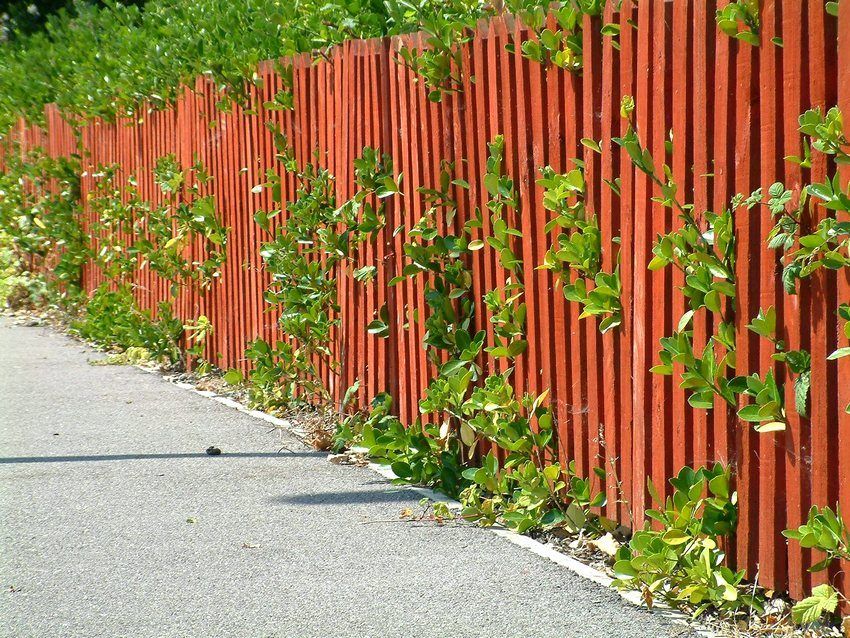
In order for the construction of a hand-made fence made of wooden picket fence or another type of fence to be solid and durable, some recommendations should be followed:
- the support stands must be mounted using special shoes to expand the support area, which will ensure rigidity of the structure;
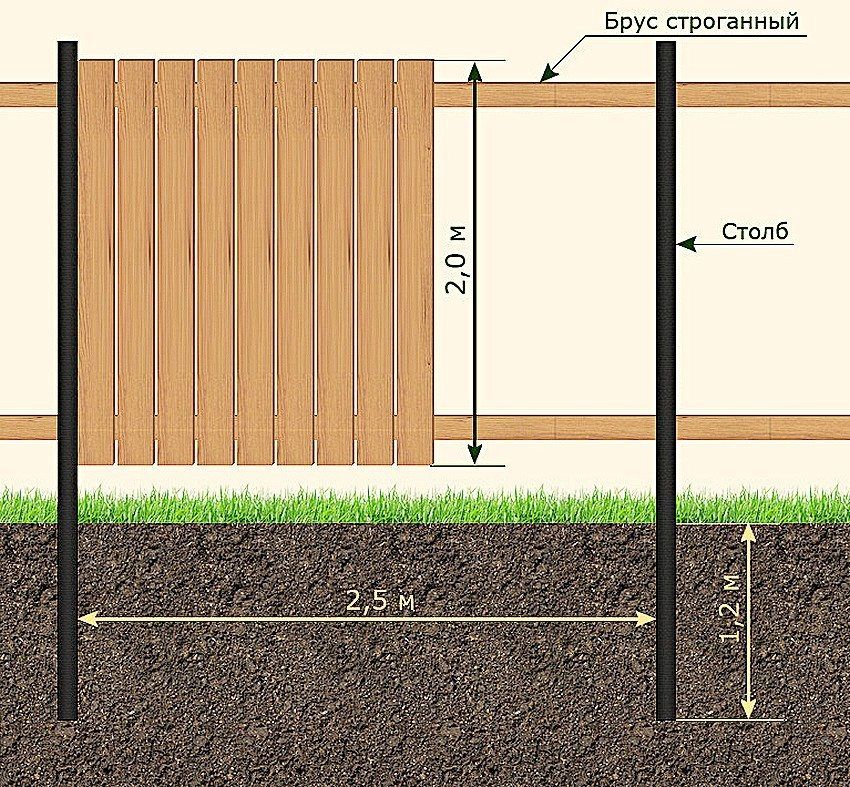
- vertical posts should be placed in steps of 2.5-3 m;
- the vertical and horizontal of the mounted elements of the fence must be checked by the building level;
- Wood treatment with antiseptic compounds must be carried out before the installation of the fence. When the structure is assembled, some places will become inaccessible for processing, and therefore – vulnerable to the actions of pests;
- should protect the wooden fence from exposure to precipitation and sunlight. Remember that it is necessary to paint a wooden surface after thoroughly drying the material;
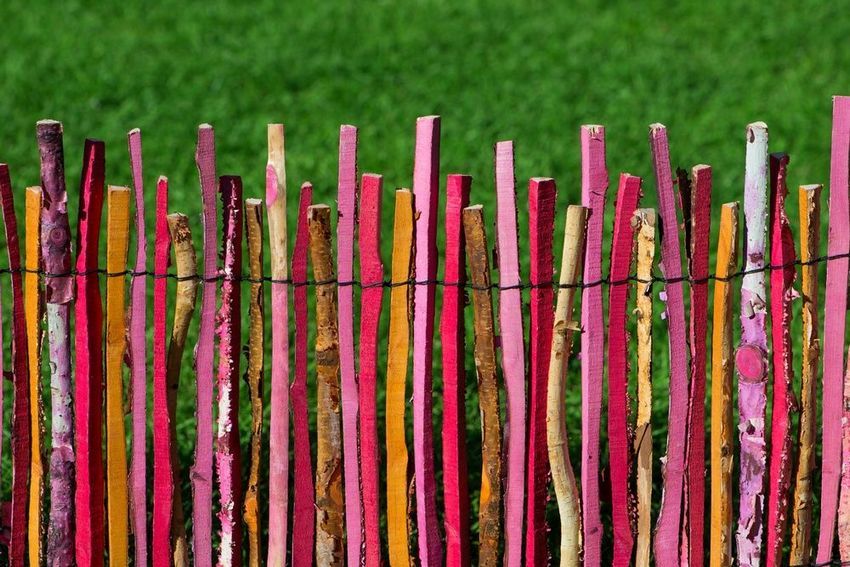
- It is not recommended to use oil-and-lacquer compounds for dyeing wooden fences: under the influence of natural factors, such a coating flakes and peels off;
- for fixing the elements, it is desirable to use fasteners with a galvanized coating, which are slightly prone to corrosion;
- make sure that when using screws and nails, they do not damage the tree structure.
Adhering to these recommendations, you can avoid the often-made mistakes when installing a wooden fence in the country with their own hands. Photos of self-erected fences made of wood, found in large quantities in the network, demonstrate the different stages of the work.
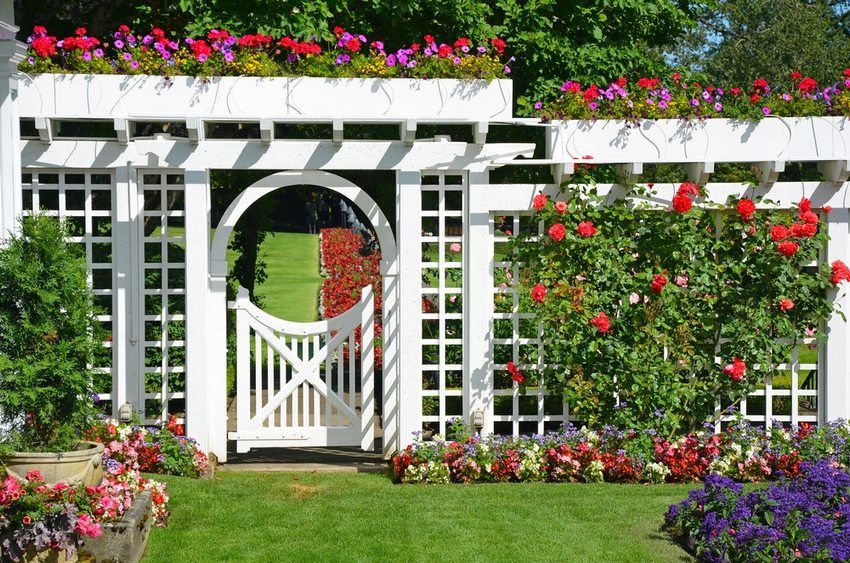
Recently have become popular decorative fences made of wood with their own hands. Photos of such fences show that their main purpose is not protection, but symbolic stylized framing and decoration of the backyard plot or a small area of it. Quite easy to build wicker fences. After studying the step by step instructions, you can learn how to make a wicker fence with your own hands.
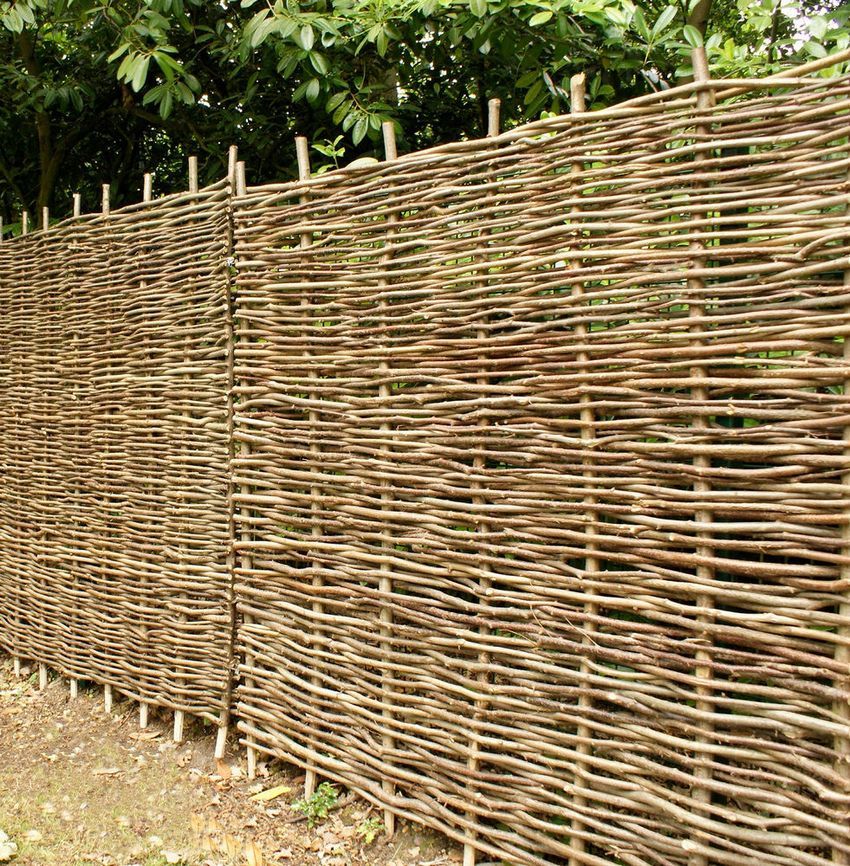
Depending on the height, method of weaving and purpose, braided fencing can be divided into several groups:
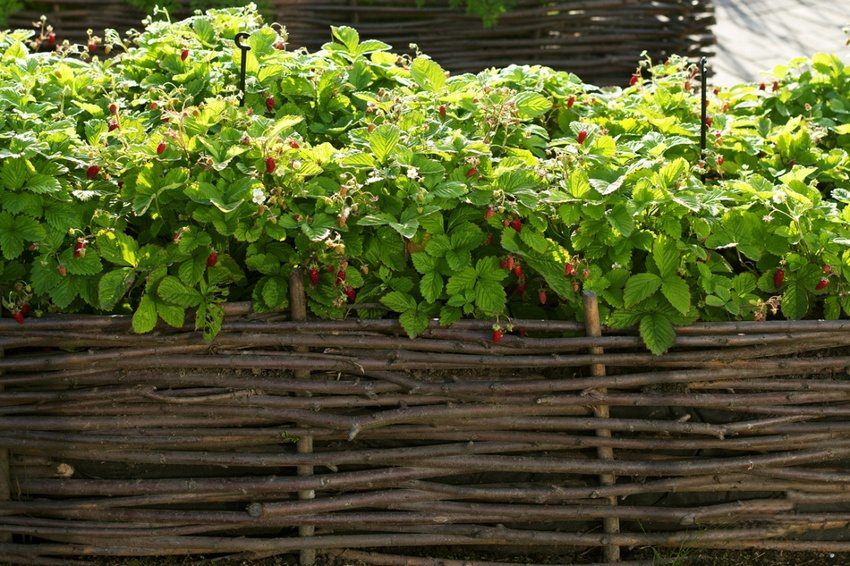
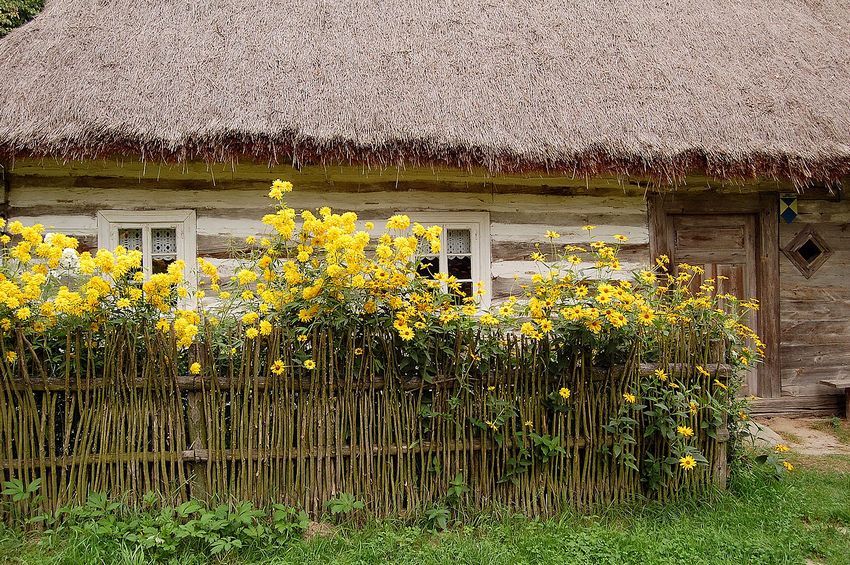
- up to 1 m high – low fences with horizontal weaving. They are set for framing flower beds, large trunks of trees, wells, as well as for marking paths;
- in height from 1 m to 1.5 m – horizontal or vertical weaving is used in such a hedge. They serve to demarcate the territory into separate zones, for example, with their help it is possible to separate the recreation area from vegetable beds or to allocate garden space;
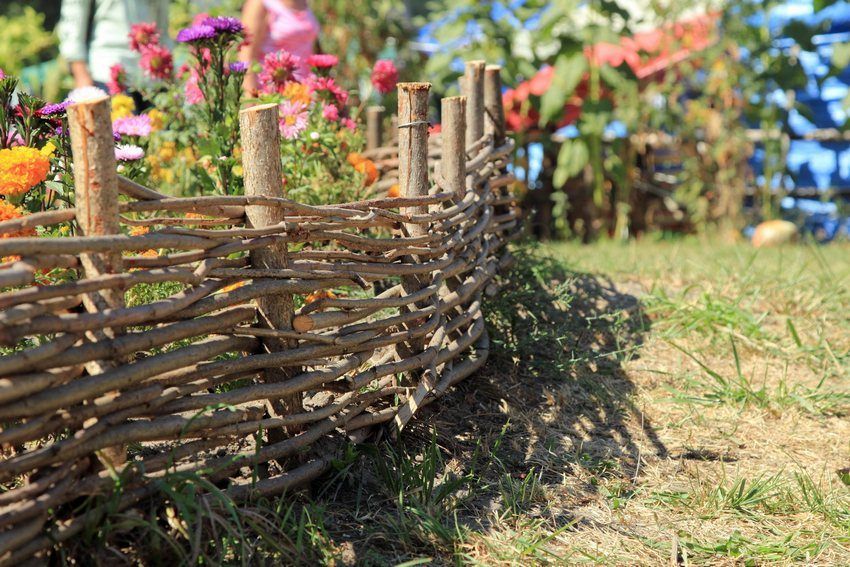
- up to 2 m high – can serve as a protective fence and are installed along the external perimeter of the infield. Both horizontal and vertical weaving can also be applied here.
Helpful advice! In order to serve the wattle for as long as possible, choose to make it hazelnut or vine. Such a fence will stand for more than 10 years.
Extend the life of the hand-made from the branches of a wicker fence will help careful processing of raw materials with an antiseptic solution.

To build a wicker fence with your own hands you will need:
- metal or wooden stakes;
- willow vine stems;
- sledgehammer;
- pruner, knife, wire.
The rods are collected in spring or autumn, choosing the strongest branches as possible. After collecting the shoots must be dried and collected in bundles for storage. Before the device hedge (15 minutes before weaving) to give flexibility to the bars, they are soaked or steamed thoroughly. After laying, the woven branches dry out and gain a solid construction.
For the frame prepare wooden or metal stakes. To prevent the supports installed in the ground from rotting, a trench is prepared along the perimeter of the future fence and its bottom is covered with sand. Due to this moisture will drain and quickly pass through the sandy base into the ground.
Helpful advice! To give the design of woven fence strength, it is recommended that the supporting stakes be buried by at least 0.5 m.
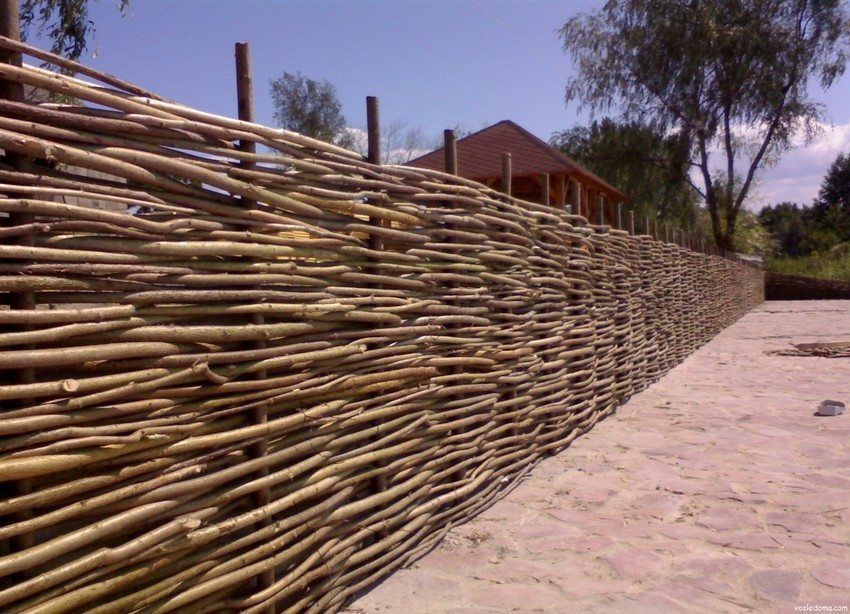
The skeleton of the fence is arranged from stakes located at a distance of 50 cm from each other. This is the distance that will facilitate the convenient weaving of the vine. In the places of the end of the fence line, the installation of wooden pillars for the fence is carried out with a smaller step. This allows you to accurately fix the ends of the wicker rods.
If the future structure will have a height of more than 1 m, metal rods will be used instead of wooden stakes. They are pre-stained in color, imitating wood. Such a framework will be more rigid, as well as more resistant to the effects of a moist environment in the soil.
If horizontal weaving is chosen, it starts from the bottom row and ends at the top. The supporting pillars are twisted around with a vine in the form of a figure of eight. In order not to warp the fence, it is necessary to nail the upper ends of the wooden supports to a flat bar, which is removed before weaving the last row. To give the fence an aesthetic look, it is necessary to make the ends of the branches located on the back side of the fence.
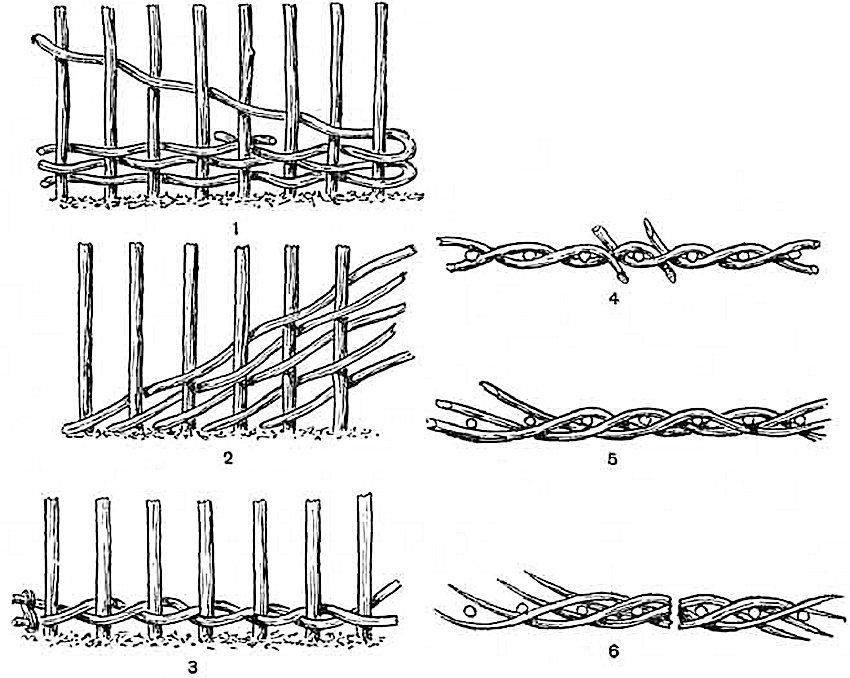
In order for the fence of rods to be strong, it is necessary to tie the ends of the rods together with a wire. The protruding tips are cut with a knife or pruner, and the remaining parts of the rods of the last row are tucked along the supporting posts.
For a more natural type of hedge use rods of different lengths, thereby masking the joints.
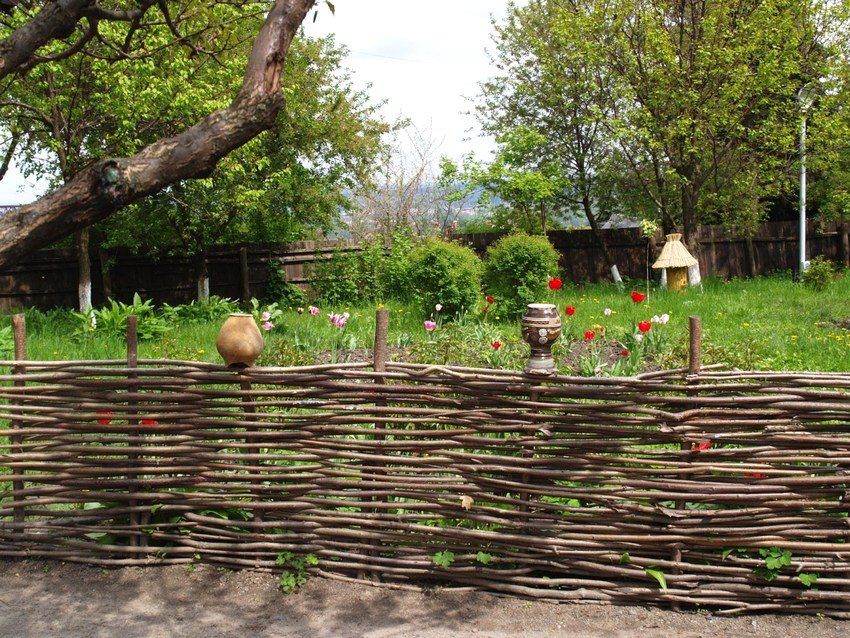
It is possible to build a fence made of wood by using a board with a section size of 15×2.5 cm. The length of the board is selected depending on the height of the planned fence. Traditionally installed fences in height from 1.5 to 2.5 m.
The first step is to mark the fence line. To do this, small (50-60 cm) stakes are driven in about 2 m increments around the perimeter of the garden plot. A construction cord is stretched between the pegs. Tying the stakes, it is necessary to ensure that the cord is sufficiently stretched and does not sag. Then you will need to prepare boards of the desired length.
Boards can be cut on their own or order the finished material of the required length. All boards are polished on the machine or using a grinding nozzle on the drill. The ends of the boards can be left flat or cut them in the form of a semicircle or triangle. By processing the unedged board with your own hands, you can significantly save the cost of building a fence.
For supports prepare a wooden bar with a section size of 75×75 mm, 50×50 mm. The number of bars is calculated based on the total perimeter of the site. For guides use boards with a cross section of 10×2.5 cm.
Before you install the supporting pillars, you need to drill holes to a depth of 0.5-1 m in those places where the stakes are dug. Pits arrange with the help of a drill (manual or electric). For vertical posts use a bar with a cross section of 75×75 mm. Before installing the supports, it is necessary to process well the part of the timber that will be in the ground.
The treatment is carried out by keeping the lower parts of the wooden supports in an antiseptic impregnation for 48 hours. After this, the posts must be well dried.
Additionally, you can protect the wooden rack from rotting by concreting. The bottom of the pit is filled with a small (1/3 of the depth) layer of sand and rubble, poured over with water, set the timber and pour it with concrete solution. While the concrete is not grabbed, the support is slightly raised to allow the solution to penetrate under the base of the rack. Next, using a plumb line or level set vertically.
In order to make sure that the height of all vertical supports is the same, it is necessary to drive a nail into the upper end of each beam and pull the cord tightly between them. The resulting line will show how correctly chosen the height of all the supports. For the complete drying of each support, at least three days are allotted.
When all the vertical supports are installed and aligned, proceed to the installation of horizontal rails. They are usually placed at 25-30 cm above the ground level and distributed at an equidistant distance from each other. For fixing use nails, the length of which will allow to pierce the timber and the board through the hole and at the same time 1.5-2 cm will protrude from the back side. These protruding tips gently bent along a wooden plane.
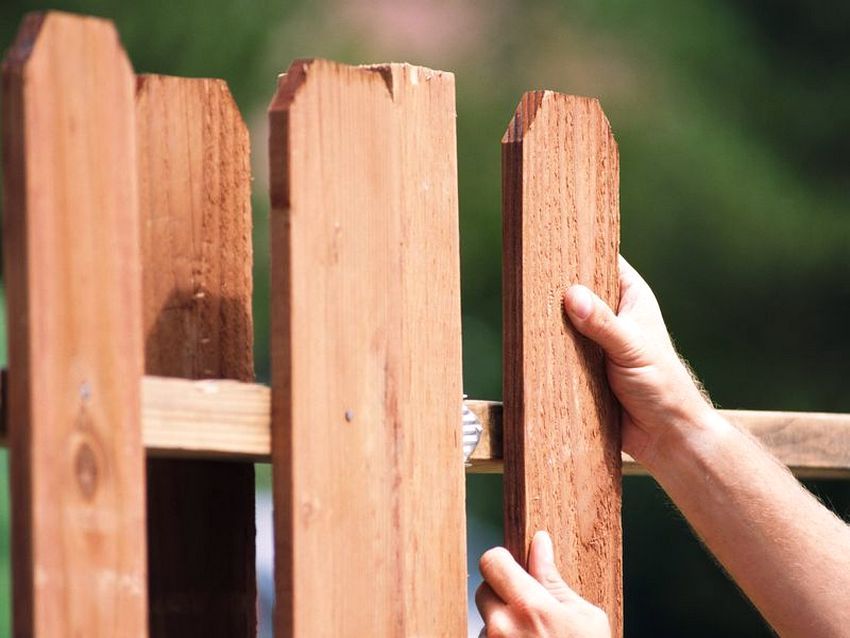
Next, proceed to the trim board. For fixing use nails or screws. At your request, you can mount the boards close to each other or leave some gap. As soon as the fence is fully assembled, the tree is covered with linseed oil, allowed to dry well and painted with a composition that is resistant to environmental influences.
The wooden “Fir-tree” fence is very popular and aesthetic. In order to independently assemble such a construction, it will also be necessary to mark the perimeter line and install vertical supports as described above.
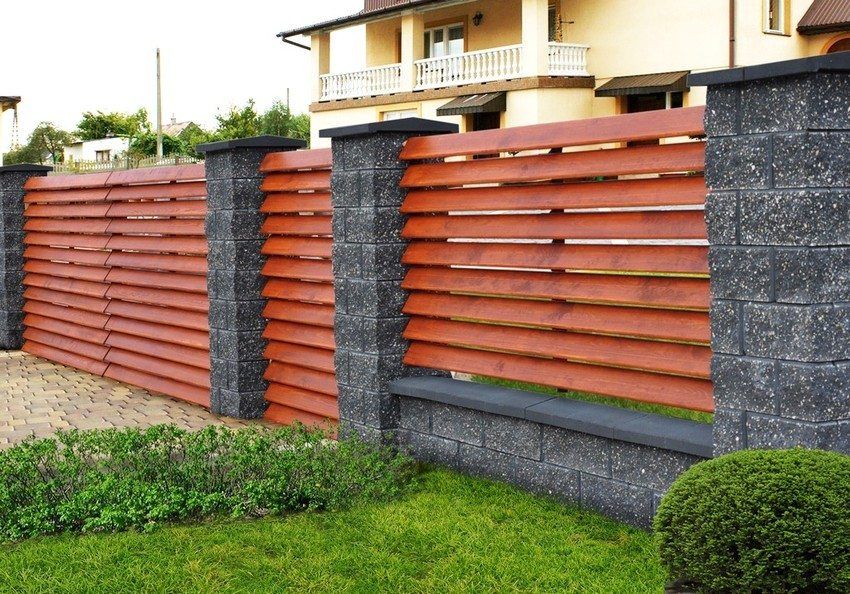
The main feature of the horizontal fencing “Yolochka” is the location of the boards at an angle and overlap. In order to achieve such an arrangement, it is necessary to fasten laths of wood (in the form of steps) to vertical pillars or to use a channel in which you can easily insert a board at a slight inclination. In addition, the boards can be positioned not only horizontally, but also vertically at an angle.

