Country houses in the modern view is a combination of privacy, peace and closeness to nature. In the project a good cottage immediately laid a place for recreation. It can be a patio, a gazebo or a shed attached to the house: you can see the photo of the sheds in our gallery. Ancillary structures of this kind decorate the estate and expand the usable area of housing.
")
Materials for the construction of canopies
Frames for attached structures are made mainly of wooden beams or profiled steel pipes. But quite often for these purposes brick, stone, asbestos-cement pipes filled with reinforced concrete are used. It all depends on the purpose of the canopy and the expected load on the frame.
A canopy attached to the house (the photo can be found on the Internet) adjoins the wall, bearing the brunt of snow sliding down from the roof. To withstand such severe loads, the base of the extension must be strong enough.
")
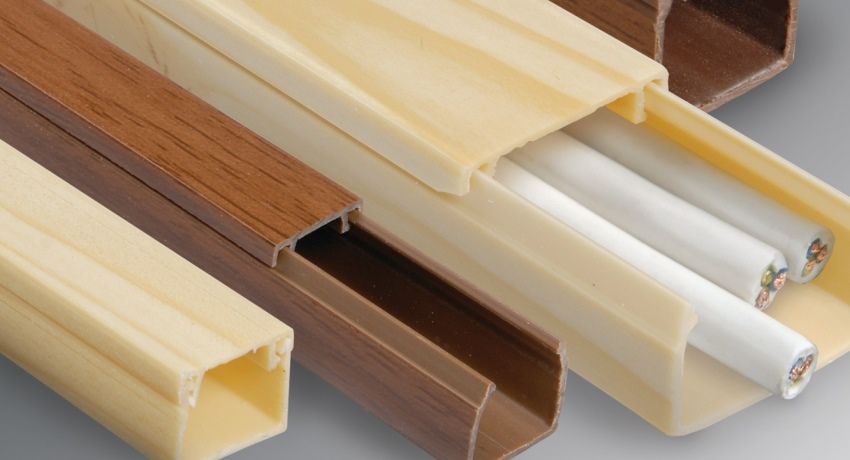
Attachment roof is usually covered with slate, professional sheet, galvanized iron. But today the construction market offers a more interesting alternative – a polycarbonate shed, attached to the house. Photos of such structures confirm that fiberglass is ideally combined with frames of any materials. For canopies, cellular sheets 6-8 mm thick are used.
")
The main advantages of polycarbonate:
- strength. Plastic is 200 times stronger than glass. He is not afraid of hammer blows, hail, stones;
- low weight The material is 20 times lighter than glass. This allows you to create three-dimensional, but lightweight construction, reduces the complexity of the work and the cost of construction;
- transparency. Thermoplastic of different thickness transmits from 80% to 95% of natural light;
- flexibility. Cellular polycarbonate is the only translucent material that can be bent at low temperatures. The main thing here is to take into account the allowable bending radius and the direction of the internal channels.
")
It is also important that the transparent polymer is easy to process. It can be drilled, cut with a saw, grinder, jigsaw.
Helpful advice! DFor sheds you need to take polycarbonate with UF-protection, otherwise the material under the sun quickly dims and loses flexibility.
The canopies attached to the house (there is a photo on specialized resources) are divided into two groups: visors on consoles and awnings installed on capital supports.
")
Console models can be as long as they want along the facade of the building, but they should not exceed 2 m in width so that the wind does not tear them out of the wall. The purpose of such products is to protect the doors from the sun and precipitation, as well as to enhance the appearance of the building. Forged and carved peaks in the ensemble with the entrance group can transform the facade.
")
Support canopies are designed for the following purposes:
- device places for summer holidays;
- protection from precipitation areas in front of the entrance, swimming pool, walkways around the house;
- car placement;
- awning over the barbecue area;
- canopies for household needs.
The use of polycarbonate allows you to create roofs of various configurations – single-pitch, double-gated, pyramidal, arched, concave and convex with a small bend radius. The canopy design can be improved using colored or tinted fiberglass.
")
When planning the installation of a canopy attached to the house, the photo of finished projects must be viewed in advance. The choice of design depends on several criteria:
- the purpose and target dimensions of the object;
- total area of the site;
- wind and snow loads;
- annual precipitation;
- snow depth;
- condition of the walls and foundation of the building;
- house construction;
- availability of materials, tools and fasteners, as well as construction skills, if the work will be carried out on their own.
")
Next, make a drawing of a canopy attached to the house (the photo confirms this), putting down the actual dimensions of the height, length and depth of the structure. On this basis, determine the amount of material to create the frame and roof.
Standard carport shed sizes:
- 250X500 cm for a car up to 4 meters long;
- 350X660 cm for SUVs and cars longer than 4 m.
Helpful advice! A car with a load at the top should be free to enter under the carport. But if the height of the roof exceeds 230 cm, precipitation will inevitably fall on the car. There is a way out – you need to change the angle of the roof.
")
If all of the above aspects are taken into account, you can start preparing the site for construction. The marked-up area is cleared, uprooted trees and shrubs. The existing sod is removed to the depth of germination of the roots. The cleared site is leveled, pouring sand or small crushed stone, and stamped.
Peaks and awnings above the entrance: photos, impressive style. Original and practical visors and awnings over the entrance: styles and shapes. Colors and benefits. Canopy over the porch.
Under the supports of the canopy attached to the house (this is clearly shown in the photo), boreholes are drilled with a cross section of 20 cm and a depth of 50-60 cm (up to solid ground). At this stage, it is necessary to provide cable laying for lighting devices. The pitch of the supports depends on the attachment area, as well as on the frame material and the weight of the roof. The heavier the design, the more often the pitch of the pillars (on average, 1-1.5 m). The advantage of this framework is that it does not need to dock with the main foundation of the building.
")
In the ready-made recesses fall asleep on a bucket of rubble, install vertical racks in them and fill with concrete. Each pillar is set to level. The second option is that the embedded parts with brackets are concreted in pits, and the posts are already fixed in them.
Materials before installation should also be prepared: the wood is impregnated with an antiseptic, drying oil or painted in the chosen color. Timber is chosen dry and necessarily oshkurenny, otherwise there will quickly be established woodcutters under the bark.
")
Helpful advice! EWhen the house is in a lowland, the ends of the wooden poles are additionally waterproofed (they are wrapped with a plastic or ruberoid shirt, filled with hot bitumen).
Metal racks must be coated with a primer, which contains zinc phosphate. And it is better to immediately purchase a galvanized or aluminum profile.
While the concrete in the pits is gaining strength, you can arrange a floor covering for the canopy. Options:
- pour concrete screed;
- to lay paving slabs or board;
- fall asleep sand or gravel.
")
After sustaining a certain time to grab the concrete (10-15 days, depending on air temperature), we begin the assembly of the structure. First, several brackets are attached to the outer wall of the house, where the polycarbonate canopy will be attached. On them the bearing cross beam is mounted.
")
Next is the top trim. The ends of the concreted vertical pillars are connected first with the crossbeam, then with each other. This is done using parallel-laid profiles. If the frame is metal, parts are welded; if wooden, they are tightened with steel corners. Weld the seams cleaned, coated with primer and paint.
")
The rafters are attached to the crossbars in increments of 60 cm. The connection with the supporting beam attached to the wall is made using steel corners. The crate is laid across the rafters, with a distance of 30 cm, and fastened with self-tapping screws. The diameter of the timber frame:
- Racks – 120X120 mm.
- Cross beams – 100X100 mm.
- Rafters – 70X70 mm.
- Crate – 50X50 mm.
")
Steel section for frame:
- racks – 40X60 mm;
- rafters and lathing – 30X50 mm.
The sheets of fiberglass are cut to size and screwed to the crate, pre-drilled holes in them for fasteners. In this case, it is necessary to ensure that the cells of the plastic were directed downwards – to drain the condensate. Self-tapping screws must have a rubber thermo washer. The sheets themselves are interconnected H-shaped profile.
")
Overlapping polycarbonate canopy, attached to the house (photos can be seen in various magazines), it is necessary to follow the rules of coupling compression joints. Simply put, it is necessary to leave small gaps between the panels, so that the polymer can expand freely when heated. The dimensions of the holes for fasteners should also have a margin of 2-3 mm. The protective film is removed from the sheet after installation.
")
Ready canopy does not require special care. It is enough from time to time to wash the plastic with clean water so that it will serve its 50 years without fail.