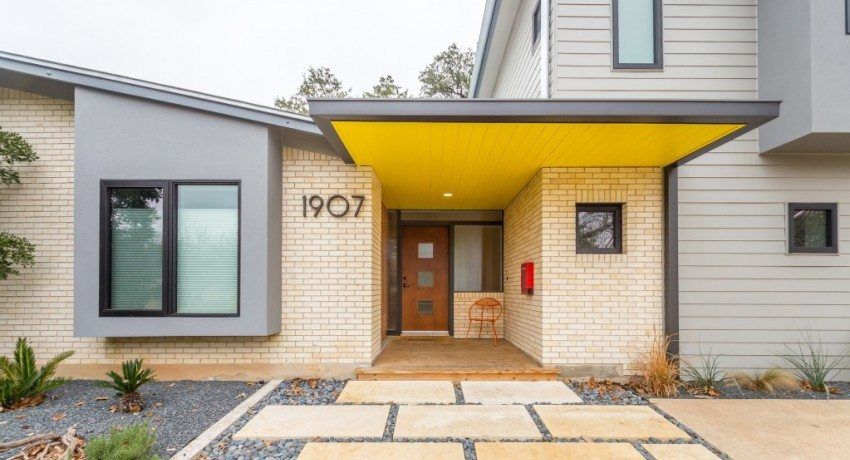
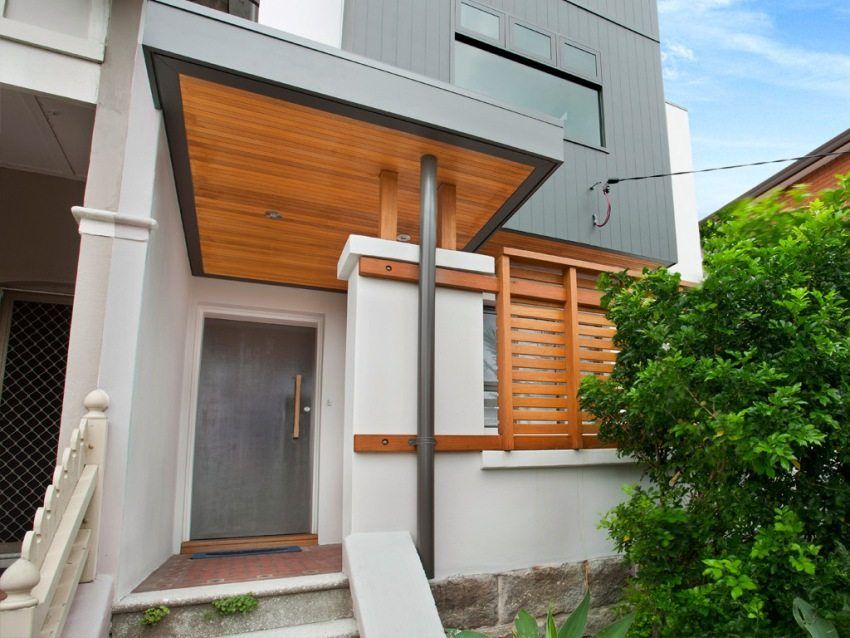
The canopy over the porch is not only a practical element of the building that protects the front door and the area around it from the weather, but also an excellent decorative component of the facade. It consists of two main parts – the frame and cover. Installation of the frame has a lot of subtleties and rules that you need to know in advance to properly install the canopy over the porch of a private house. Photos showing the entire process from start to finish will help to understand the features of the construction of such a building.
Forms of canopies and their types
Any canopies can be divided into two types: suspended and supporting. In the first embodiment, the entire weight of the structure is supported by the wall to which the frame is attached. Therefore, hanging awnings and awnings are best mounted from lightweight materials. Options on supports are more practical. Due to the additional support in the form of support pillars, you can not save on the area, turning the canopy over the porch into a real terrace. In addition, railings or railings are added to such structures for more serious protection from the weather.
The shape of the canopies may be different. Most often use such options:
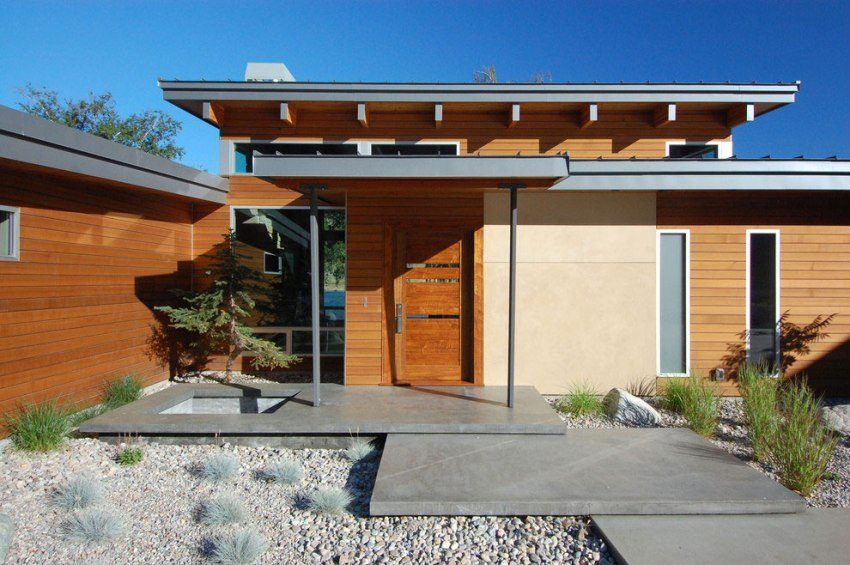
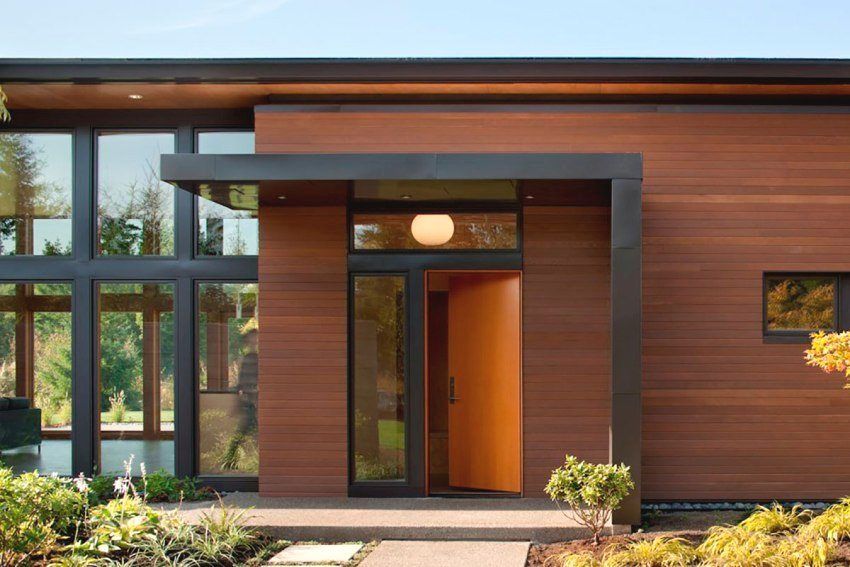
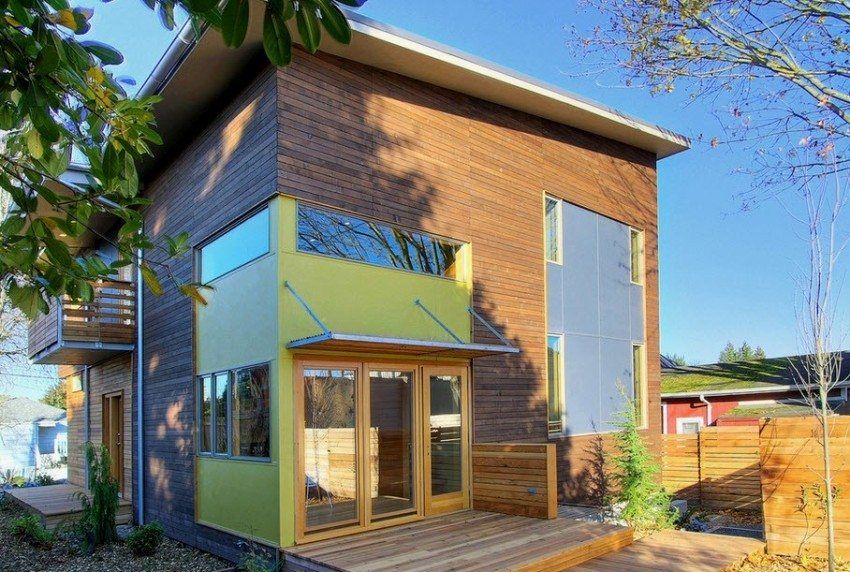
- single-pitch. When they are settled, the slope is placed away from the house so that the water can flow down and the snow does not linger near the wall. For such a form, the installation of the gutter must be made;
- gable Canopies of this type are the most common, since their installation is not difficult. Ramps settle on both sides of the porch;
- tents Rounded or sectioned visors perfectly protect from unpleasant weather conditions and visually ennoble the facade;
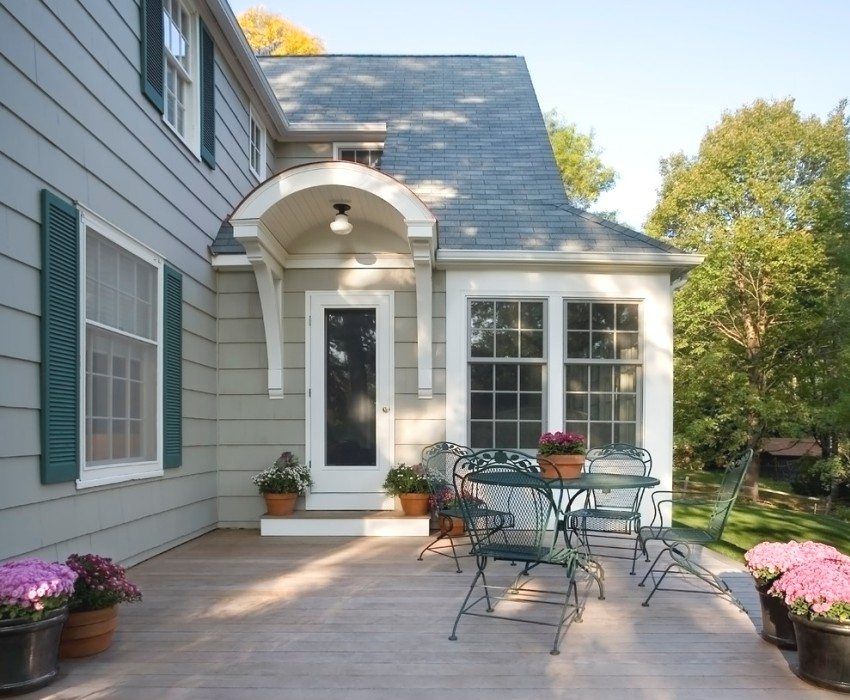
- arched. Arc-shaped canopies are mainly made of polycarbonate. This modern material due to its properties allows you to create truly unique designs;
- dome (spherical). Sheds of this type are smaller in area and, due to their good streamlined shape, are shown to be arranged in areas with high wind loads;
- concave. This design looks quite original with almost any facade. When installing this design can not be afraid of excessive accumulation of snow.
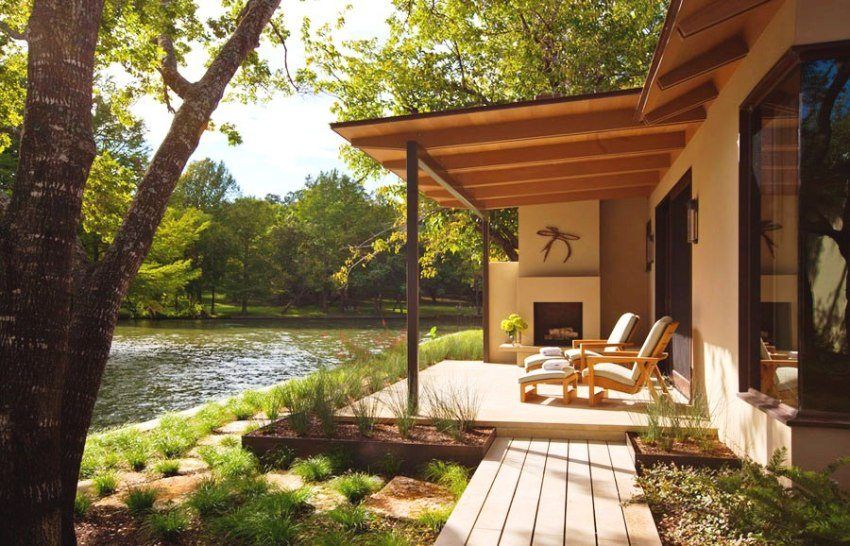
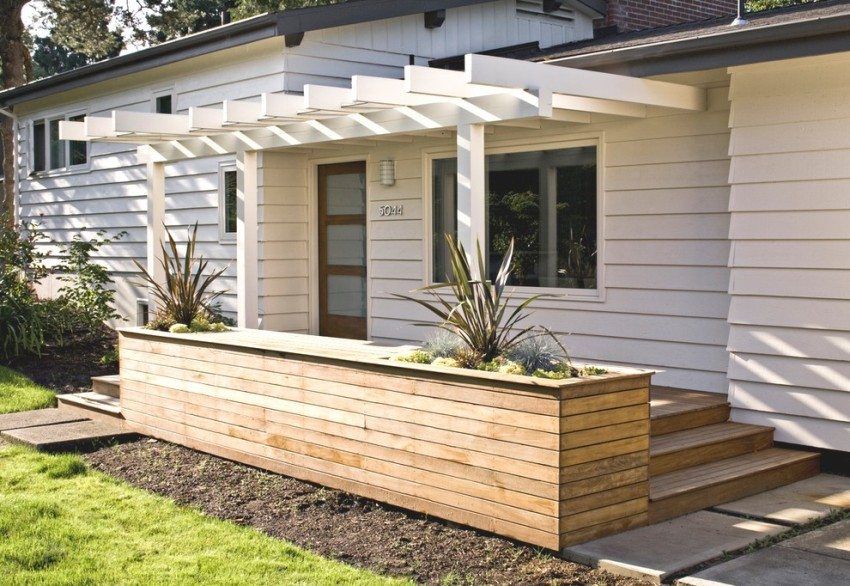
There are certain rules for installing awnings over the porch of a private house. Photos of possible options demonstrate the arrangement in accordance with all regulatory requirements. So, when installing such a design, you need to know the following details:
- the minimum width of the canopy should be at least 1.5 times the door;
- the canopy should be strong and resistant to any wind loads;
- the slope of the slope can not be less than 20 ?;
- the design should ideally fit the basic style solution of the facade.
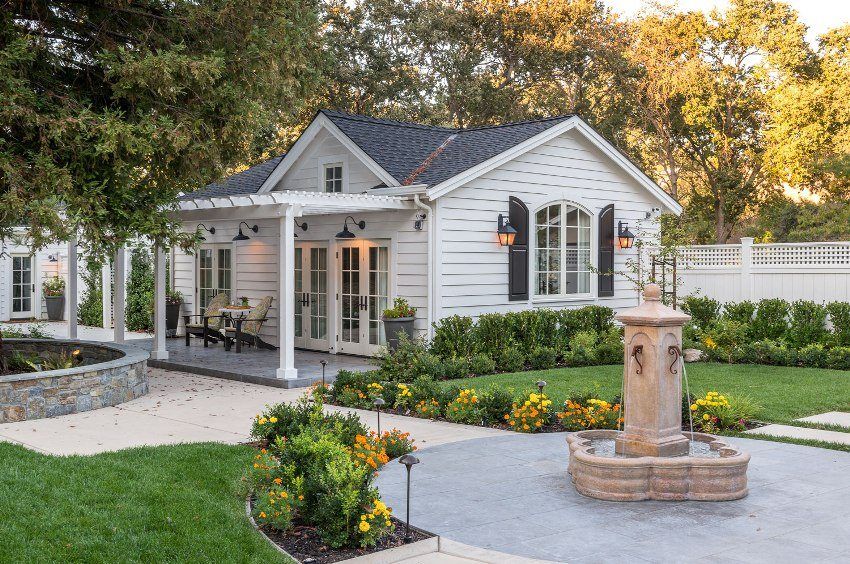
For arrangement of a wooden structure does not require any special skills. For its manufacture will need:
- timber 5×5;
- board 20×1.5;
- drill;
- saw;
- fasteners.
- The timber is necessary for the manufacture of support pillars and the frame of the future shed. The supports are attached to the base and to the wall using large screws and dowels. It is possible to install the timber in the wells with their subsequent filling with cement mortar or ordinary rubble.
- The installation of rafters is carried out on one side on the support board (or fixed directly on the wall), and on the other side on the supports. To connect the elements of the truss structure are used angles or screws for wood.
- Over the received framework the obreshetka keeps within. The distance between the boards should not exceed 90 cm, and their location should be such that they fall in the middle of the roofing material.
- Now you can start laying roofing. Its parts are also screwed with special screws.
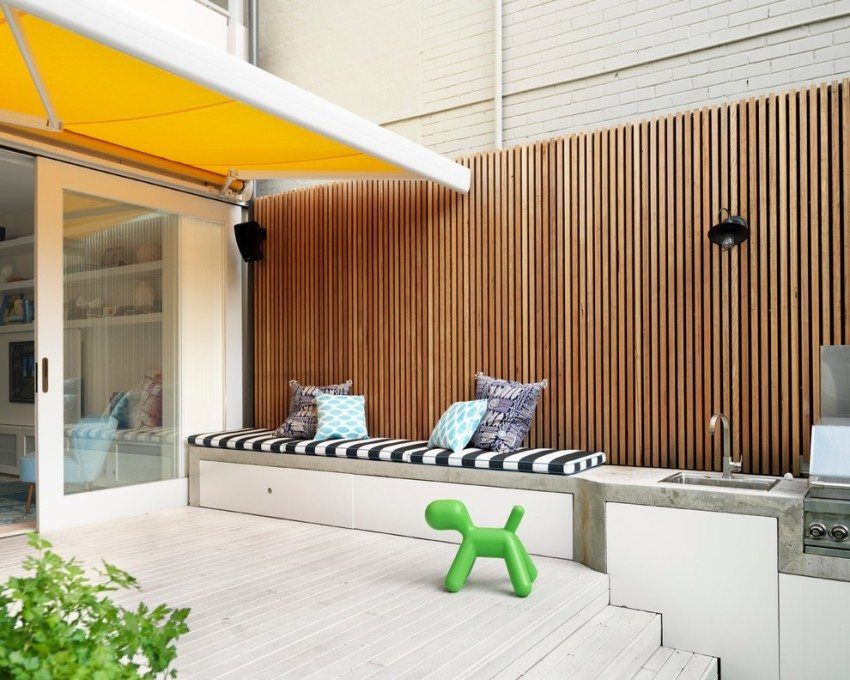
Important! The crate should be created strictly perpendicular to the truss system.
When creating a canopy of metal, ordinary or shaped metal pipes are used, which are deepened into the ground by about 50 cm, after which they are poured with cement mortar. Rafters can be made of aluminum duralumin or from a metal corner. It is also possible to use a wooden beam. The rafters are stacked so that the roof of the finished shed over the area exceeds the area between the supporting pillars. Fastening of beams can be made by special fasteners or seams by welding.
Porch with a visor in a private house, photo of possible options. Design solutions. Drawing up the project, necessary materials and tools. Options for the construction of the entrance group.
If the canopy over the porch is made of metal profiles or metal tiles, then the sheets must be overlapped to avoid leaks. Before laying a profile you should take care of high-quality hydro and vapor insulation.
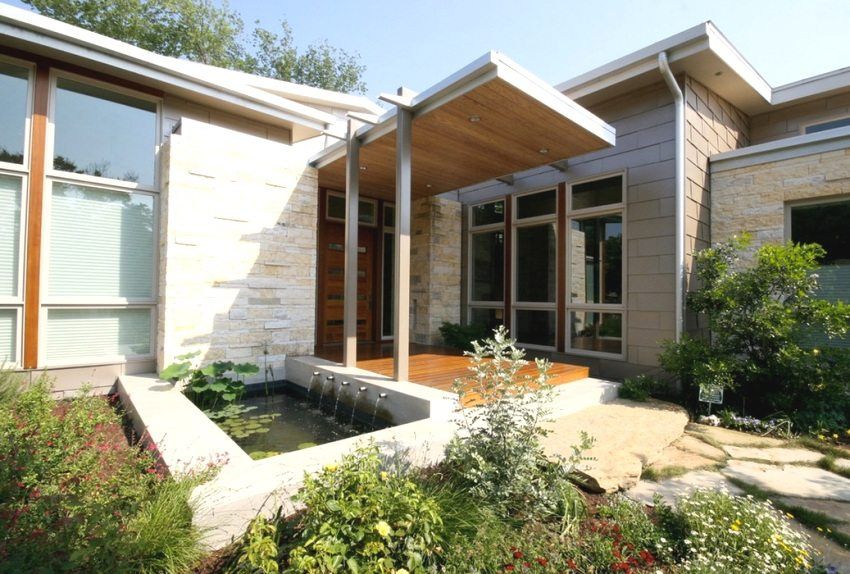
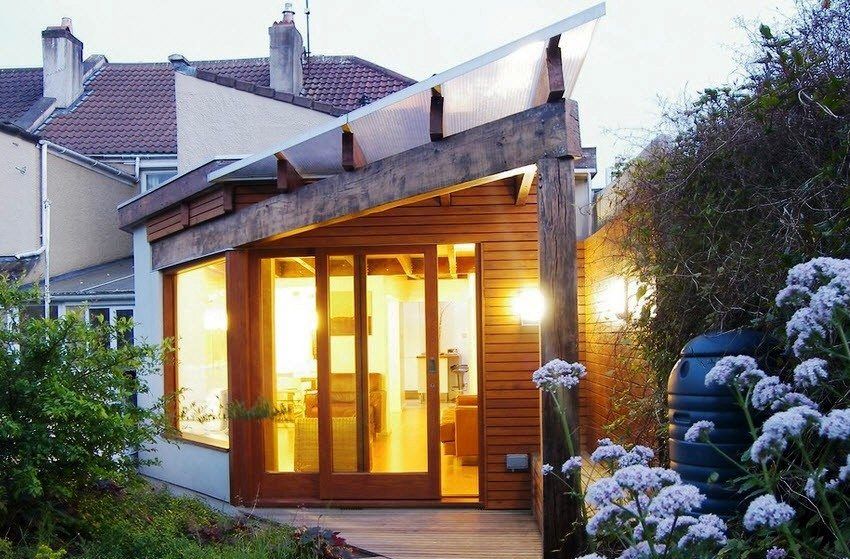
Looks great made of polycarbonate canopy over the porch of a private house. Photos of the various options presented below demonstrate the uniqueness of style decisions. Such sheds do not require special conditions; they perfectly withstand both the hottest days and severe subzero temperatures. Due to the lightness of the covering material, they can be freely fixed to the wall of the house without additional supports.
For the manufacture of such a canopy over the porch do it yourself will need the following tools and materials:
- welding machine, Bulgarian, screwdriver, drill;
- polycarbonate sheets;
- self-tapping screws with washers;
- steel tubes;
- level roulette.
- On the wall is designated a place for attachment.
- The skeleton of the future construction is made of square shaped tubes. All elements are welded together.
- Holes are made in the frame with which it will be fixed to the wall.
- The resulting design is screwed to the wall, then processed with special anti-corrosion compounds and painted.
- Mounting of polycarbonate sheets.
When attaching a cellular polycarbonate, you must adhere to some rules. The end sections must be covered with a special sealing tape. Between themselves, the sheets are fastened with the help of connecting profiles. Mandatory sealing of the joint of the shed itself and the wall in order to avoid leakage during bad weather.
Important! If an arched structure is planned, then you can bend a polycarbonate sheet at a radius of no more than 70 cm. Otherwise, the sheet may burst.
Another important condition for fixing polycarbonate is to maintain the gaps between the sheets of about 3-5 mm. Since this material has a rather high expansion coefficient, it requires additional space to change its geometry on hot days. Another little subtlety. Installation of sheets is recommended to produce in the factory protective film, this eliminates the possibility of damage to the material at the assembly stage.
The frame for such visors can also be made of aluminum. This material is not susceptible to corrosion, does not require additional processing and bends well. It is ideal for creating rounded options. Quite interesting are the frames made with forging elements.
As you can see, it is not at all easy to equip the shed over the porch of a private house. Photos of the stages of work clearly show all the subtleties and features of such structures.
