The advantages of using tile as a facing material have already been mentioned more than once. It is simple to look after ceramics, it is steady against mechanical influences and is capable to serve regularly for many years. However, ordering a professional tile laying is not a cheap pleasure, which is why many people carry out installation work on their own. The article will discuss how to properly prepare the surface and how to lay tiles on the wall.
How to lay tiles on the wall: surface preparation rules
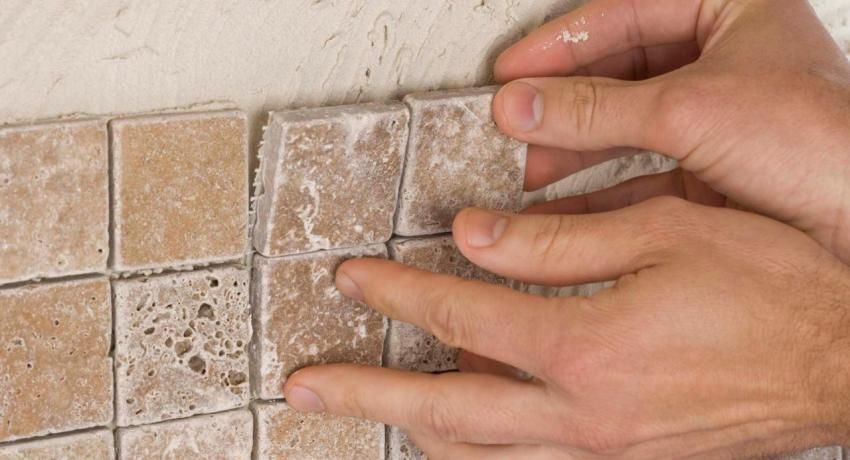
In order to begin preparing the wall for tile laying, it is initially necessary to determine what type of mortar will be used for the cladding. There are two options: cement-sand mortar and special adhesives. Depending on which option is preferred, the preparation of the walls under the tile will be different.
Many people want to make a choice in favor of glue, but in this case it is necessary to work on leveling the walls under the tile. Usually, plaster is used for this purpose or the surface is sheathed with plasterboard. The smoother the surface, the better. If it was decided to use a cement-sand mortar, it will take less effort to level the wall under the tile. How to choose the best option? The first method is much easier and suitable even for beginners. But the “mortar” technique requires skill and experience.
Speaking about how to prepare the walls under the tile in the bathroom, do not forget about the presence of a large number of communications that may interfere with installation. The simplest solution to this problem is to hide all the pipes before glueing the tiles in the bathroom onto the wall. The easiest way to do this is with drywall constructions.
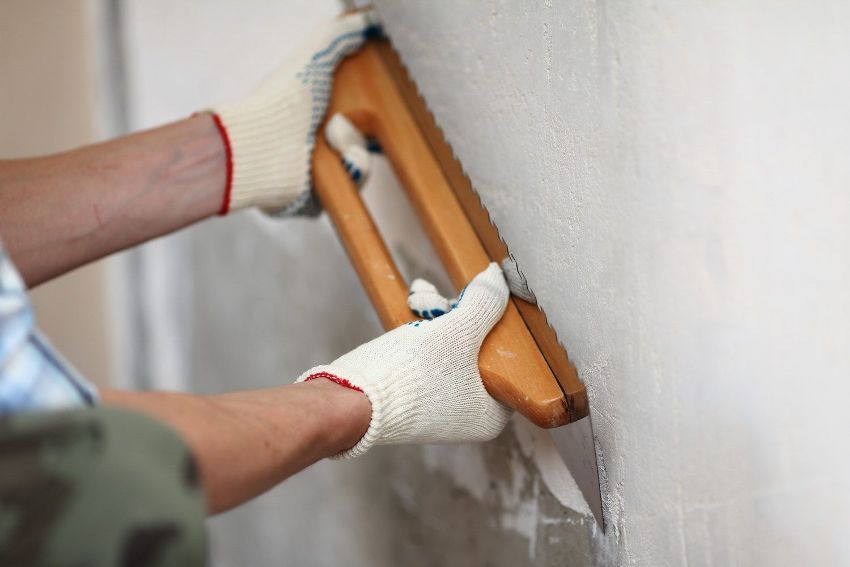
Important! Before proceeding with the alignment of the walls before laying the tiles, you need to make sure that the old coating is completely dismantled. This applies including paint. If there are residues that can crumble, the life of the new tile can be significantly reduced.
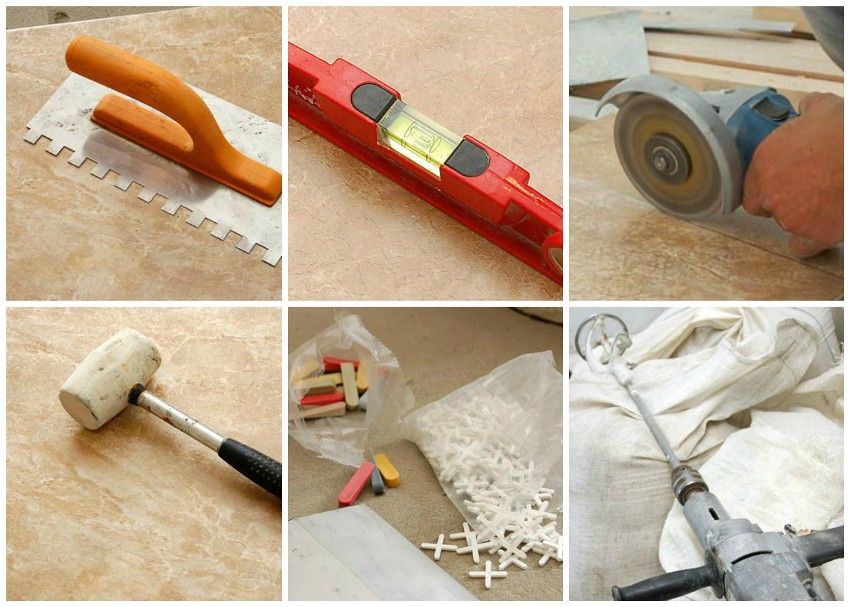
Before starting work on surface preparation and laying of facing material, you need to make sure that all the necessary tools are available:
- trowel and spatulas (plain, notched and rubber);
- building level;
- tile cutter and wire cutters;
- Bulgarian and diamond wheel for her;
- special crosses for laying tiles;
- foam sponge.
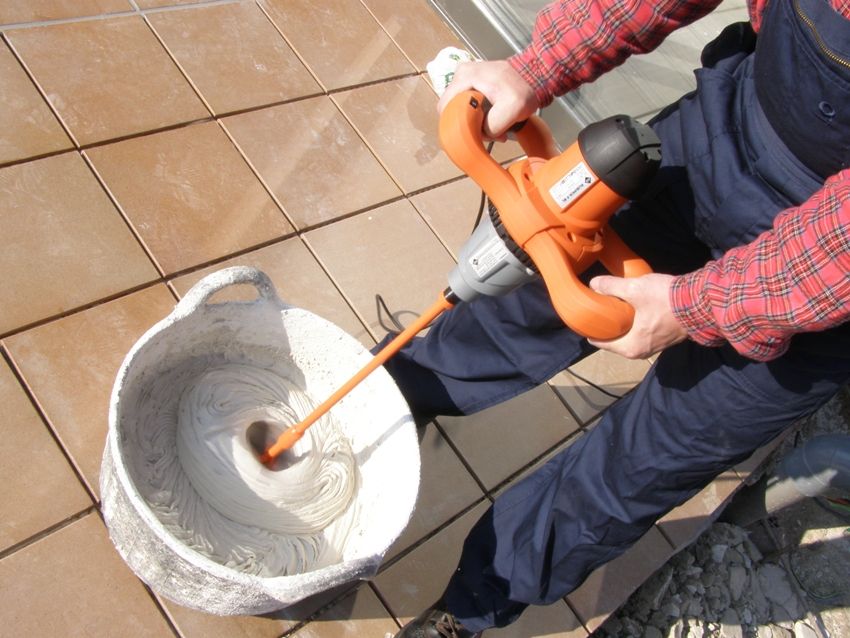
Additionally, you will need a tape measure, a hammer and other tools that most likely have in every home. In addition, it is worthwhile to think in advance about how the adhesive solution will be kneaded. It is desirable to have for this purpose a special nozzle on the drill, but this can be done manually.
The first rule that you need to know before you lay tiles on the wall – all the places that are important for visual perception must be faced with solid elements. Tile, which had to be cut, you need to try to hide behind pieces of furniture or in places where it will be least noticeable.
The calculation of the required amount of materials is carried out before the start of work and, in particular, leveling the base. This is done because it provides the ability to make some changes, for example, by applying a slightly larger layer of plaster. In this case, the result will be some loss of space, but this is not so problematic than if over the years you have to look at the imperfectly laid floor.
Helpful advice! If all corners of the room are in the same field of view, then the best option would be to make the same undercut of all the corner elements.
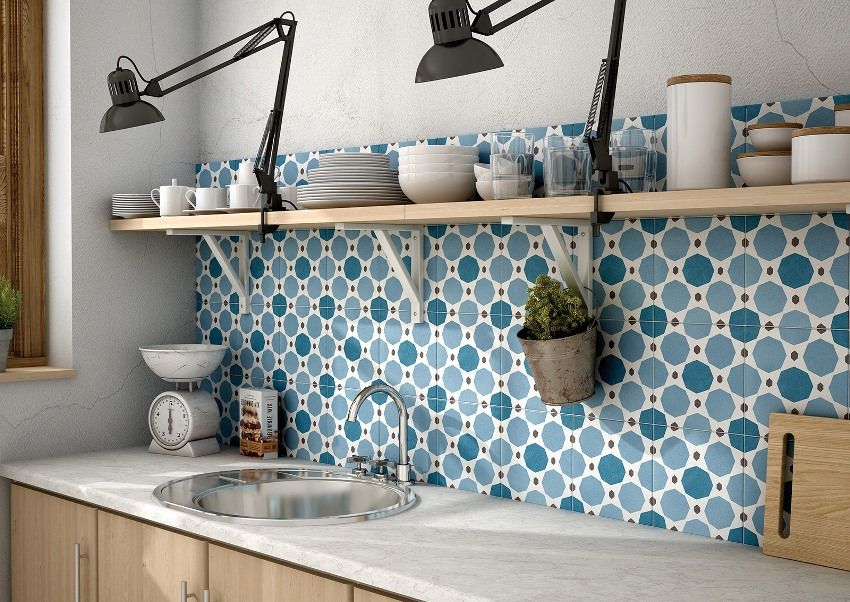
As for the vertical trim, the whole tile rule is at the top. Although it is important to pay attention to individual data. It is quite admissible to break the rules, if objectively this will influence the situation positively. Also pay attention to the size of the tile joints. On the surface of a small area in total, they occupy quite a lot of space.
The technique of marking largely depends on what method of laying tile was chosen. The most popular are the following types: “seam in the seam,” vrazbezhku and diagonally. The first method is the most popular. Its main difficulty is that in no case can one violate vertical and horizontal boundaries, as this will be very noticeable. The most complex method proposed is the third. It requires a certain skill and experience. But the second is universal. It imitates brickwork and is fairly easy to assemble.
Usually, tile should be laid on the wall starting from the second or third row. This is due to the fact that the wall tile should cover the floor for a number of reasons:
- visually this solution looks better;
- water that will run down the wall surface will not flow into the contour joints;
- trimming wall ceramics is much easier.
Often you have to deal with situations when the floor was laid in advance. In this case, you should start laying the wall tile from the bottom row. But here another difficulty arises – it is far from always possible to do without trimming and place solid tile in the top row.
The first thing that needs to be done is to decide on the lighthouse row and make marks of the upper edge of the first row. It is important to use the level in the process of work so that in the future the whole tile does not “float”.
Important! At the stage of marking it is very important to pay attention to all difficult moments, such as laying tile around pipes. Some offset of marks is allowed, if it is possible to avoid the need to make complex cuts.
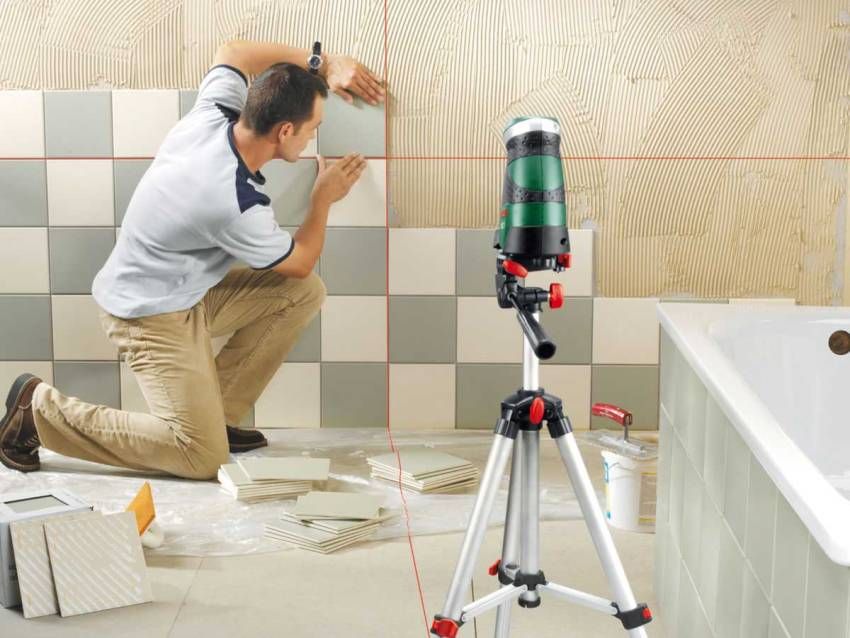
After that, you need to pull the beacon cord or draw a solid line on the marks. It is better to use the first option, as this will give the opportunity to more accurately control the horizontal. For observance of verticals use usual plumbs.
It is important to understand that the installation procedure may differ significantly depending on which surface and with the help of which composition the installation will be carried out. Therefore, if you know how to glue tiles on the floor, this does not guarantee that you can cope with wall tiles without problems. Consider what the laying procedure looks like when using ordinary white tile adhesive for work, and what is the order of work in this case:
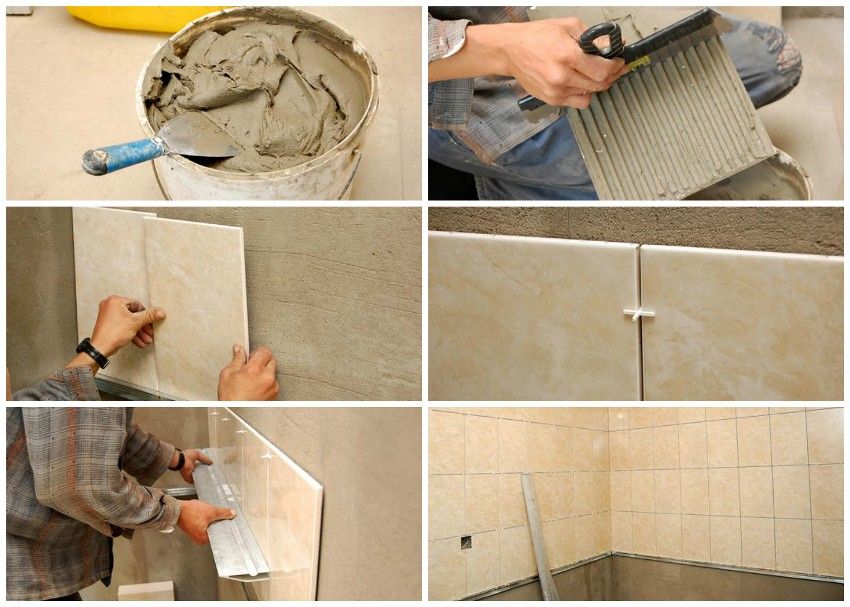
- Initially, it is necessary to dilute the adhesive composition according to the instructions provided by the manufacturer. It is best to use a construction mixer for this, as this allows you to cope with the task faster;
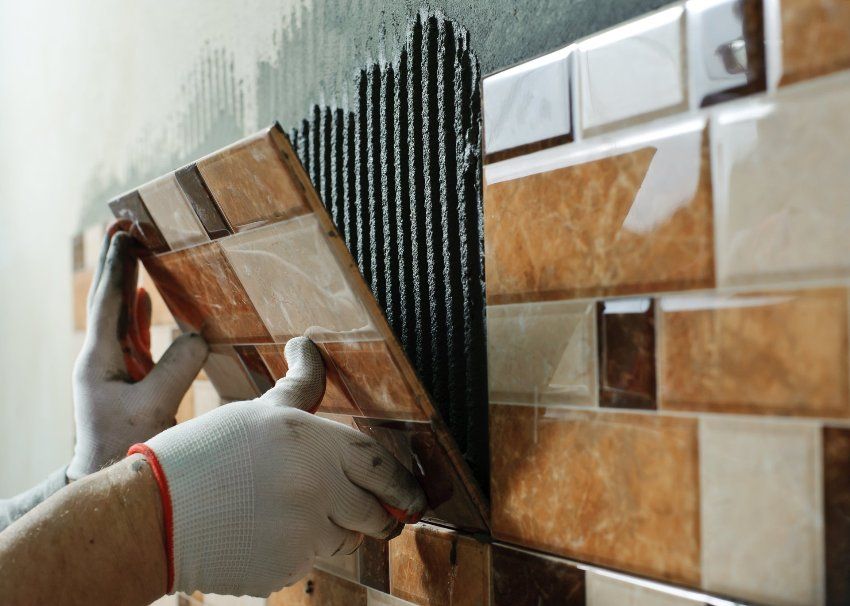
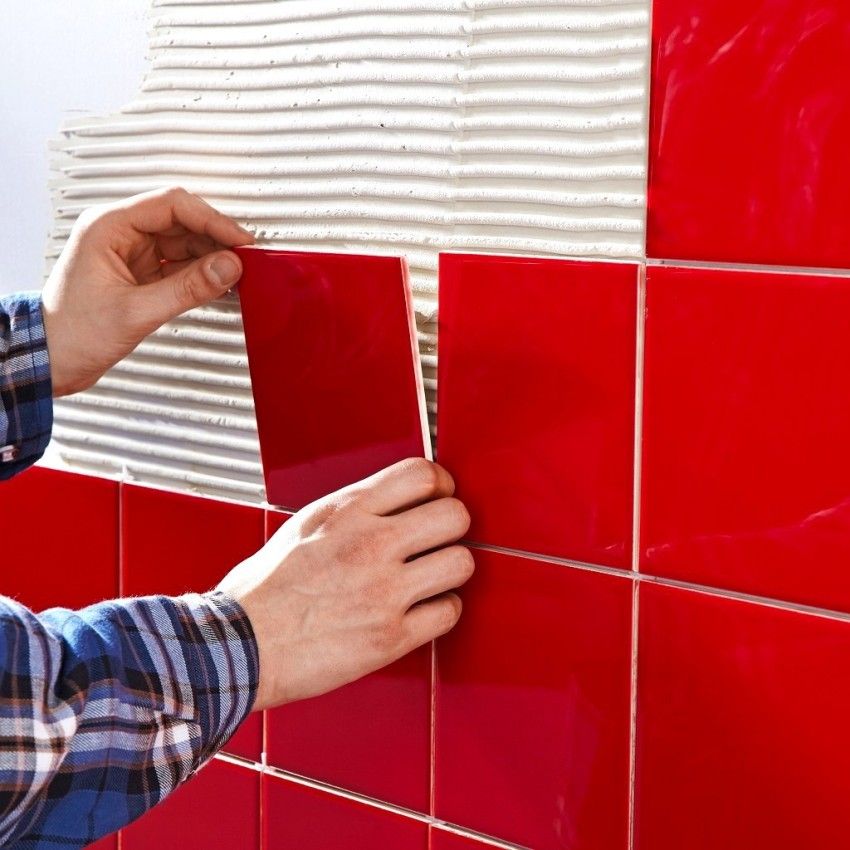
- using a spatula, glue is applied with a thin layer on the base, as well as on the back side of the tile. Surpluses are cleaned with a comb in such a way that the grooves on the back of the tile remain smooth;
- after making sure that the adhesive layer on the tile is evenly distributed, it must be gently pressed to the surface.
Important! The selection of a notched trowel should be based on the size of the tile. The larger the dimensions of the tile, the larger should be the teeth on the tool.
The first tile should be laid on horizontal and vertical marks. In this case, if in the process of work the cord was used as a guide, it is better to start from the corner of the second row and only then remove the cord. Fixation is performed using special wedges, which are inserted between the tile and the support bar.
First you need to lay out all the solid elements, keeping an equal distance between them. To facilitate this task, small crosses are used, which serve as a guideline for creating uniform tile joints. Each row laid must necessarily be carefully checked with a construction level.
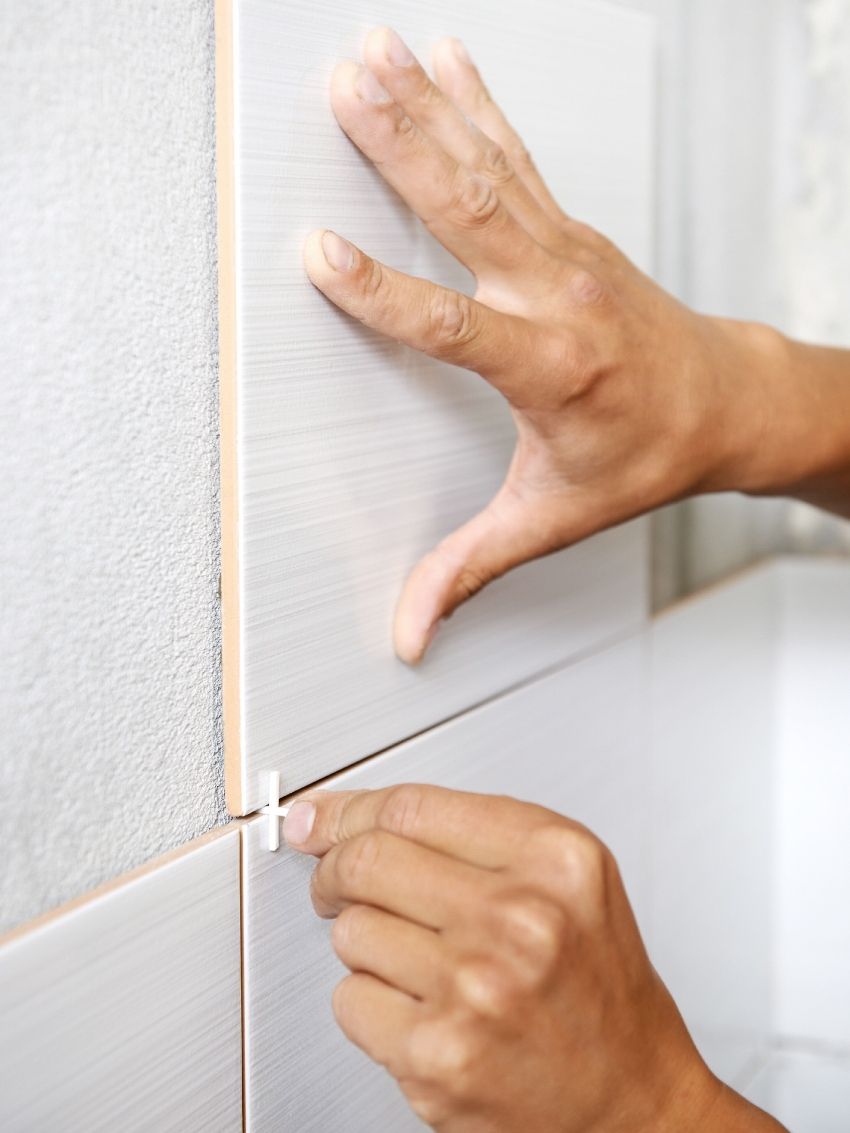
Helpful advice! If there is a pattern on the tile, which is not so clear that it was visually easy to identify the upper and lower parts, then you should pay attention to the special arrows that the manufacturer has on the reverse side of each element. With their help, you can navigate the process of laying.
As for laying tile, which requires trimming, then this task is best left for later. How exactly this procedure should be carried out will be discussed further in the article.
For a time, there was disagreement as to whether plasterboard structures could be used as the basis for tile installation. Indeed, by itself, the material does not have high strength and a large weight of ceramic tiles can be simply overwhelming.
Practice has shown that, subject to certain rules, drywall may well be a full-fledged basis for laying tile:
- you should not save on the adhesive composition, it should be of high quality and suitable for this type of work;
- Before laying, the surface must be thoroughly primed and completely dried;
- Stacking should be done gradually – no more than 5 rows at a time. After that, you need to make at least an hour break, after which work can be continued.
The fastest way to cope with the task is to use a punch. However, in this case, it is not necessary to expect that at least some part of the old tile will be preserved. And the sound will surely be loud, so it is better to notify your neighbors in advance about upcoming repairs.
After reviewing how to properly tile in the bathroom on the walls, as well as learning about all the options for dismantling the old coating, you can safely begin to self-repair. As for the choice of a suitable material, the most important thing is that you like the characteristics, color and size of the ceramic tile for the walls, and harmoniously fit into the interior, correspond to the operating conditions.
