Tile – the undisputed leader when it comes to the need to purchase a facing material for the bathroom. It is ideal for both walls and floor, providing the surface with the characteristics that are necessary for difficult operating conditions. Consider how to put a tile in the bathroom: how to properly prepare the surface and lay the material.
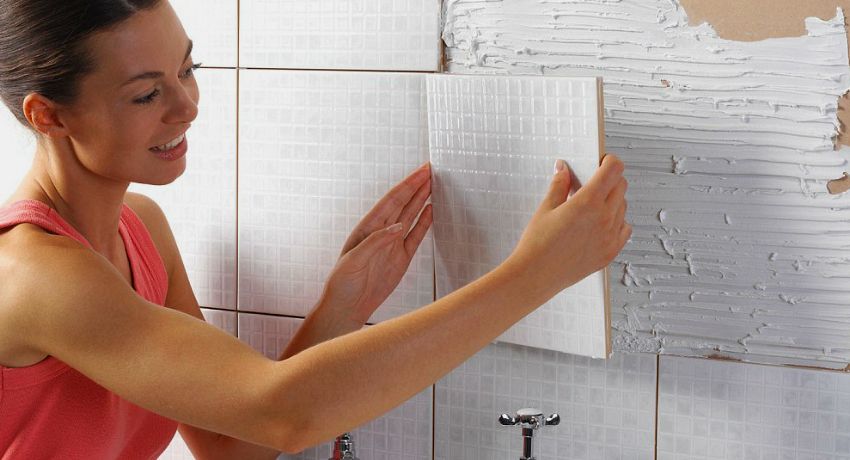
Advantages and disadvantages of laying tiles in the bathroom
The advantages of using tile as a floor and wall covering for a bathroom include the following characteristics of this material:
- resistance to water and steam;
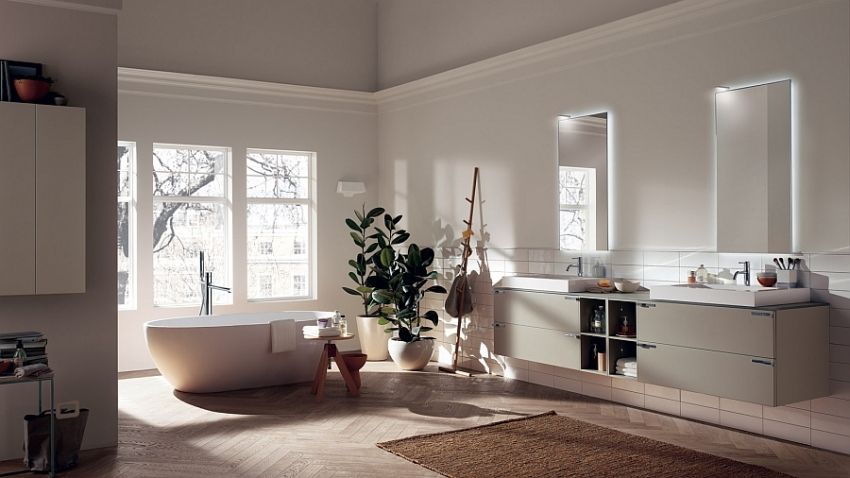
- high strength of the material to mechanical stress;
- relatively simple installation procedure, available even to a beginner;
- aesthetic appearance of the surface;
- hygiene and ease of care.
If we compare ceramic tile with other materials that are used for finishing bathrooms, there is practically no such option that could surpass it in characteristics.
Although it is worth noting that this solution has some drawbacks, for example, installing a tile will be quite expensive, considering the cost of the tile itself, as well as auxiliary materials. And before you put the tiles in the bathroom on the floor or walls, you have to pay attention to the preparation of the surface.
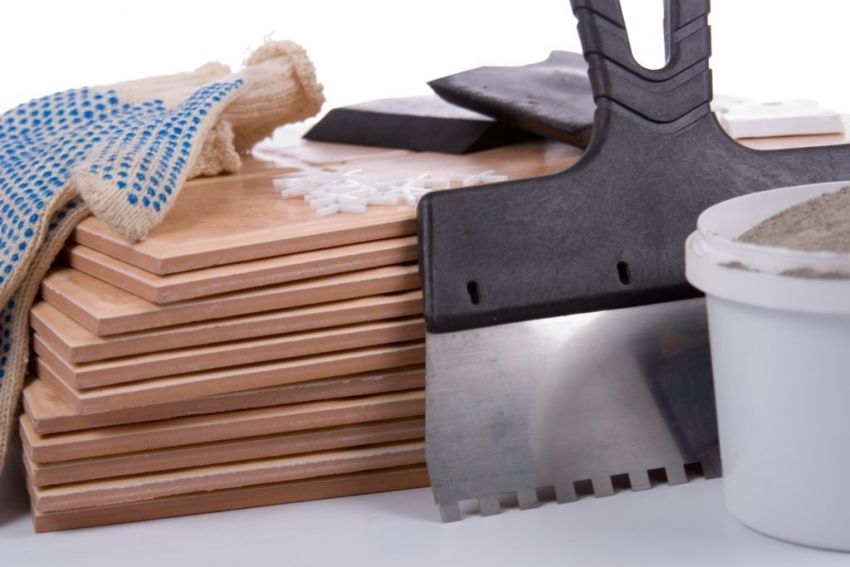
In order to properly lay tile on the surface, it is necessary to take care in advance about the availability of certain tools and materials. The list of necessary items consists of the following items:
- ceramic tiles at the rate of: surface area + 10-15%, depending on the chosen method of installation. It is extremely not recommended to acquire material end-to-end, as part of the tile may be damaged during transportation or during the work. In addition, it is useful to leave a few whole tiles in the event that repairs are needed in the future;
- suitable in terms of the composition of the adhesive composition, which is designed for this type of work and is able to cope with the upcoming loads;
- grout for joints of a suitable color (usually chosen in one tone with a coating or slightly lighter);
- big capacity in which it will be convenient to knead glue;
- smooth and notched spatulas, with the help of which it will be possible to apply and distribute the adhesive composition on the tile surface;
- tile cutter or grinder for cutting individual elements that do not fit in size;
- foam sponge or cloth to clean the surface from excess glue;
- special crosses designed to form seams of the same size.
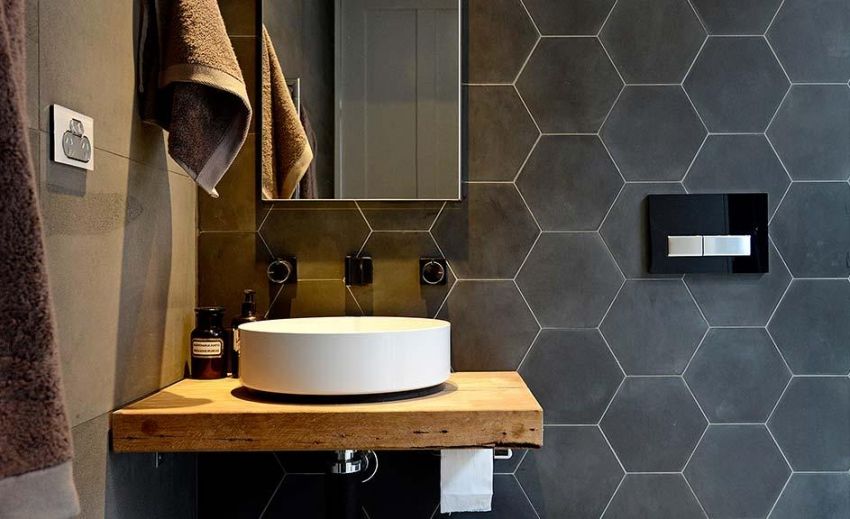
Before you proceed to the selection and purchase of the required amount of material, it is necessary to determine how the tile will be laid. Laying tile in the bathroom can be done in several ways. At the same time, experts recommend choosing an option that will facilitate the visual expansion of the space.
Consider a few of the most popular examples:
- Direct layout. The simplest and therefore widely used method that can be used even by a completely unprepared person who does not have any experience in this field.
- Diagonal layout. Aesthetic and sometimes more complex in the performance version. It is believed that this method is ideal for rooms with a square shape, as well as if the walls have serious irregularities. An inexperienced master may experience certain difficulties in the process of work, but if it’s about repairing a small bathroom, then there’s no better way to find it. Especially since you can always practice in the layout without applying glue.
- Chess pattern. This method is suitable for laying tile in several colors. As in the case of diagonal installation, this method is recommended for implementation in small square rooms. The main advantage of this method is that it is ideally combined with both classic and any modern interior.
- Laying with offset. In this case, each successive row of tile is laid with an offset from the previous one. At the same time, joints of seams do not occur, which makes the design of the room unique. Unlike previous methods, this option is more suitable for rectangular rooms. This applies to both wall covering and tile laying on the floor in the bath.
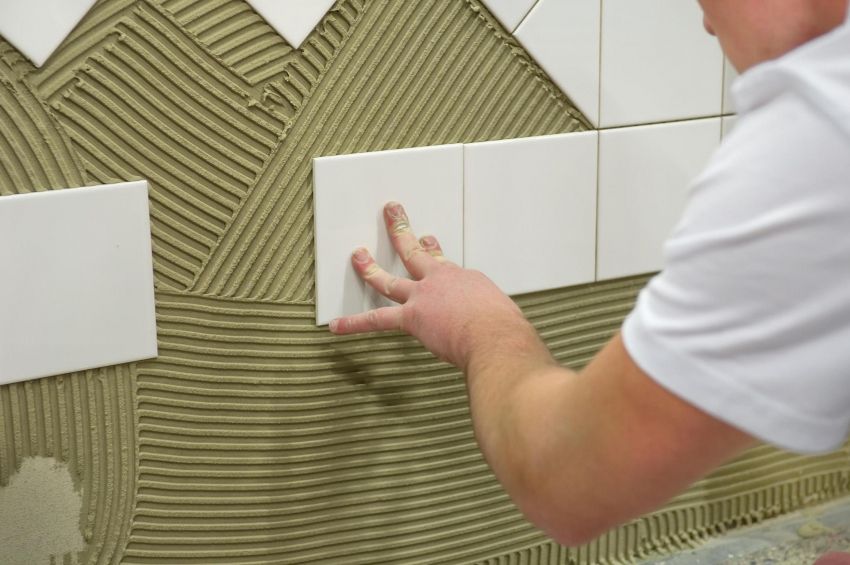
You can decide how to lay tiles in the bathroom by looking at photo examples or at least a schematic layout of the tiles in each way. But do not forget that for the implementation of each method must be properly selected tile. For example, only square-shaped elements are suitable for diagonal installation, and for laying with an offset it is better to take a rectangular tile.
Interesting! Often the question arises, how to say, “put” or “lay down” tile on the floor or walls. The second option is vernacular, which is permissible, although not considered correct, from the point of view of a literary language.
Obviously, the process of choosing the right tile and how to lay it will require time and attention. But many do not even suspect that the selection and mixing of the adhesive composition is no less a responsible task. Consider what you should pay attention to, and whether there is a difference, which solution will be used in the process.
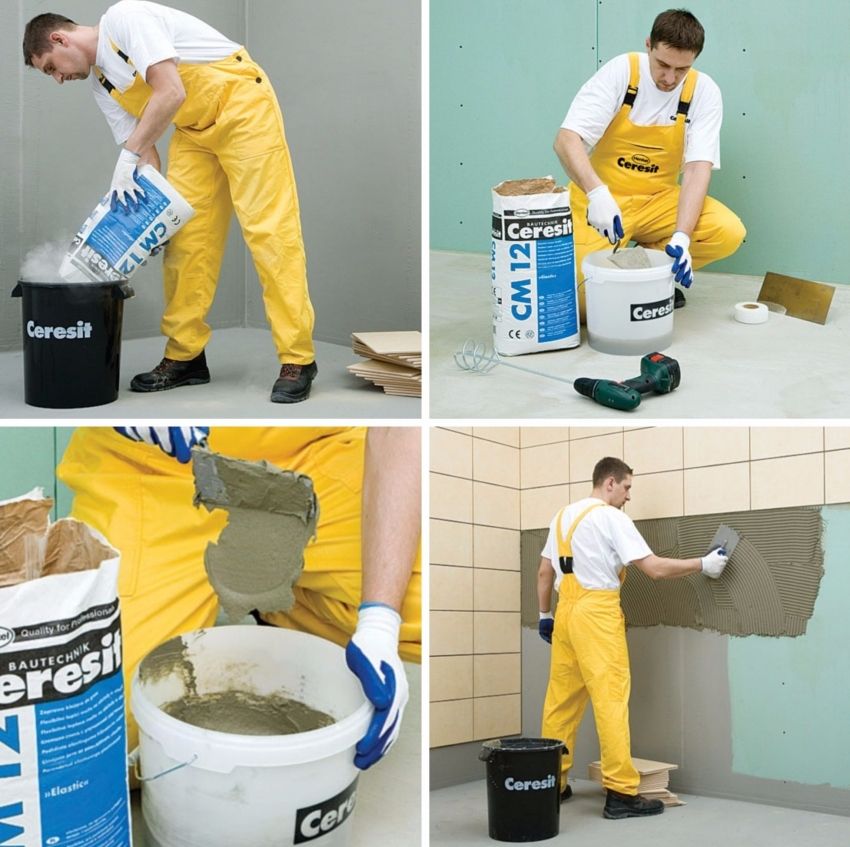
Glue for tile can be purchased in one of two types: dry mix or ready-made mortar, which can only be applied to the surface. In principle, it is permissible to use any option, although the finished mixture is usually used only for work with small surfaces. In addition, it does not tolerate storage. So if you just have to lay the tile in the bathroom, it is better to get a dry mix.
The choice of adhesives for tile in the modern market is large enough. They may differ in cost, quality and, in some cases, preparation technology. So the first thing that needs to be done before diluting the purchased mixture with water is to carefully read the instructions provided by the manufacturer. But you should also consider the following recommendations:
- kneading glue needs to be done only when all the work on the surface preparation is completed;
- when adding water to the mixture, it is necessary to focus on the recommendations of the manufacturer, as well as on your own feelings, avoiding excessive fluidity or density of the solution;
- the adhesive composition obtained in a toga should be homogeneous;
- It is best to use a perforator with a special nozzle for mixing, as it may be difficult to do everything you need manually.
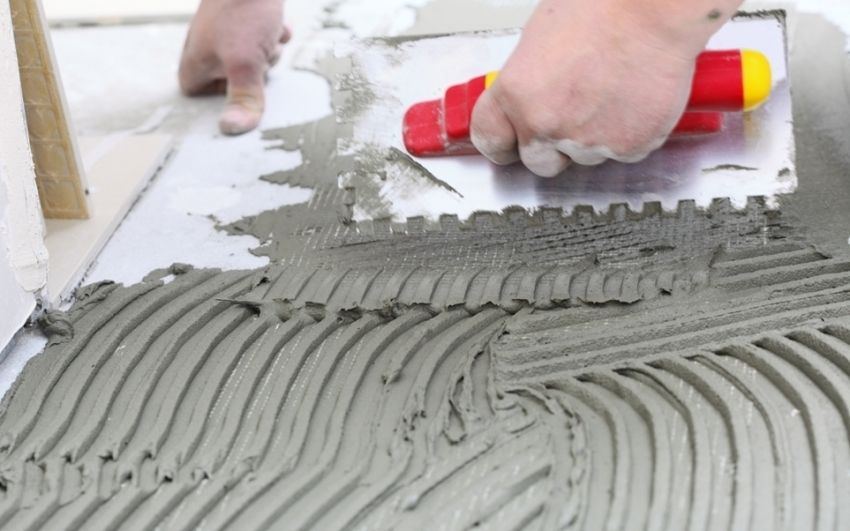
Helpful advice! Before you put the tile, you need to make sure that the adhesive composition will grab with the surface on which the laying will be done.
Before you start laying the tile to the surface, it is necessary to carry out some preparatory procedures that will make the surface as sensitive as possible to the adhesive composition and will ensure reliable fixation of the elements. So, you need to clean the room from all unnecessary items of furniture and items that may interfere with the work. And before you glue the tiles on the walls and floor, plumbing is also dismantled, if possible.
If the walls have old cladding material, it must be dismantled, and then thoroughly clean the surface from dust and dirt. The option of laying tiles on the tile is also possible. Then you need to take measurements of the area of the room.
Important! If wooden elements were used for laying out the walls, in the preparatory stage it is imperative to open them with an antiseptic to prevent rotting processes. Then a layer of plaster is applied on top.
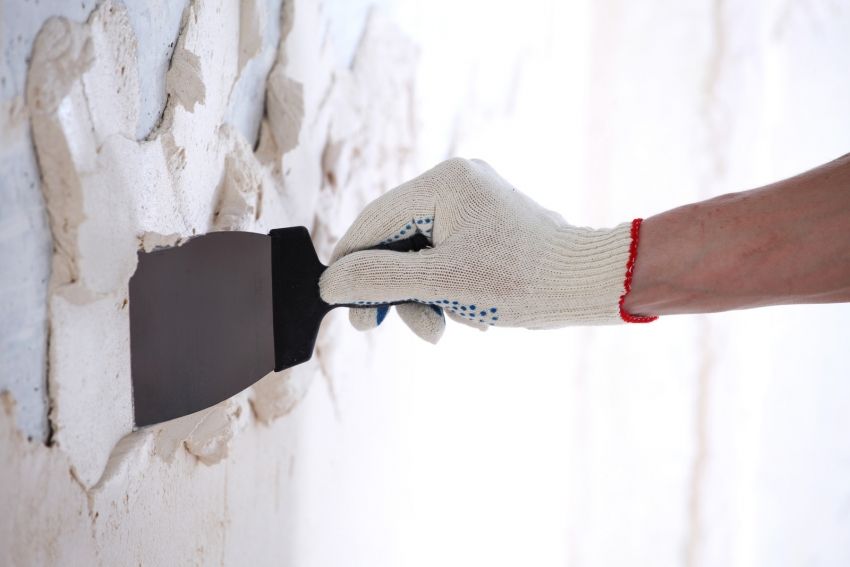
With the presence on the surface of the old tiles have to face in most cases, if we are not talking about the repair in the new building. And in this case it is necessary to eliminate it before proceeding with the laying of a new tile. Consider in detail each stage of this process.
First of all, with the help of a perforator, which is tuned to the percussion mode, the old tiled covering is eliminated. This process is certainly dusty and unpleasant, but given the small area of the room, you can do everything you need pretty quickly.
Important! In the process of dismantling the old coating, it is imperative to use protective clothing and goggles, as small particles of the tile can fly off and cause serious injuries.
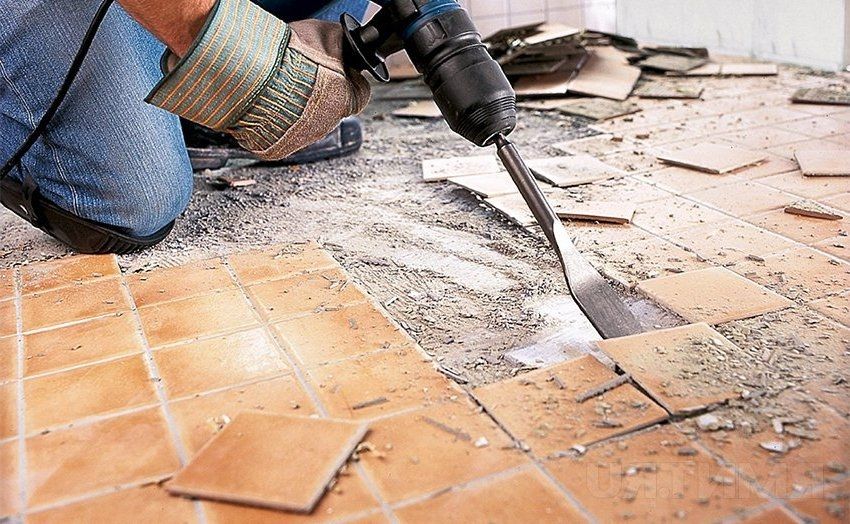
If we are talking about the need to remove the paint from the surface, then for this it is best to use solvent formulations and special tools that contribute to its mechanical removal.
After the coating has been dismantled, all that remains is to clean up, removing all residues from the surface and thoroughly cleaning the substrate. At the same stage, it is worthwhile to assess the surface level and take the necessary leveling measures.
Immediately after the surface of the floor or walls is cleaned, it is necessary to make an assessment, which will allow to understand whether there is a need to engage in leveling.
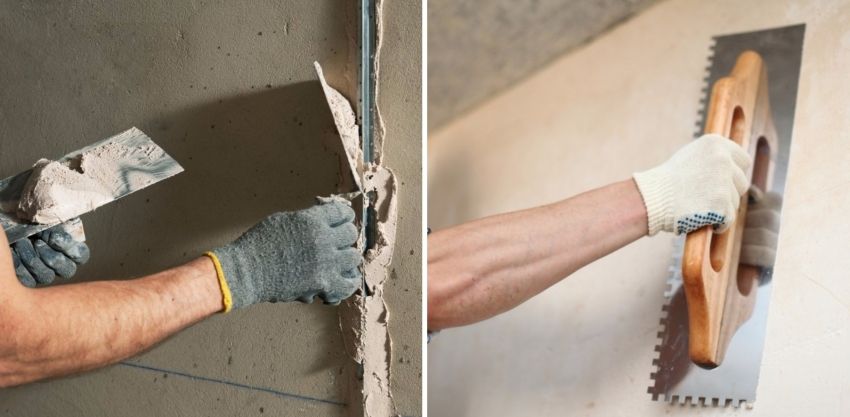
Ideally smooth surface is not a prerequisite for tile, but when it comes to serious deviations, it is better to eliminate them in advance to avoid possible problems in the future. Regardless of what level the walls in the bathroom under the tile, the algorithm of the sequence of actions is as follows:
- A layer of primer is applied to the surface.
- With the help of the level of exposed beacons.
- Lay a layer of plaster, which is distributed between the beacons.
This method is used to level the walls. When working with the floor surface, the procedure is even simpler, and involves the use of a self-leveling mixture, which is able to solve existing problems, as well as easy to prepare and dries quickly.
Apply the grout with a rubber spatula so as to fill all voids and crevices as carefully as possible. Immediately after this, all surplus should be removed to avoid drying on the surface of the tile. Setting the threshold and other similar elements is carried out only after the composition is completely dry.
Important! Grout consumption for tile joints per 1 m2 can vary quite greatly depending on the manufacturer and ranges from 0.25 kg to 0.5 kg.
Taking into account the considerable cost of tile laying work, it is worth considering the possibility of independent work. This option allows you to not only save money, but also independently implement any ideas for decorating a bathroom. In this case, tile is an ideal option, because it has the proper strength and at the same time has a large number of color and texture solutions.
